
FALL is here! Free Knit Pumpkins

Thank you so much for your support! I hope you enjoy these free patterns. If you would like an ad FREE printable PDF at an affordable cost, please visit my shops! Your support helps me to be able to continue bringing you more designs to share!
Fall has hands down, always, been my favorite season. Then when you add in the love for making all things cozy and it instantly doubles! Fall always feels like a slower season to me. The cooler weather ushers in that relaxing feeling in the air and school time is beginning, that means all the fun of getting new shoes, school clothes, books and pencils.
There is something that about the happy nostalgia that comes along with Fall. All the gorgeous colors the trees begin to make with the cool but warm winds in my area that rustles the leaves. All of these things together bring a warm and relaxing calm to my mind, and THEN all the fun food things begin!
Personally, I love pumpkin flavored everything and over the years that selection has completely
grown. It started with my love for Pumpkin Spice Lattes which tends to be my the main thing I get from the coffee shop as I haven't quite found a great home version. That pumpkin love quickly found the donuts that Entenmann's makes, and now it ranges to all sorts of snacks that my fam finds and it is so much fun to try all the new ones out there and see if it gets the seal of approval.
Pumpkins are my favorite change that comes with Fall. If I could I'd have a cute little pumpkin patch growing in my yard. I love to buy a bunch in the beginning of Fall and have them add to a comfy and pretty decor, then we enjoy digging out all the seeds and roasting them to be a healthy and yummy snack!
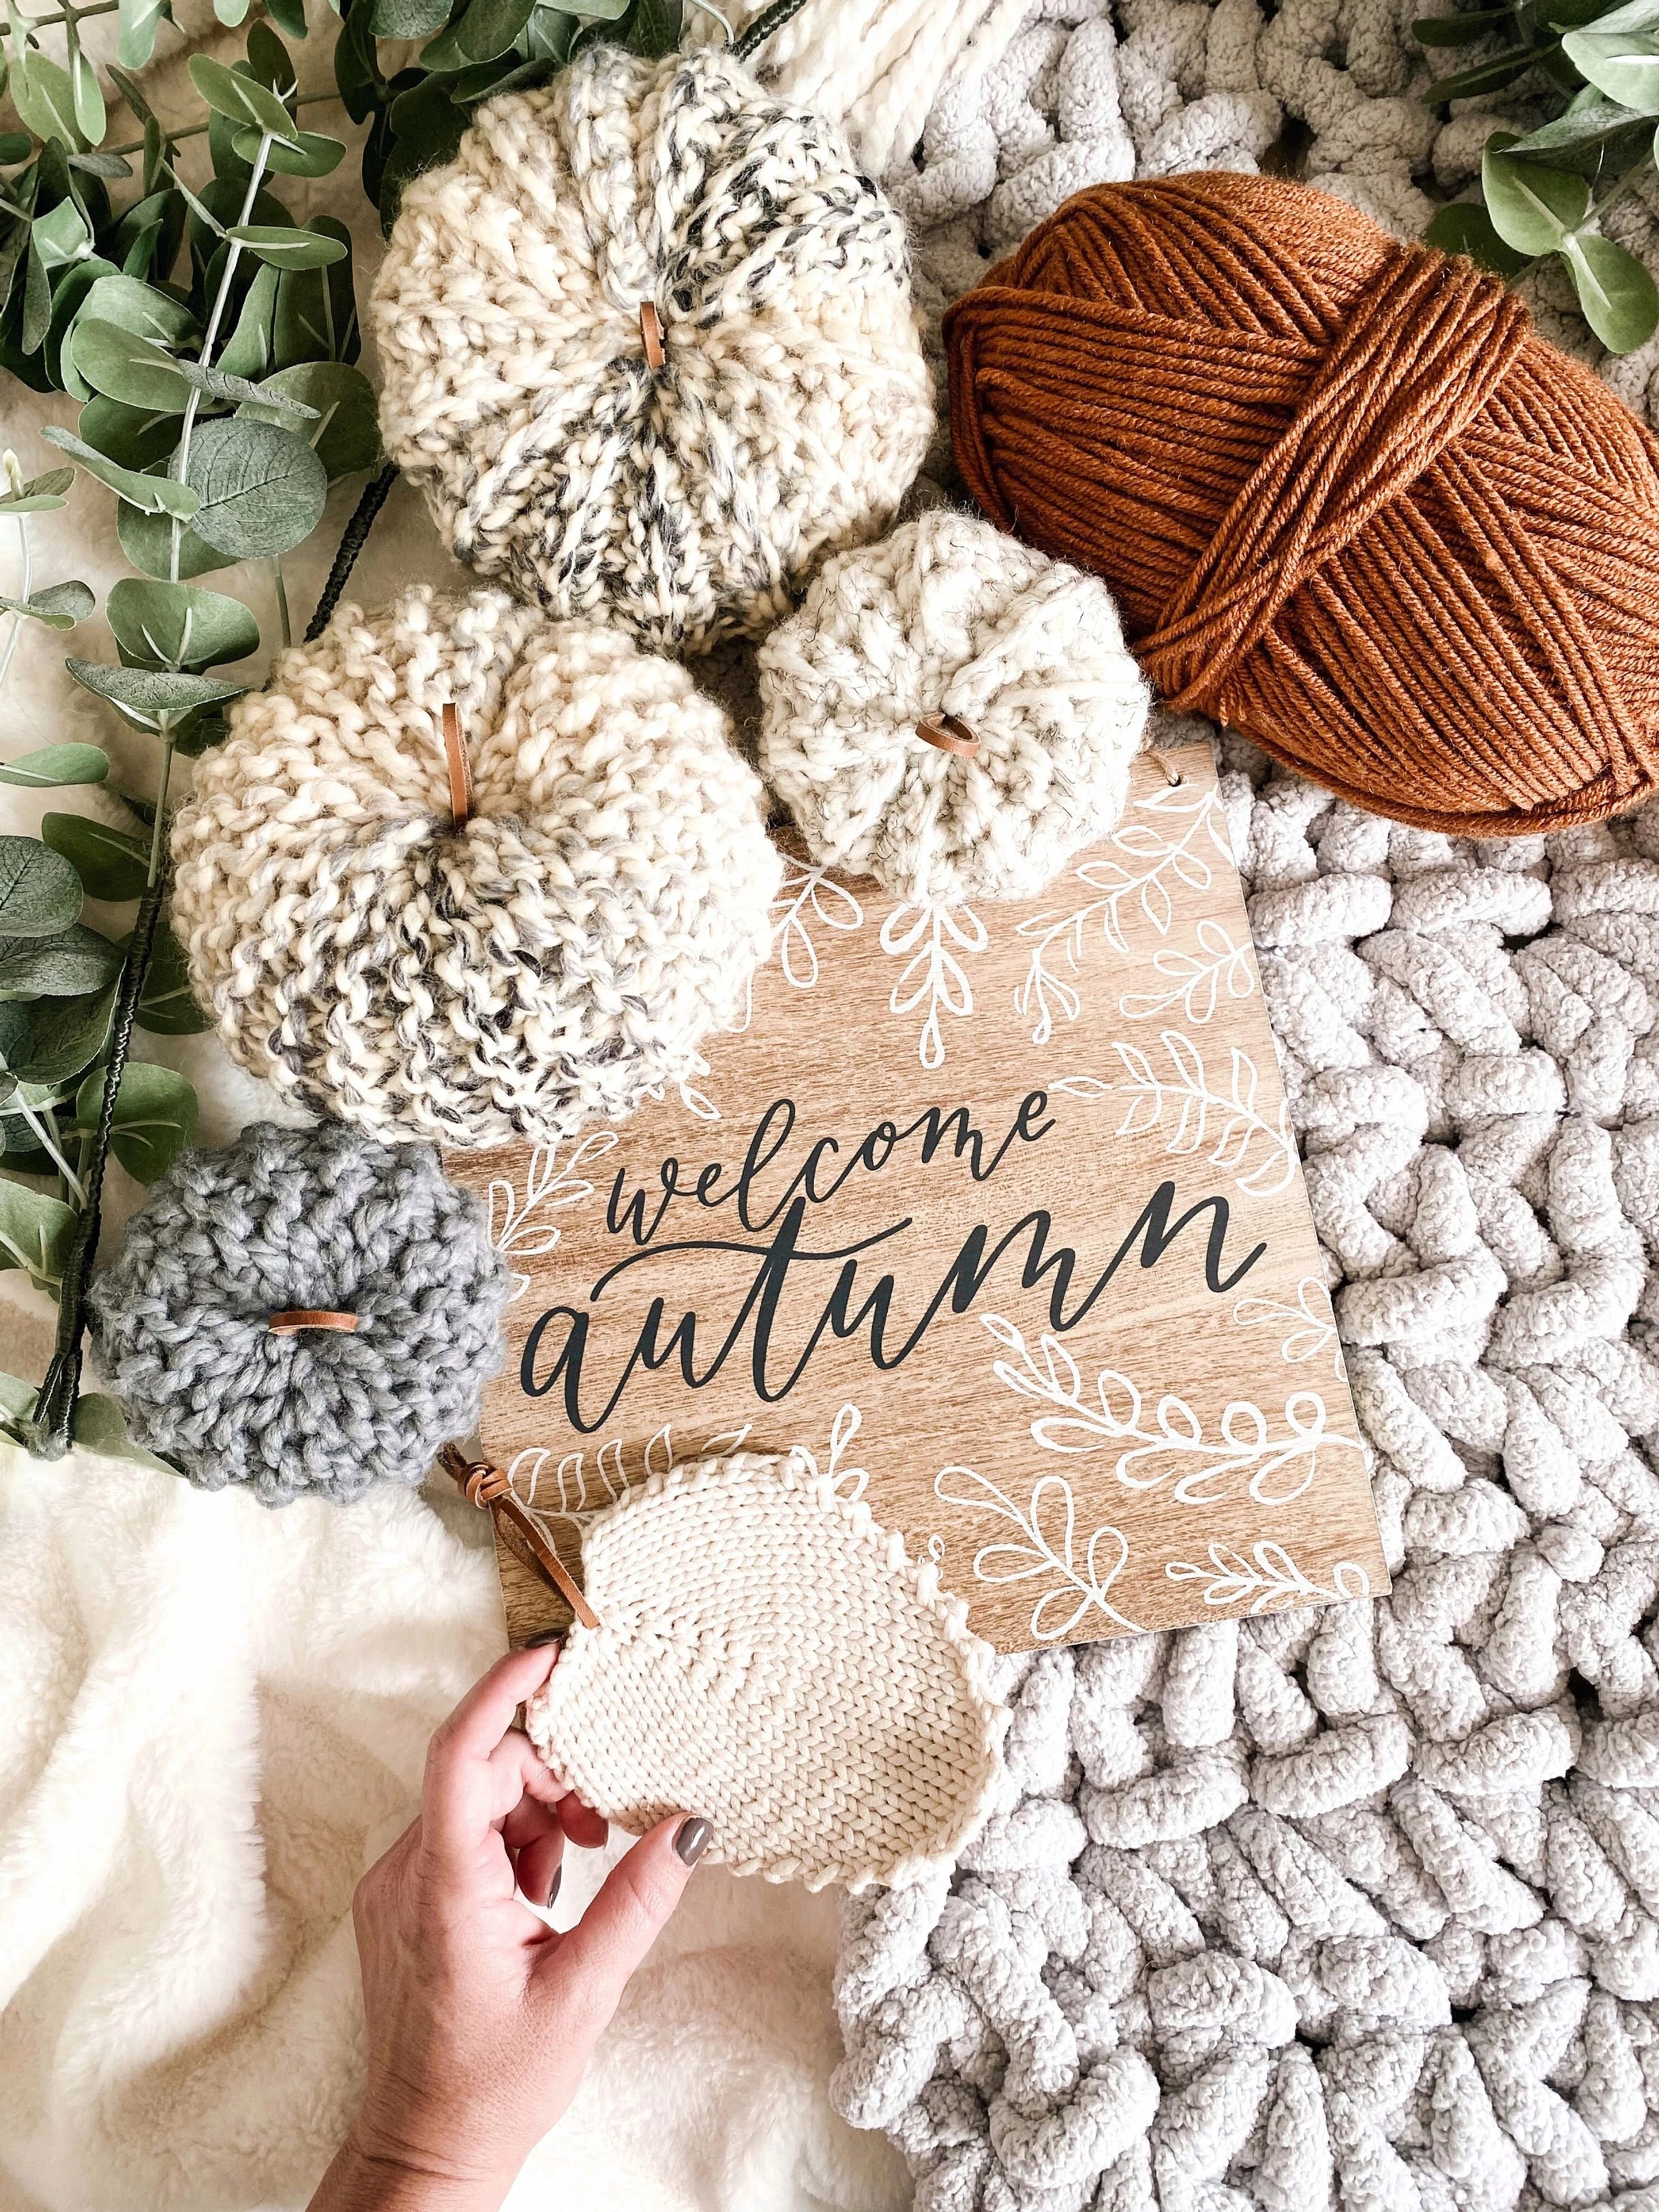
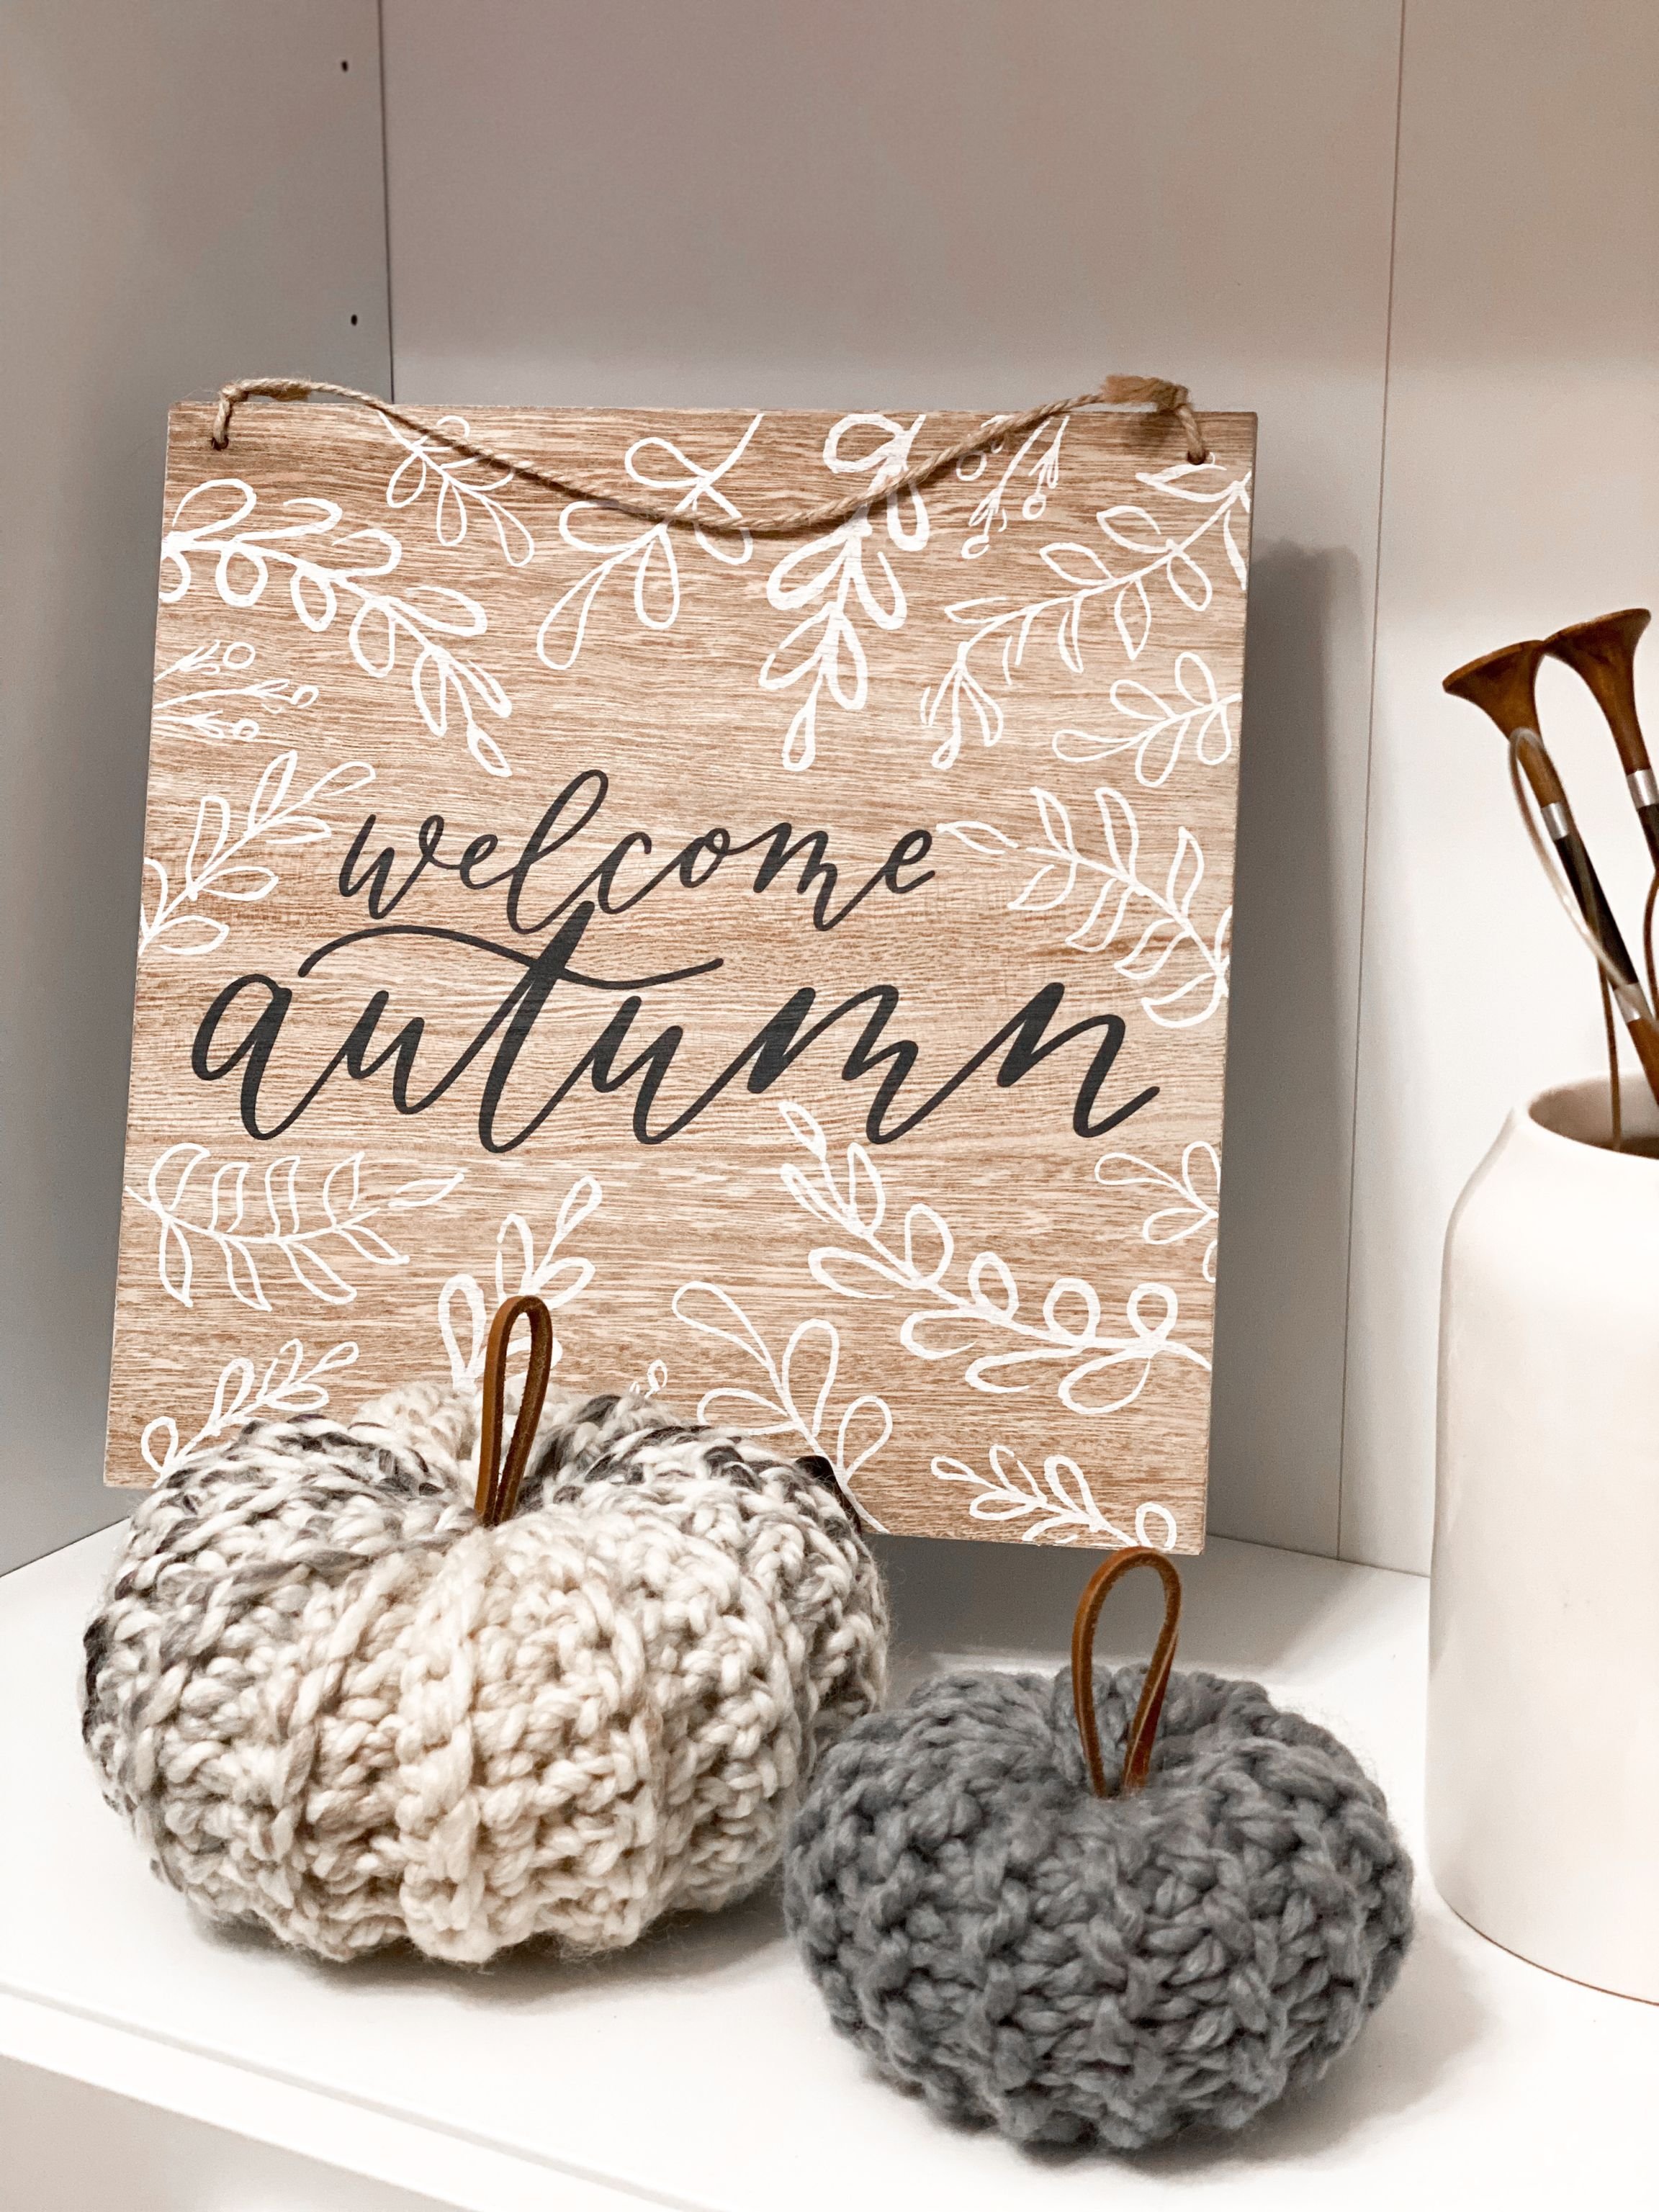
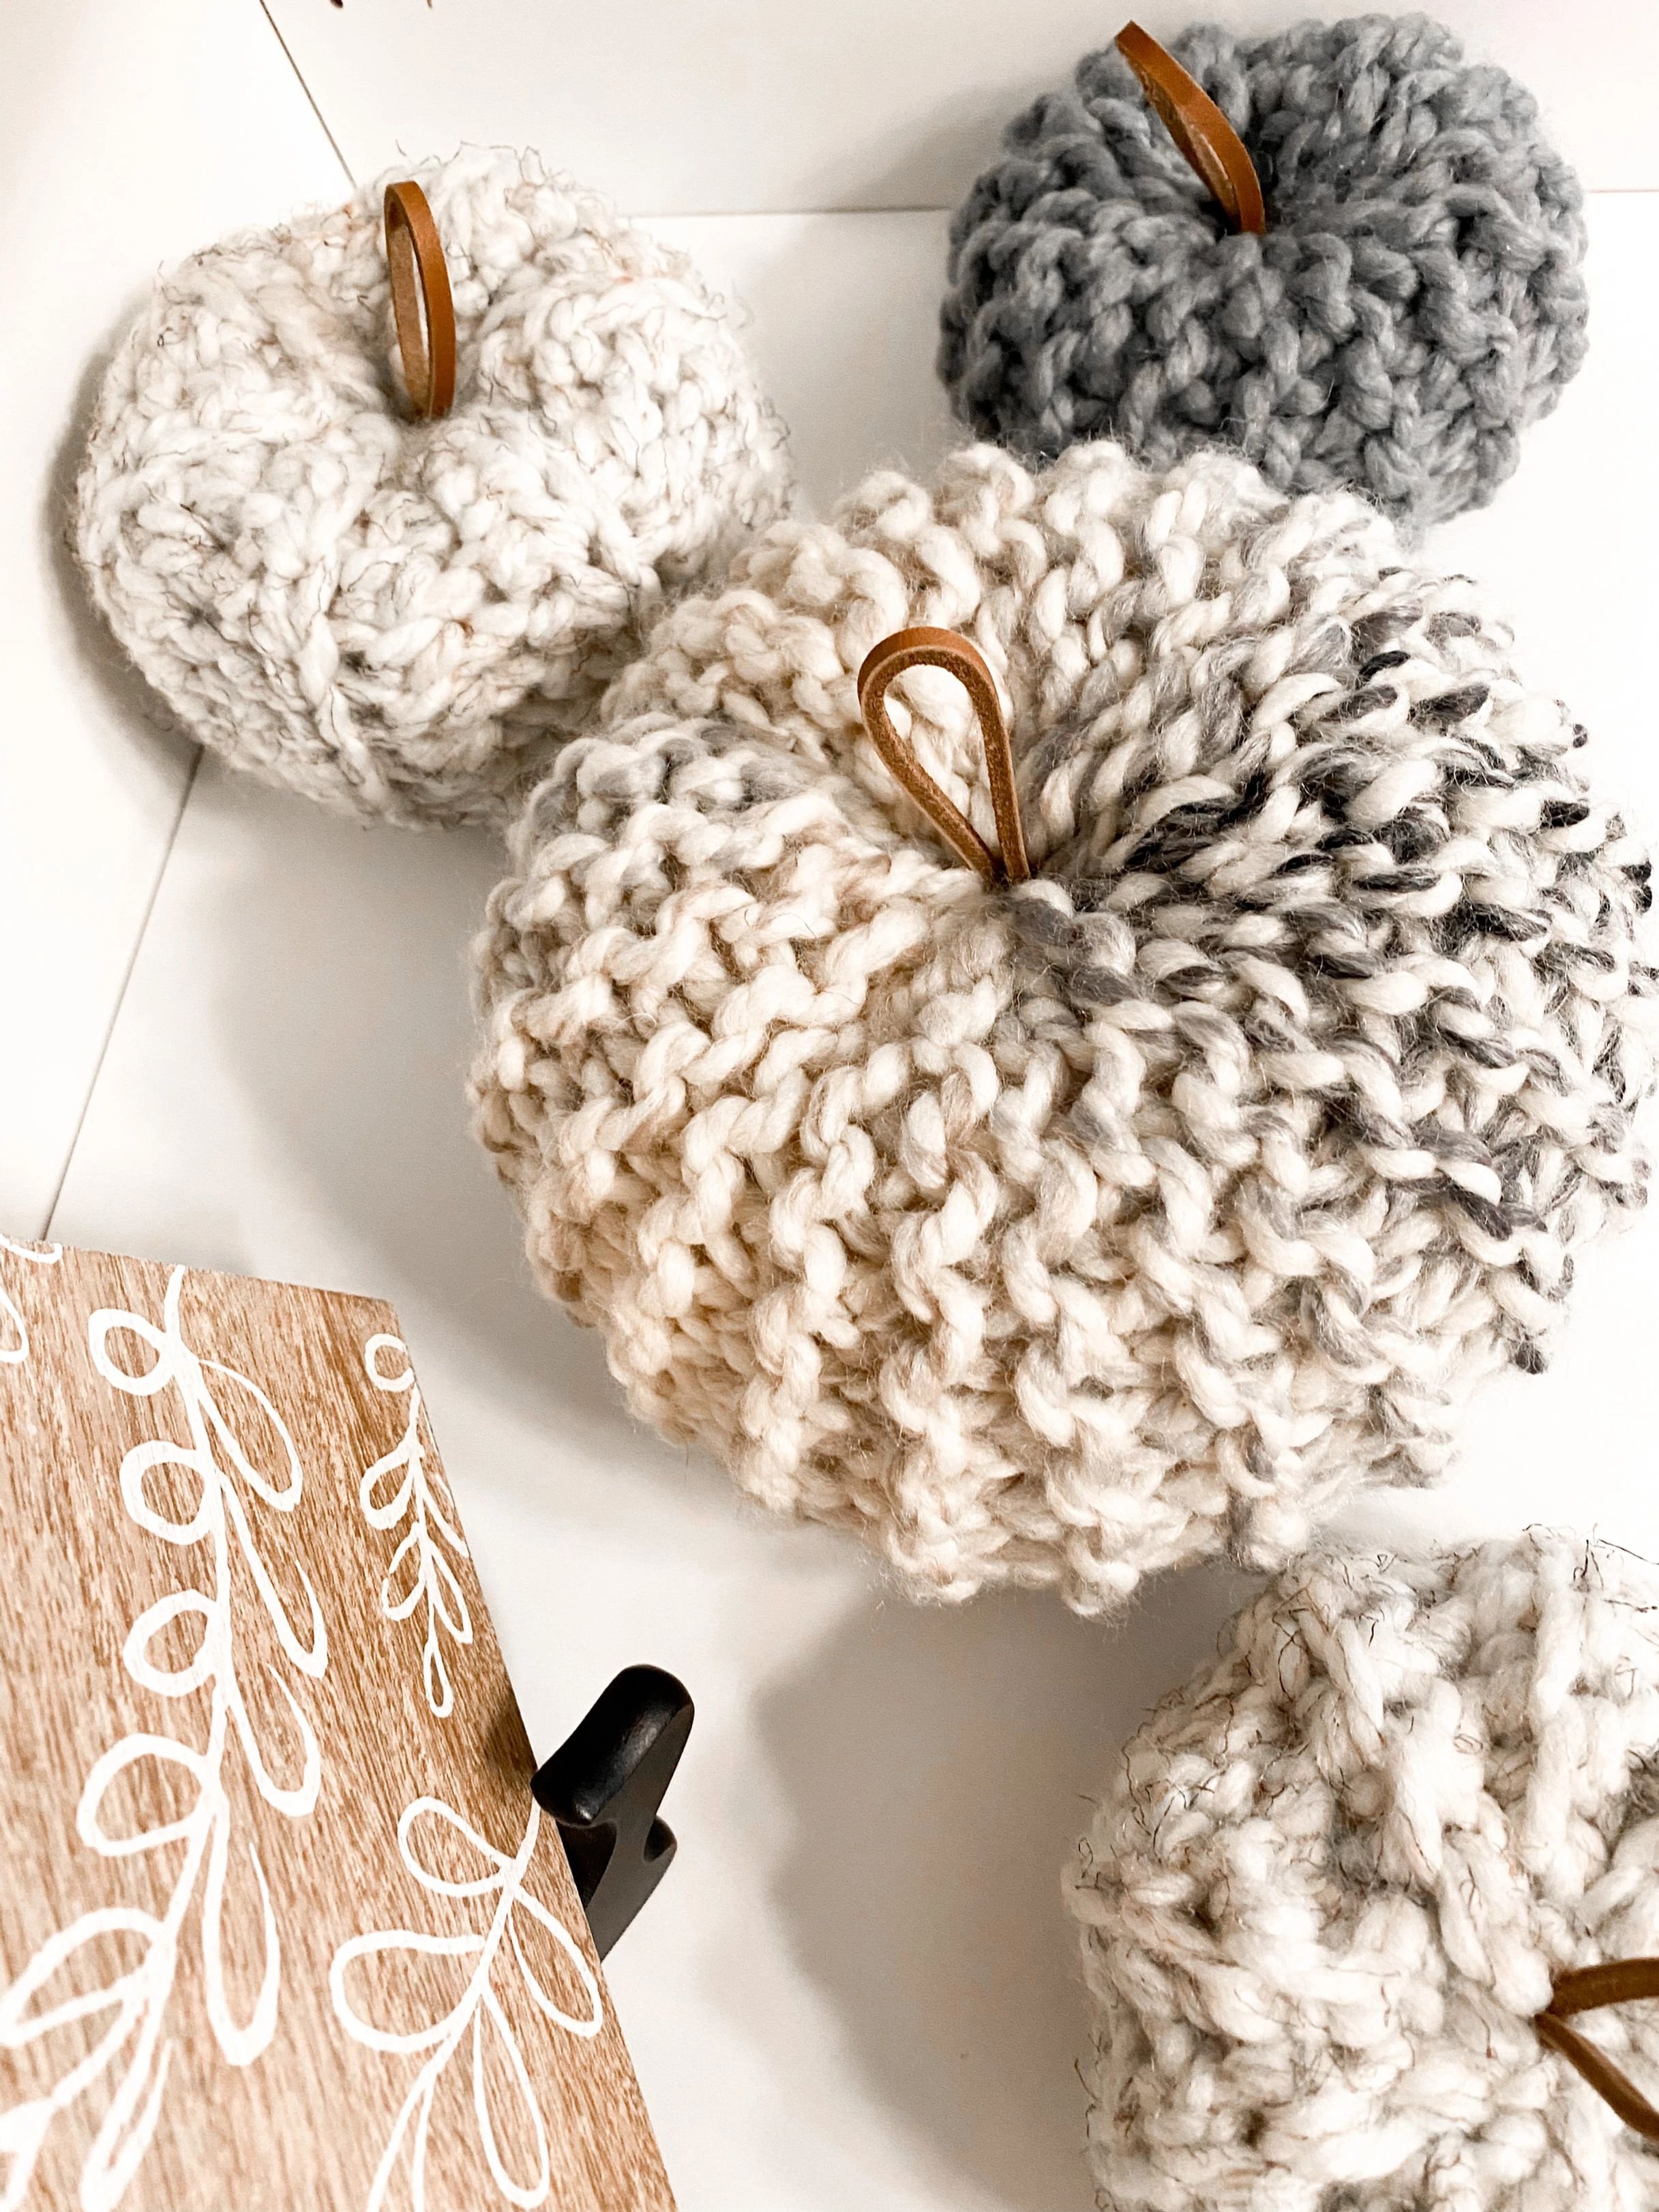
This year with quarantine I felt that the need to decorate inside is more important then ever. It's hard to notice time changing when we aren't outside or doing the normal weather activities. Decorating has already started the smiles. I had my kiddos help add the stems and decide where they go around the house and it was a fun way to get us all on board and share the Fall excitement. A goal with these was also to make them super beginner friendly. Knit and Crochet versions are both on my blog for free. Find the post for either craft or get both if you like!

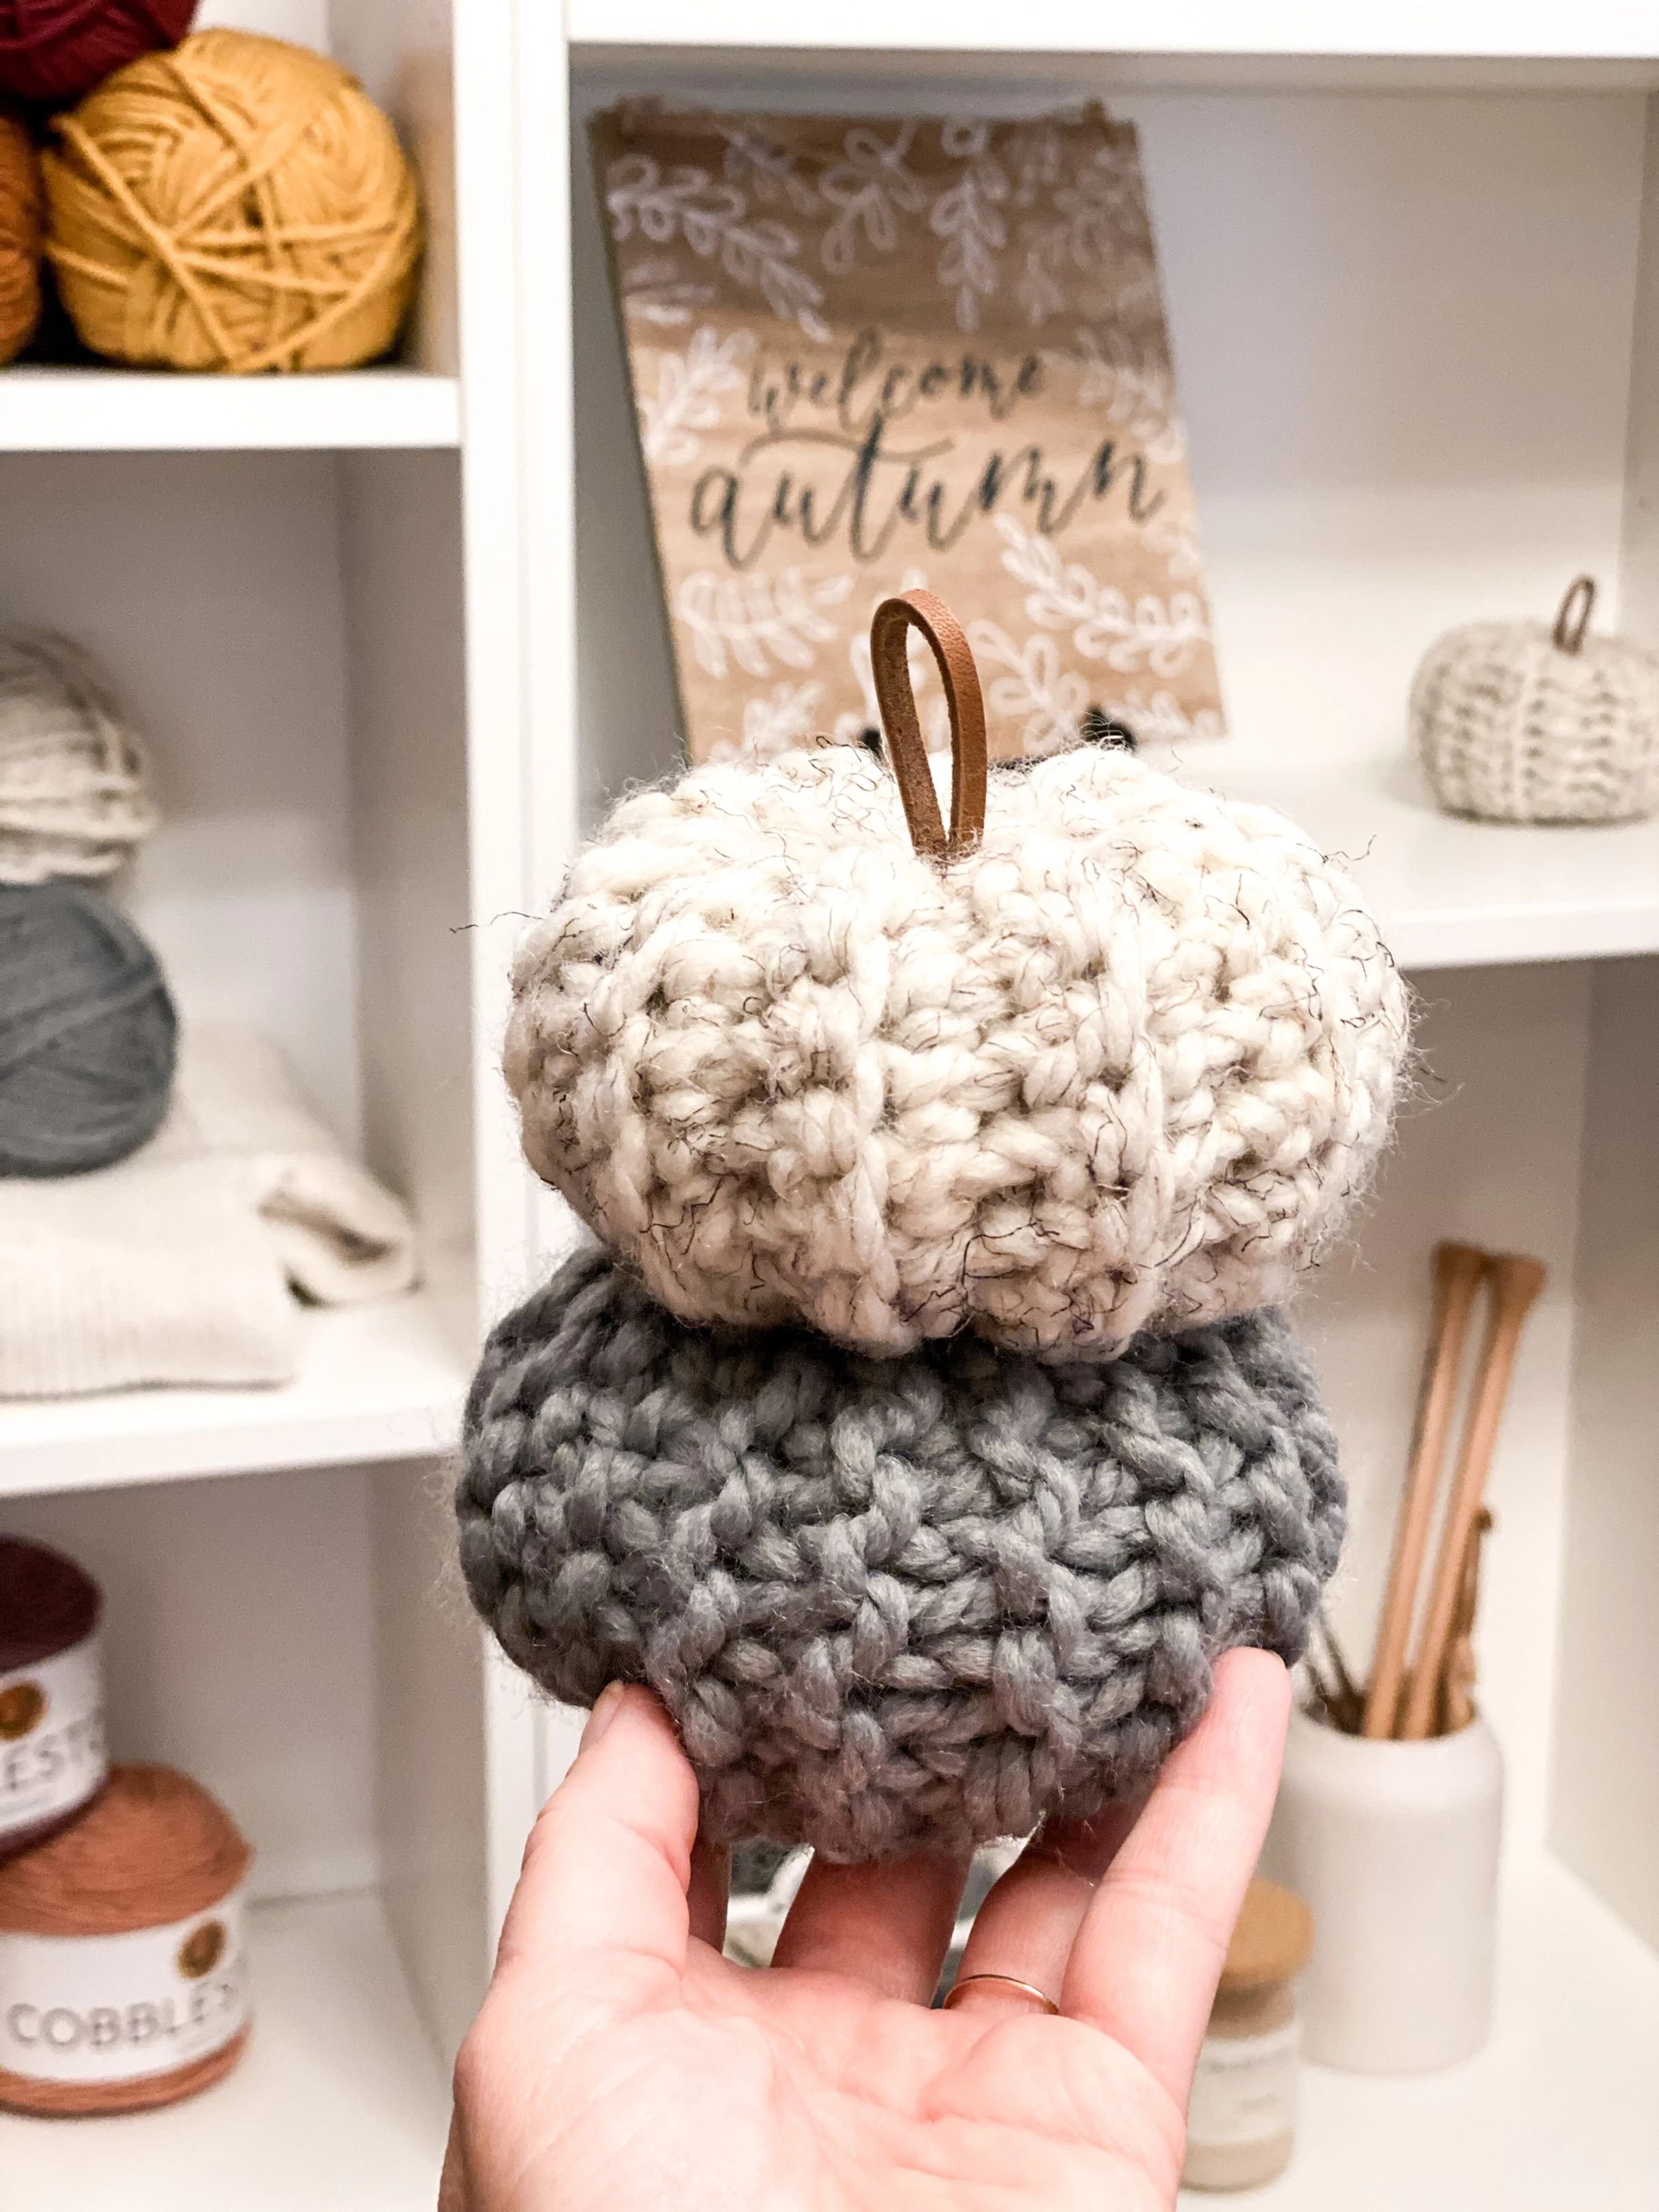
It's fun to mix and match both if you knit and crochet. The crochet version has more sturdiness to it, is a bit more dense, with the same clean, modern lines as the knit. The knit version is a bit lighter and springier when stuffed. I really loved the simplistic texture of these both too, it has a lovely modern and farmhouse feel when added to the decor.
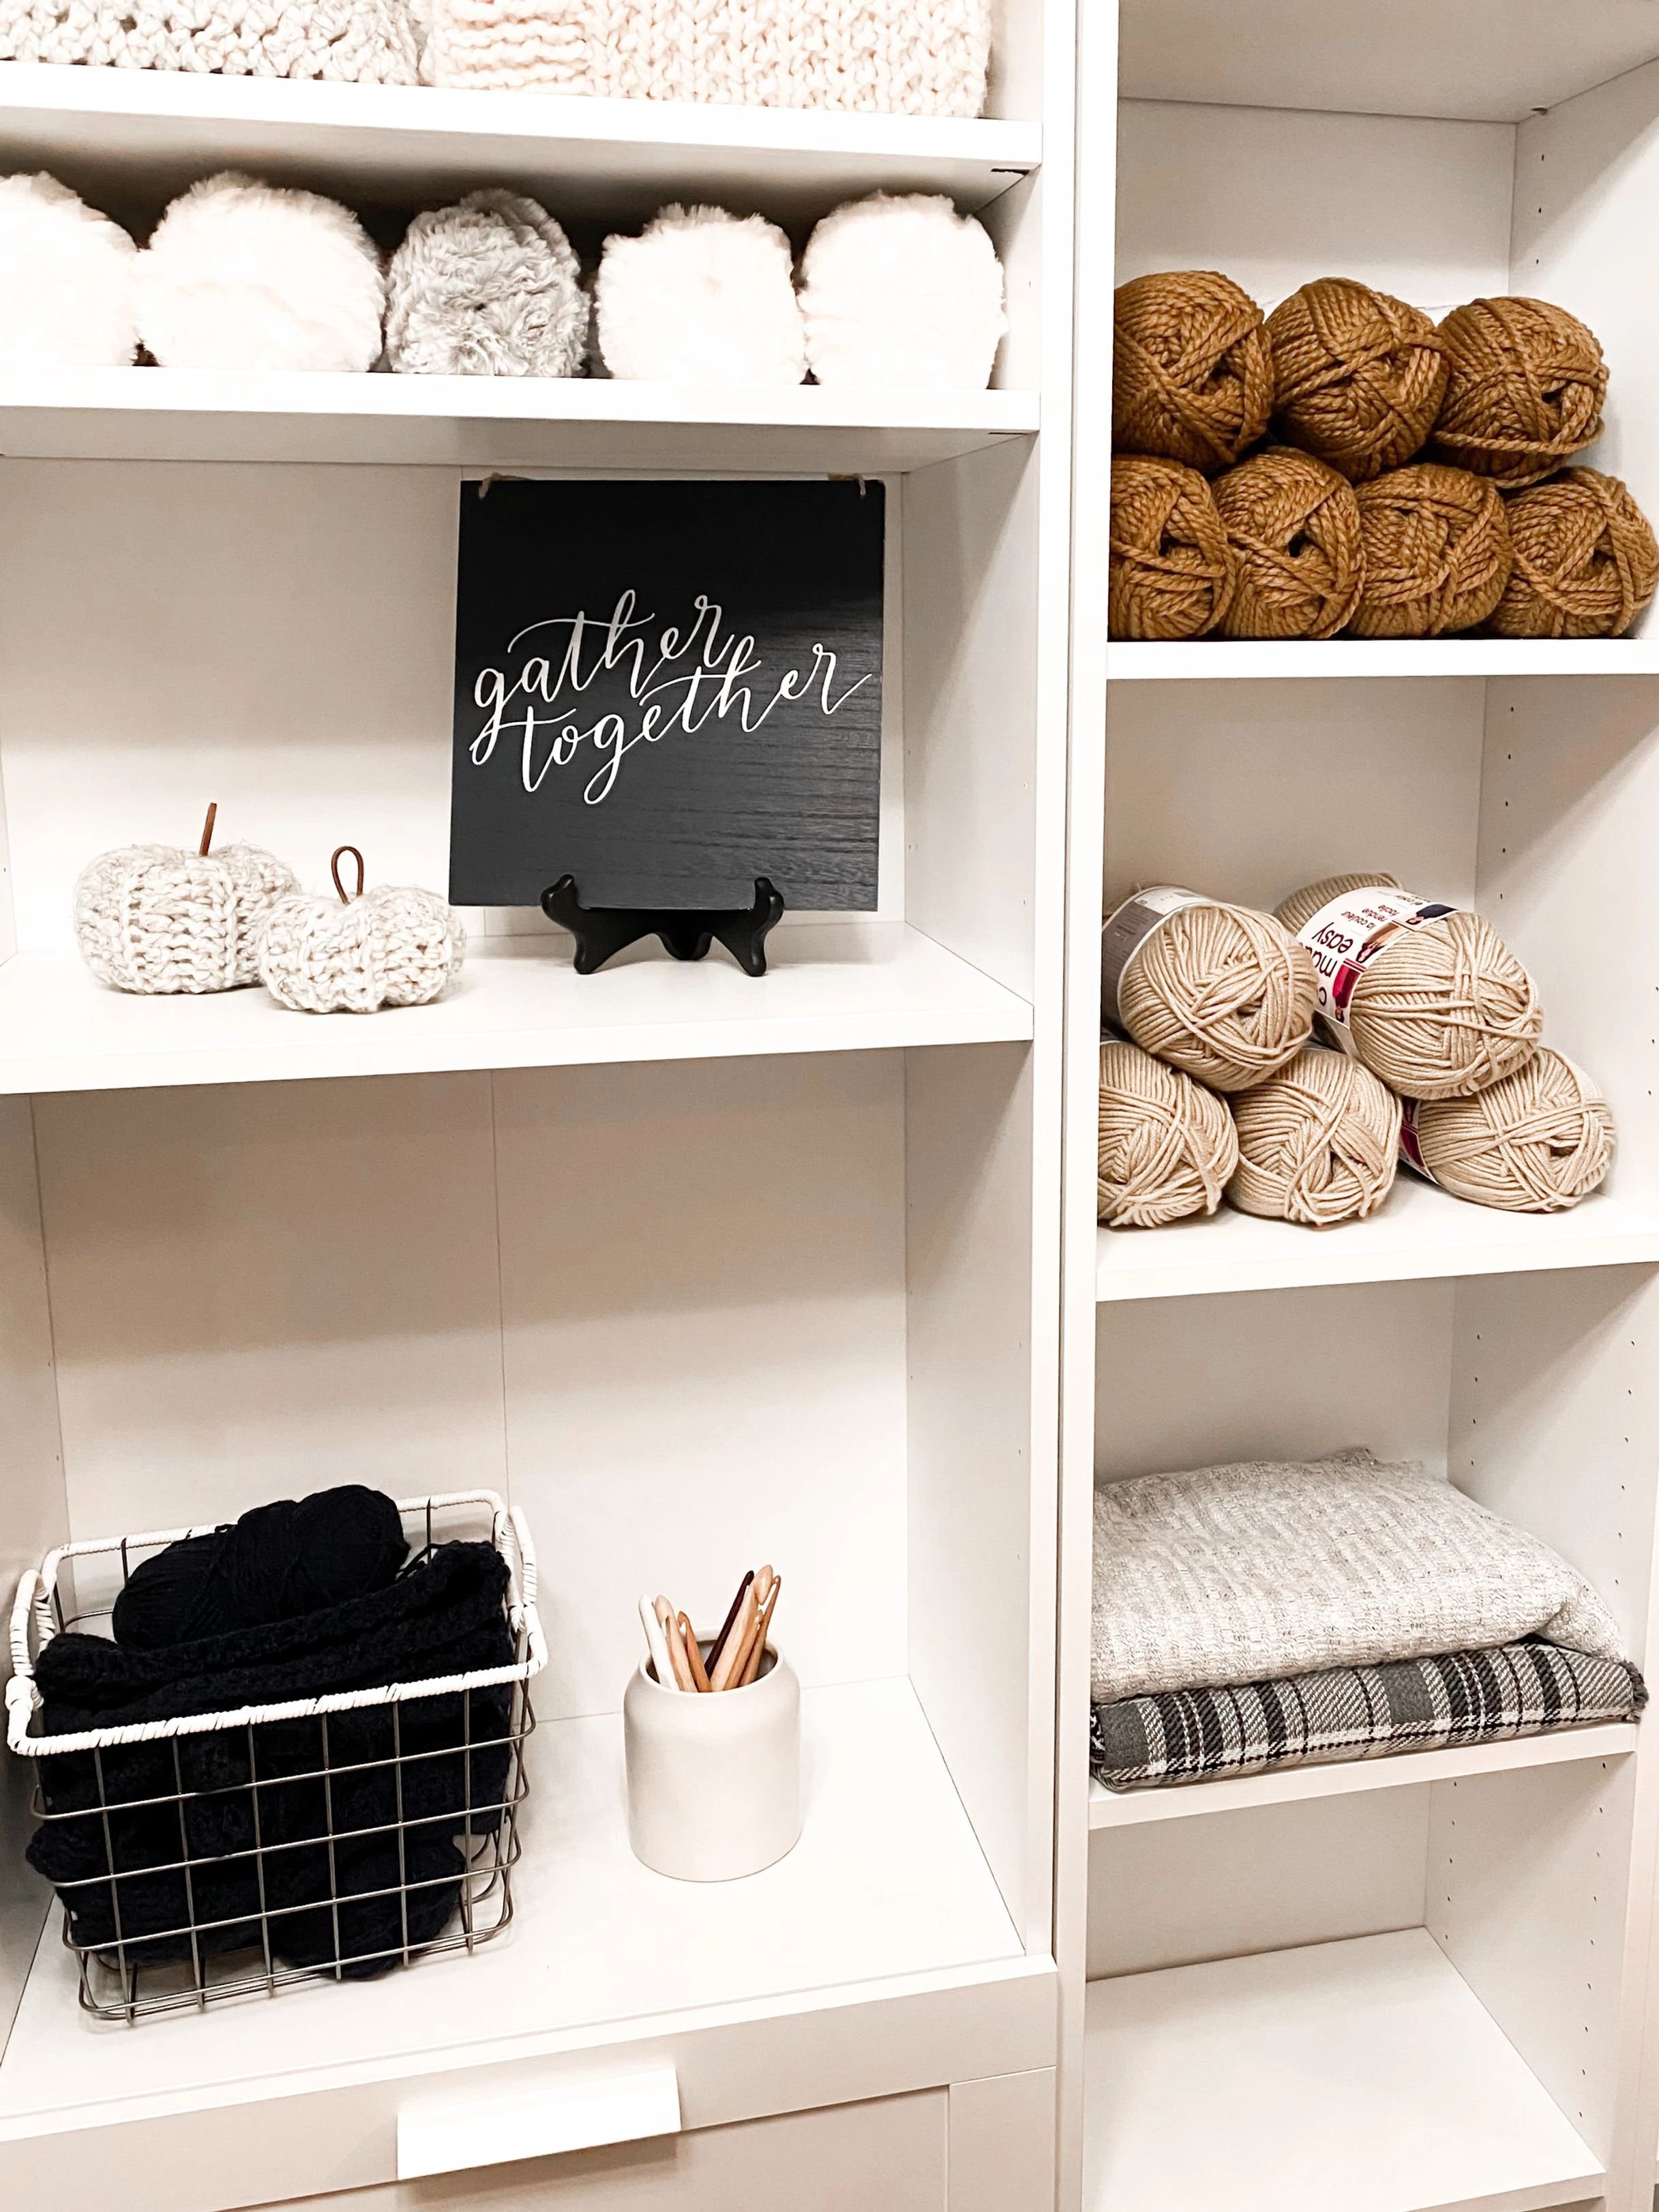
There are so many fun and adorable Pumpkin varieties out there! Both free and paid patterns. A fun idea would be to make these free ones, and mix and match with other textures and looks for a great display.
For a printable AD free PDF, please visit: My Etsy and Ravelry Shops!
Fall Knit Pumpkin
By Whistle & Wool
Ravelry-Whistle and Wool
Join me on Instagram and tag your projects to @whistleandwool, #fallknitpumpkin
KNIT PATTERN
Sizes: S & L
A bit of History behind the name: Fall (Autumn)
Before the 16th century, harvest was the term usually used to refer to the Fall/Autumn season. However, as more people gradually moved from working the land to living in towns, the word harvest lost its reference to the time of year and came to refer only to the actual activity of reaping, and autumn, as well as fall, began to replace it as a reference to the season. The alternative word fall for the season traces its origins to old Germanic languages. However, these words all have the meaning "to fall from a height" and are clearly derived either from a common root or from each other. The term came to denote the season in 16th-century England, a contraction of Middle English expressions like "fall of the leaf" and "fall of the year".
For more history behind the name visit : www.wikipedia.com
Description: A cute and very easy pumpkin for modern, farmhouse decor.
NOTES: Worked flat, seamed at the end.
***This Pattern is a copyright of Whistle and Wool©. You may not copy, alter, adjust, share, record, redistribute or resell my pattern. No tutorials or any kind of demonstrations may be made using any information contained in my pattern. I do not mind if you wish to sell a completed HANDMADE item and you are a small independently owned business. However, you do not have permission to use ANY of my photos. If you do sell a completed item, please list credit of the design belonging to me, Whistle and Wool and a link to my shop. www.WhistleandWool.etsy.com
Skill: Beginner, Using Basic Stitches
Pattern Sizes: S, L
What you need:
Lion Brand: Wool Ease Thick and Quick- “Moonlight” for L and “Slate” for S featured
#6 Super Bulky, 107 yards per Skein
All sizes : 1/4 Skein will make both
Needles: Addi Turbo, 15 (10.0 mm)
Stuffing:1-3 handfuls per pumpkin (or something similar to stuff the pumpkin)
1: Large-eyed blunt Needle for yarn (Seaming & Weaving in your ends)
1 Stem: 3.5-4” per pumpkin: Realeather Craft Lace 1:8 x 4 yards, in ”Toffee”
(Optional) Hot glue or another type of glue to secure the stem
(Optional) use a stick for the stem
Gauge: 9sts x 18 rows= 4 inch square of Garter Stitch
Getting a close and accurate swatch will get you to the exact measurements given for the pattern.
Finished measurements: in inches
S: 4W x 2.25H, L: 6.5W x 3.25H
Before seaming - laid flat L = 7.5 (10)”, W = 4.5 (6)”
Stitches to Know: Standard American Terms
No abbreviations used
PATTERN
Cast on 10 (14)) sts
Row 1-30 (44): knit - 10 (14) sts
Cast off / Bind off in knit. Cut yarn leaving a 14” tail for seaming

Seaming up the pumpkin
Fold your rectangle in half lengthwise, bringing the cast on row to be behind the bind off row.
Whip stitch the edges together. 1 strand from each side keeps the seam undetectable.It will look like a tube when done.
Do not cut the yarn, continue.
Bottom of the pumpkin
Wrong side is still facing you. Needle still threaded, eave in and out along the bottom of your tube. (row edges)
Pull your yarn tight, cinching it up.Secure it with a knot. Cut yarn.
Turn it right side out.
Fill it with stuffing to a 75% capacity. 1-3 handfuls, depending on the size you’re making. It will be full but not overly stuffed. It needs to be compressible in the middle.
Top of the pumpkin:
Now using a piece of yarn 14” long, weave in and out along the top of the pumpkin.
Cinch up the top, leaving a tiny space to insert your stem later in (approx. ⅛ of an inch opening) knot the ends together. Optional, leave a larger opening if using a stick, match width. Do not cut the yarn.
Thread one tail with your needle, insert it down into the center of the pumpkin, out the other end. Repeat with the other one.
Pull the yarns tight compressing the middle. Knot the ends securing them.
Trim and hide in any remaining ends inside the pumpkin with your needle.
Leather Stem (or use a stick)
Cut a 3 ½ (4) inch piece of leather, fold it in half and place it in the center of the pumpkin.You can use glue to secure it.
Voila, you’re done!

About Me:
I was taught to knit as a little girl and it was something I instantly loved and found so calming.
On a cold and rainy English day, my Gran taught me something that would forever remind me of her.
A feeling that would ring in my head just about every time I pick up my needles. For just a moment, I am back in England with my Gran, enjoying the inside. A beautiful grey moody sky going on around me.
Contact
Instagram @whistleandwool
Ravelry- Whistle and Wool
Email: whistleandwool@gmail.com