Fade Into You Shawl

Available as a kit, PDF and FREE on the blog!
A bit of inspo behind the name:
When I had a stash of pretty leftover Color Theory skeins, I envisioned blending them all together to get that hand-dyed yarn faded look! Some blend as if they melted into one another and others popped against the next skein bringing some fun to the fade. I could honestly just keep making these!! The beautiful edging that’s as easy as slipping stitches and pairing up fun combos never gets old! The ease of adding rows to this felt incredibly relaxing and I was able to tote this with me everywhere and just pick it back up knowing exactly where I was! I hope you get lulled into relaxation with this one as much as I did!
I’m so excited to announce this design is available as a kit with Lion Brand Yarn! I love when I can offer you a kit on a design because this kit comes with so many benefits. First, the pattern is included free, and secondly, you can change up the colorways to really customize yours or you can have the colors I used already selected so you can match me. :)
I also wanted to say thank you so much for any of my designs you may have or will purchase as a kit! Your support means so much to me and every kit you get makes me able to keep collabing with LB, which I hold so dear! This yarn is over all my warmer months favorite. It’s silky soft, warm and lightweight!

Get the kit!
Pick your own color inspo and receive the digital PDF free!
CONSTRUCTION: This one was sooooo easy! The i cord edging practically makes itself, it was the easist to add yet it looks like we put in all this extra work (I love that kinda pay off). WIth a soothing garter, worked bottom up and adding increases with a simple kfb, it all starts to take shape all while we get lulled into relaxtion with every throw of the yarn! Yarn is held double throuhout so not only do we get a squishy final product but were able to blend yarns together mimicing a hand dyed yarn type of fade.
SIZE CHANGES: If you want a longer/wider shawl, just keep working your repeats and adding yarn. The colorblocks per skein will get thinner towards the top due to the width using more yarn, so you can use 2 skeins of the same color at points (like I did with Satellite) to add a bigger colorblock as you go.
HOW TO GET THE PDF ONLY:
I hope you love this new design! I also have this available as a printable PDF to work on at your leisure! You can shop my Ravelry or Etsy, whichever storefront you prefer!

Get the printable version
Ravelry PDF

Get the Pattern
Shop ETSY

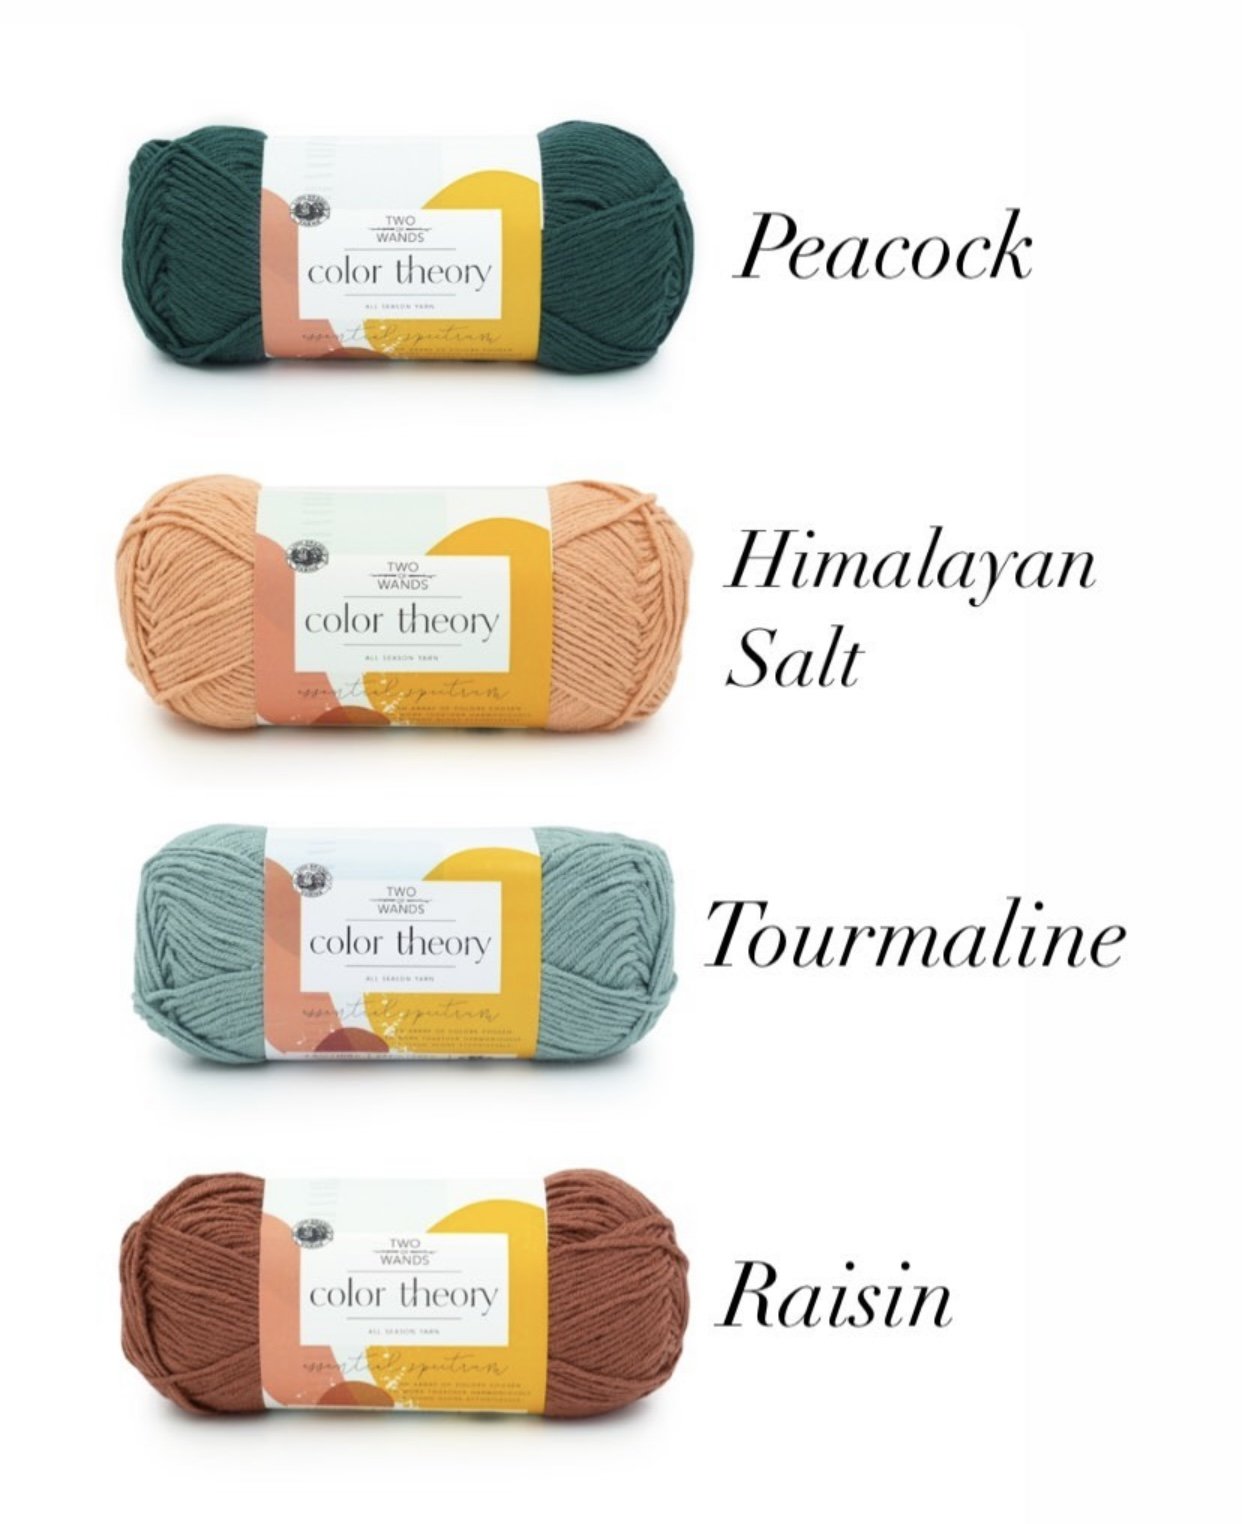
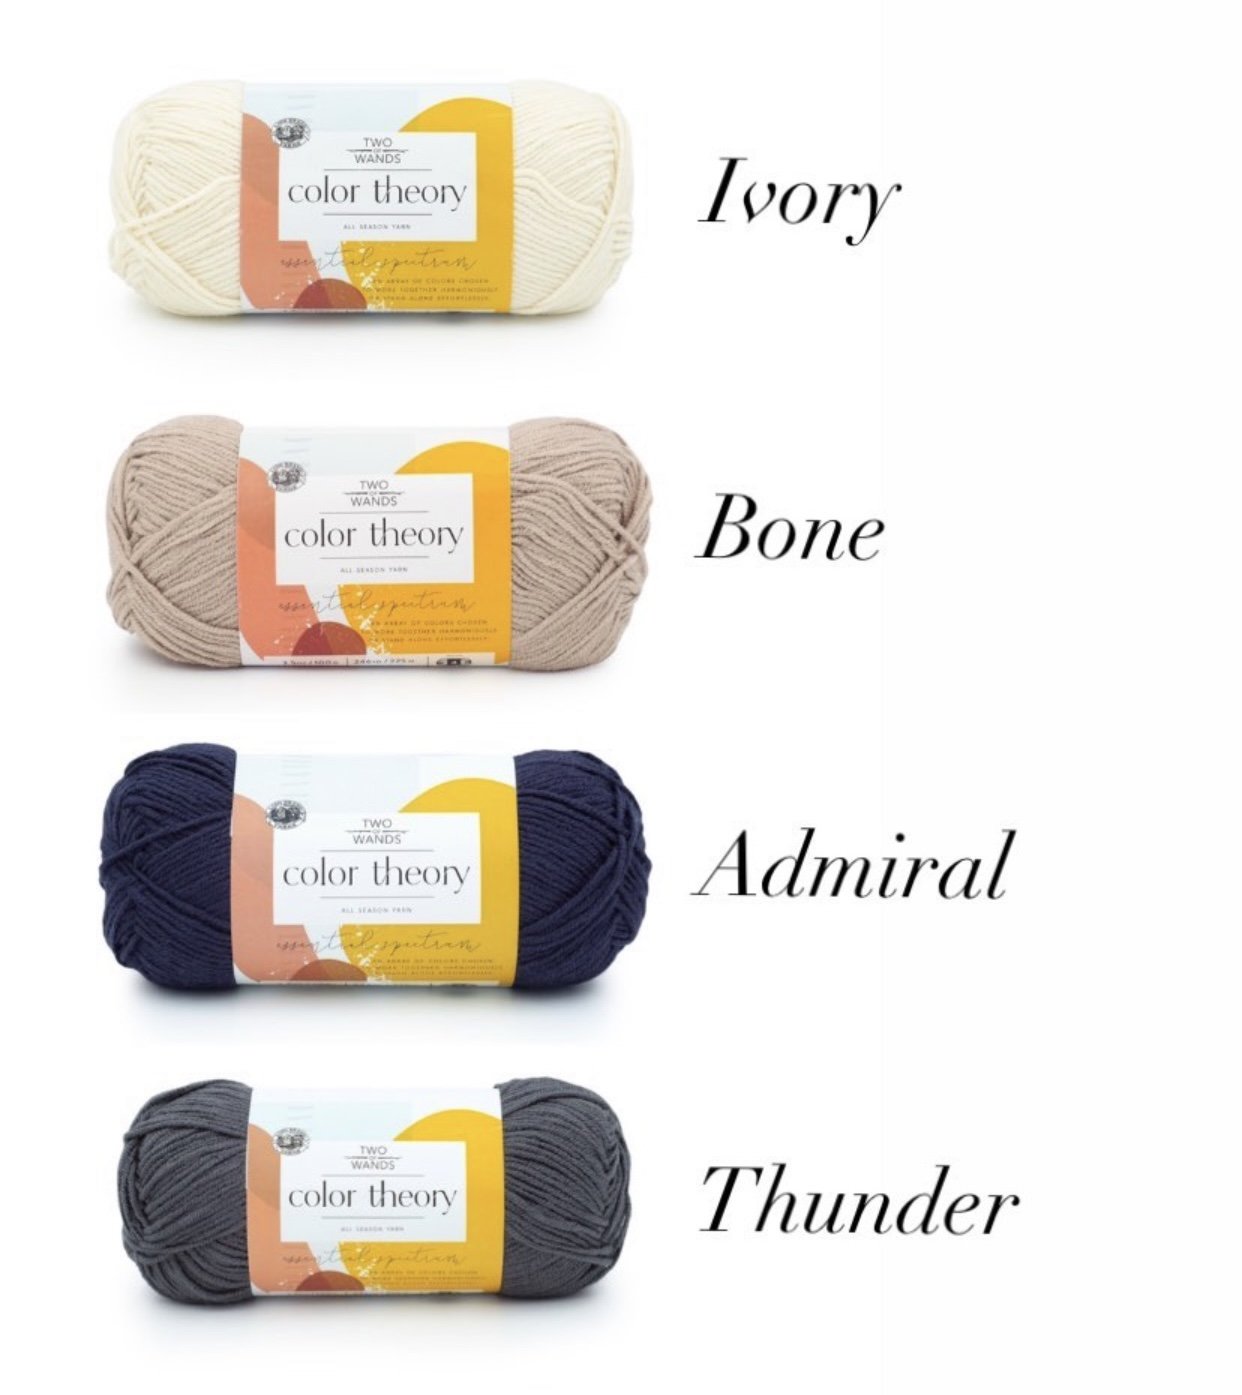
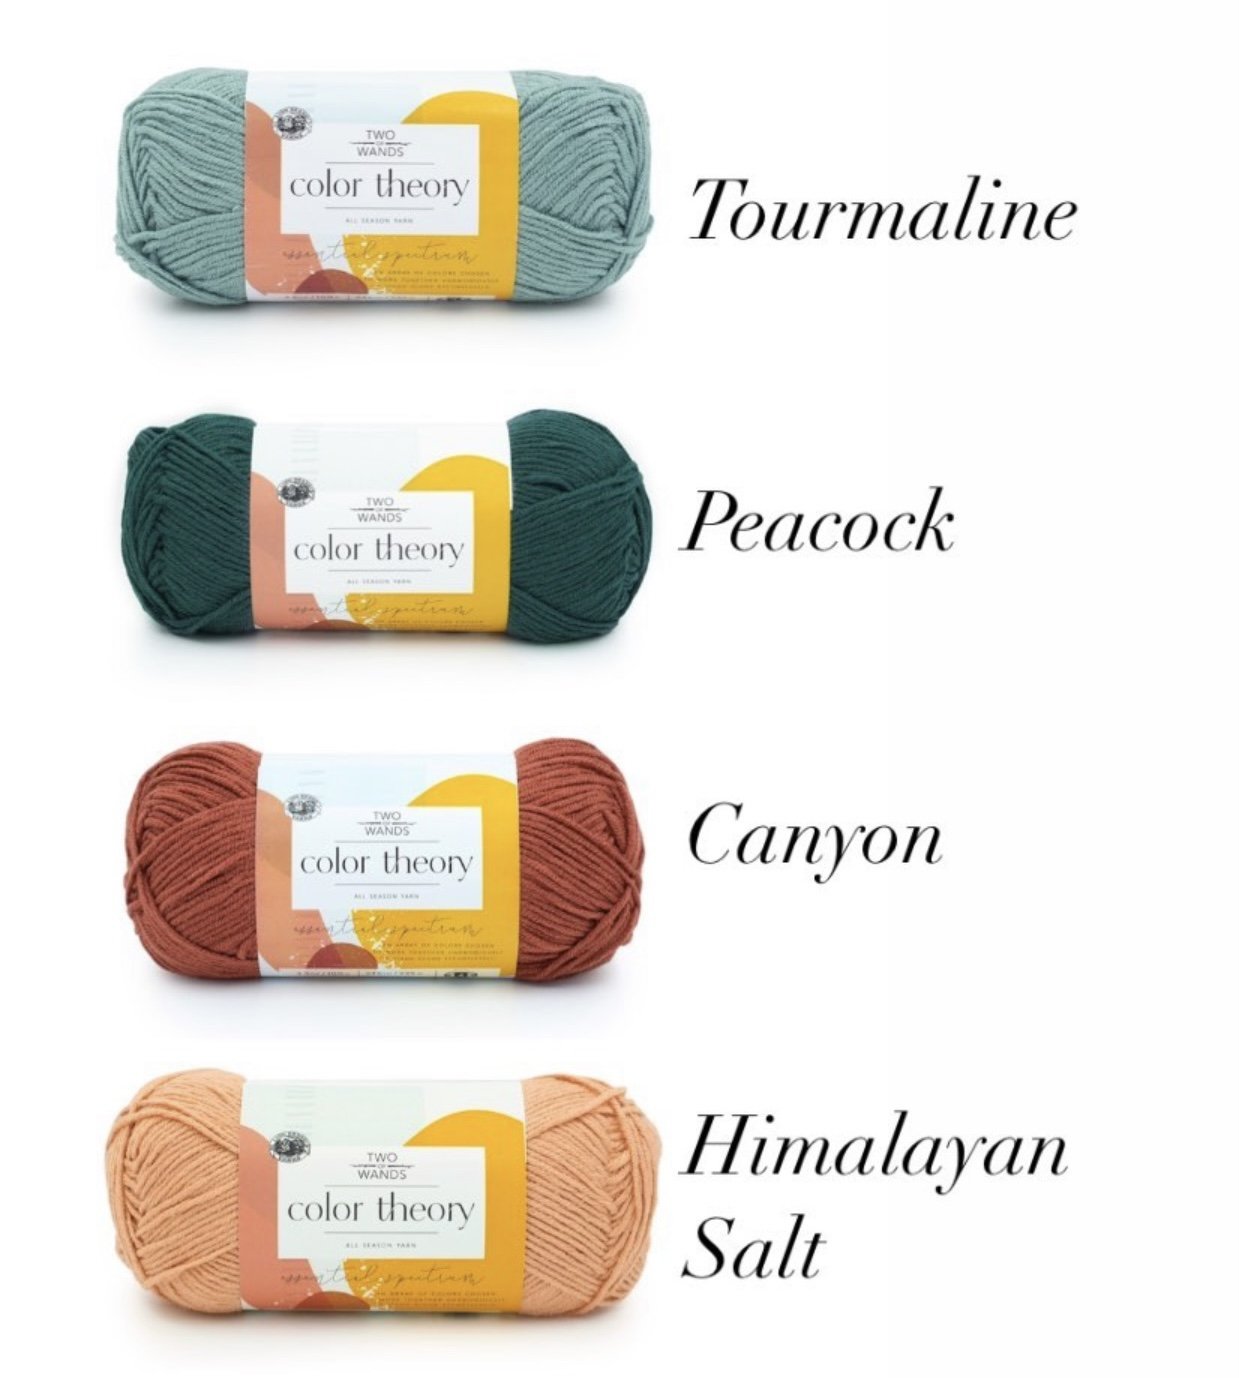
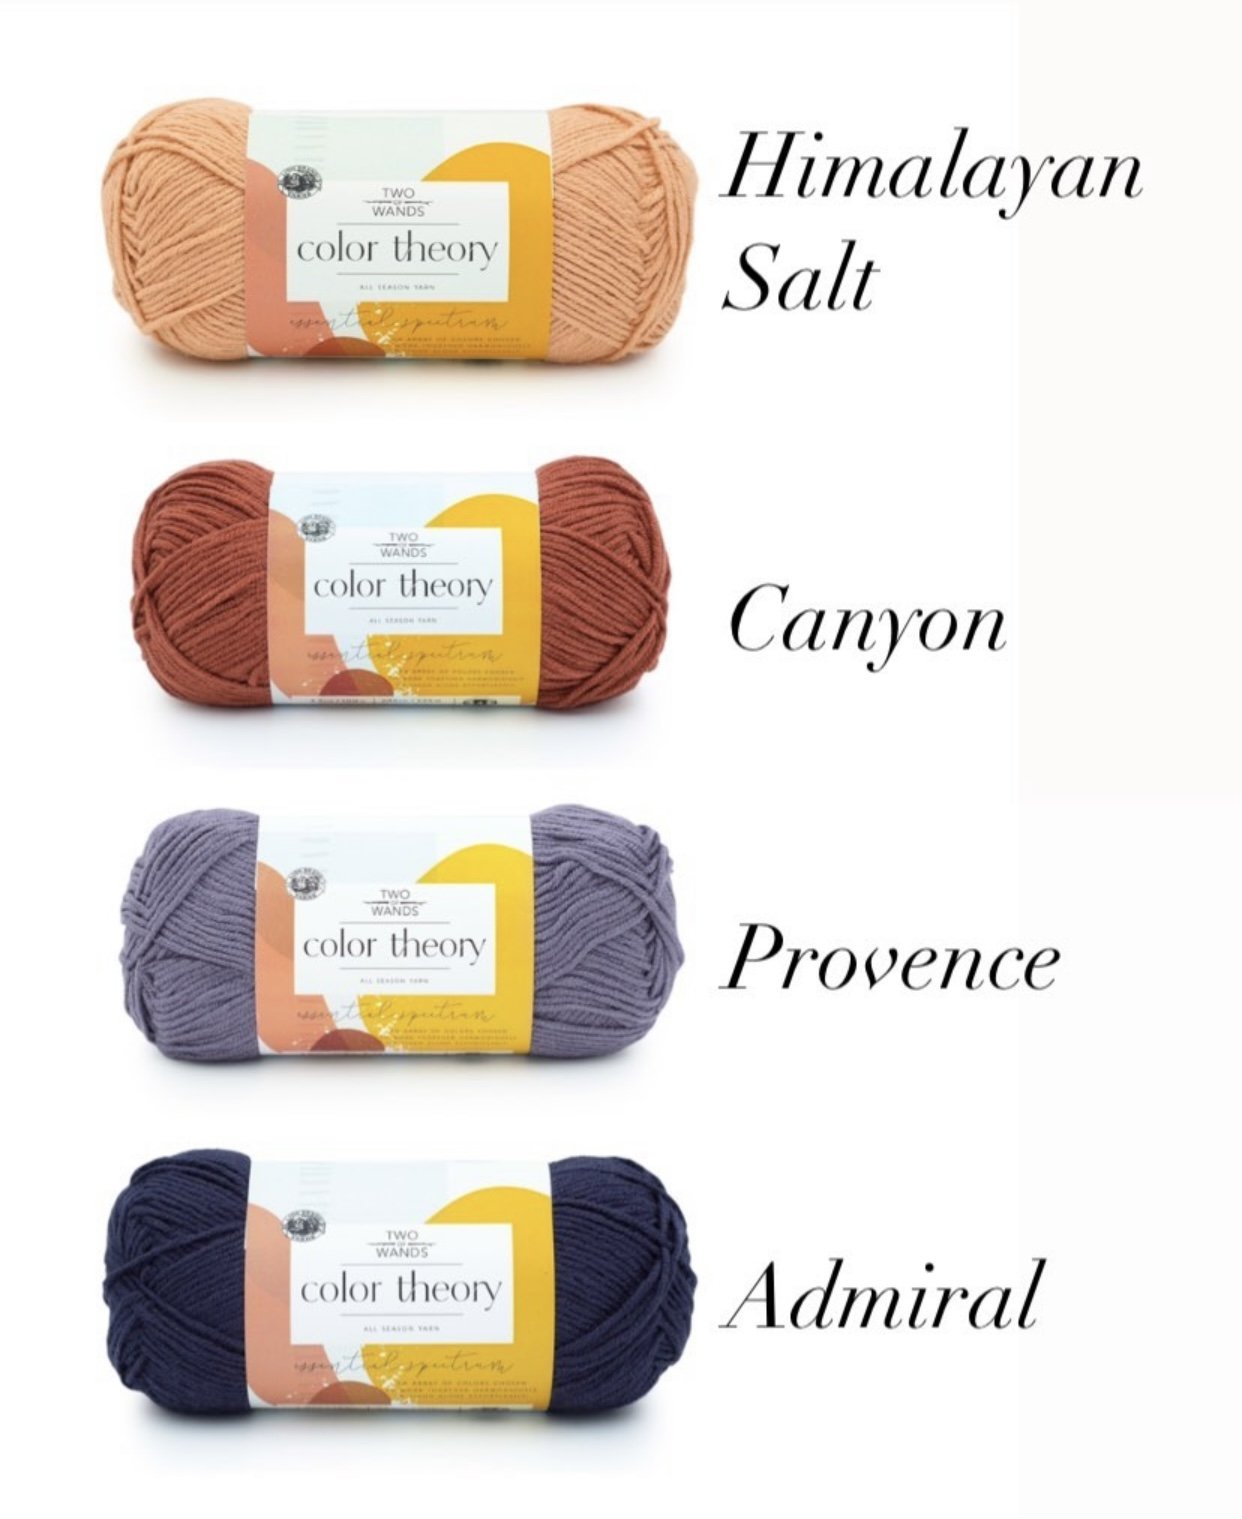
Here are a few samples of color pairing I’ve loved since I made my Cirrus Wrap. I doubled up my grey color “Sattelite” on my “Fade Into You Shawl” to get a thicker colorblock fade on that one, so remember you’ll be using one of these middle colors twice. I also recommend using these inspos to throw in 2 extra skeins of a nuetral in the beginning for a sublte fade into your bolder colors, or a pop of color at the end if the combo already begins with a nuetral like the 2nd pic. For example, on PIc 2, you could add 2 shades of purple on the end, or perhaps a yellow and green to fade into one another for a pop of fun! Let these inspire you to add 2 of your own and know they’ll turn out gorgeous and really make this shawl the item you reach for everytime you need that extra layer!
Happy knitting! It’s quick and easy to make and most importantly COZY!
PATTERN
METHOD
Knitting
DIFFICULTY
Beginner
SIZES
One Size
DESCRIPTION
An easy project to blend favorite skeins and create a fade that is as comfy to wear as it is enjoyable to knit!! The details elevate its look all while keeping it beginner friendly!!
YARN
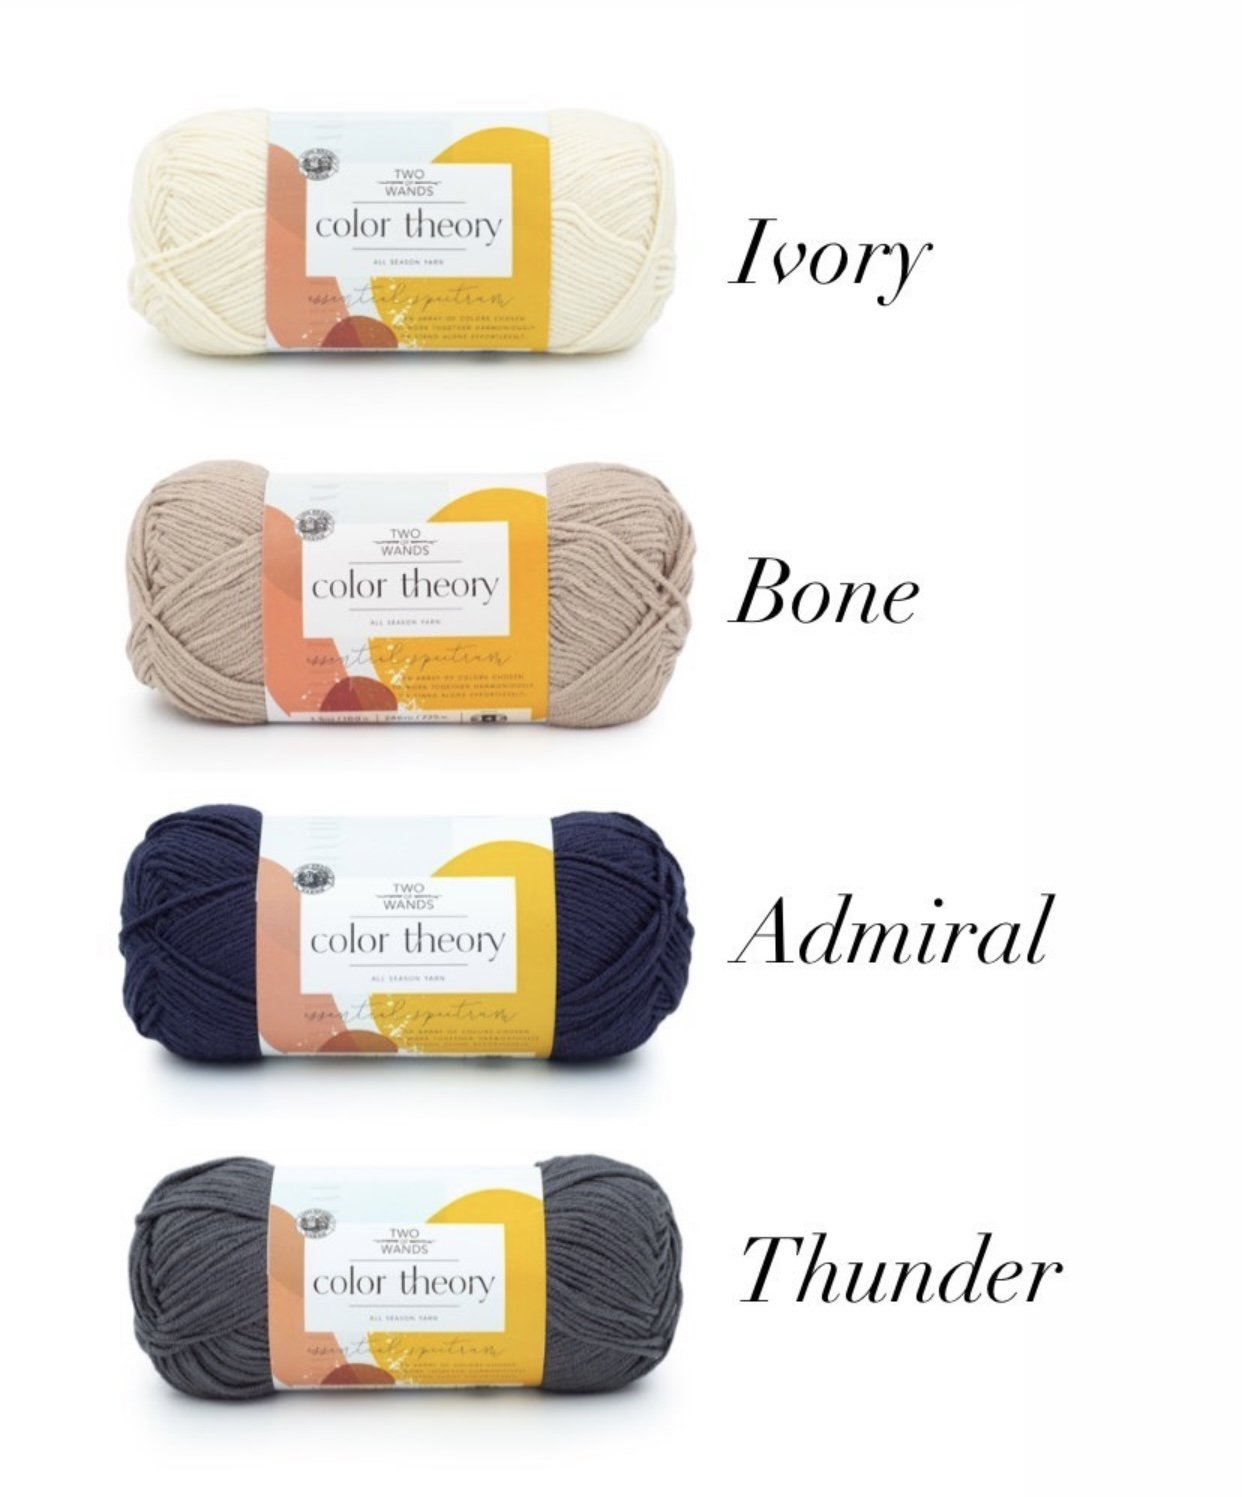
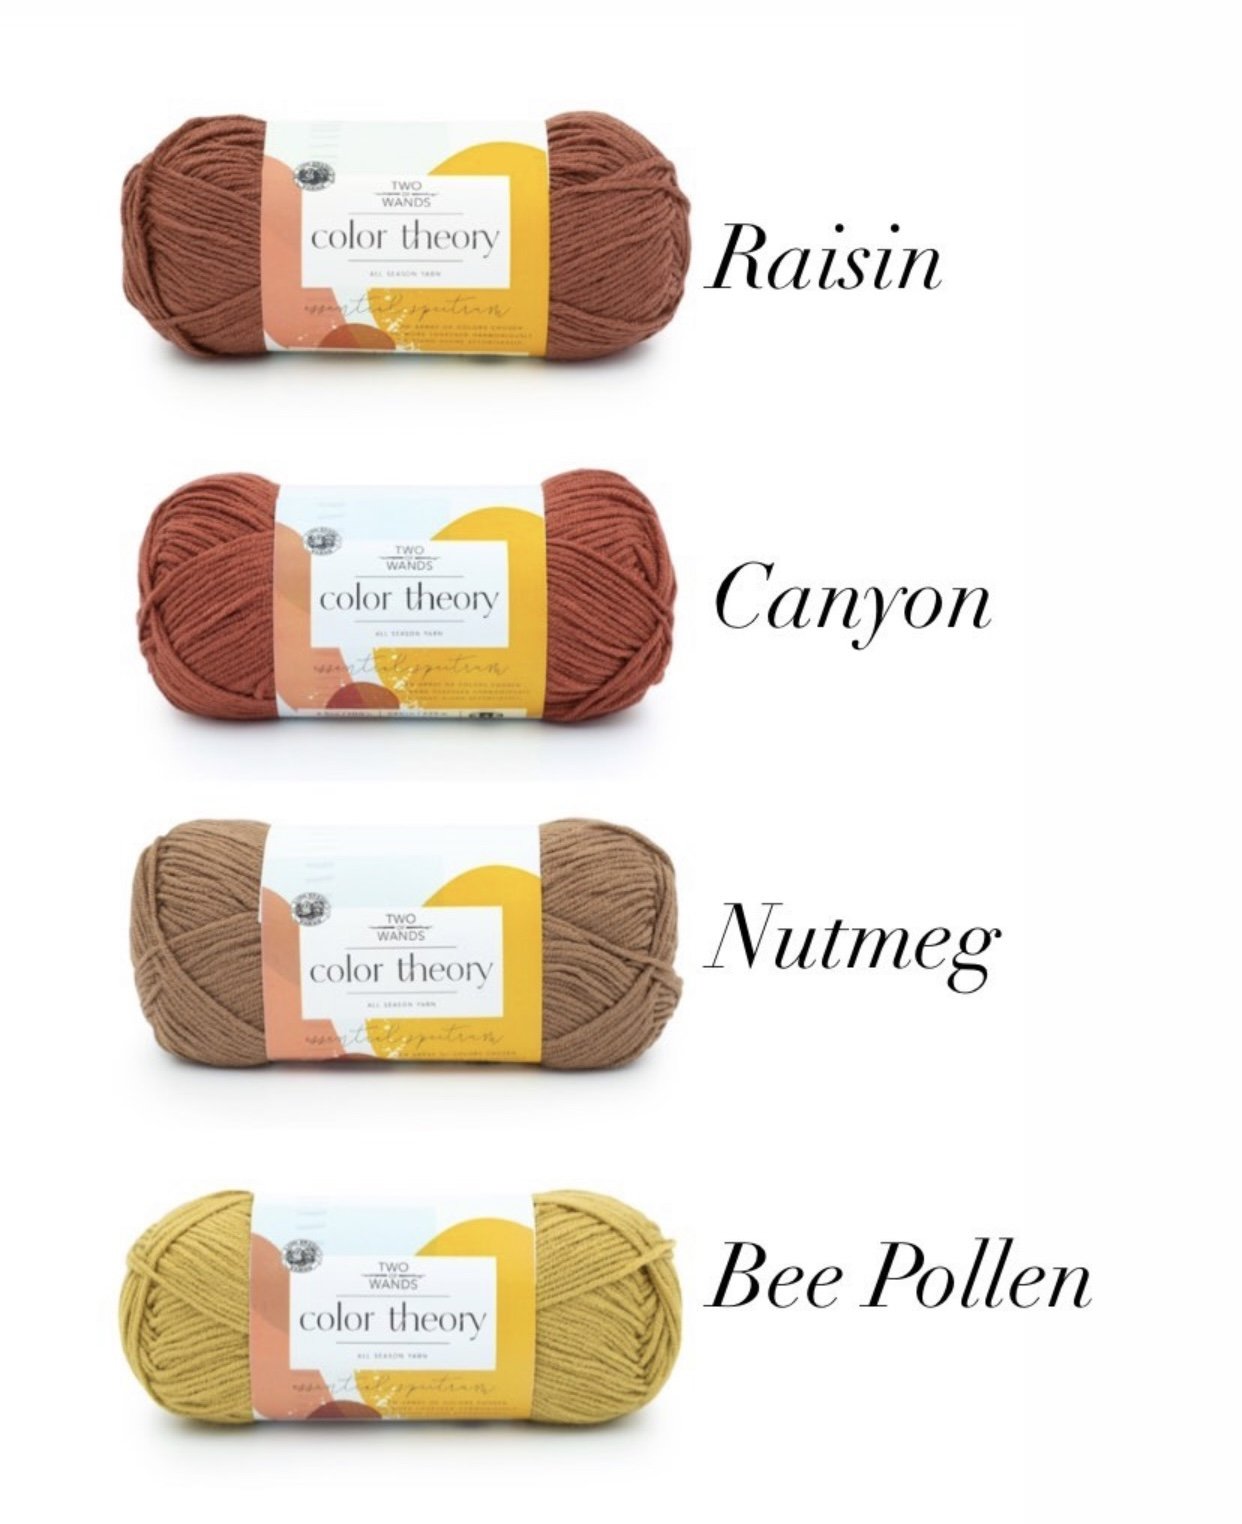
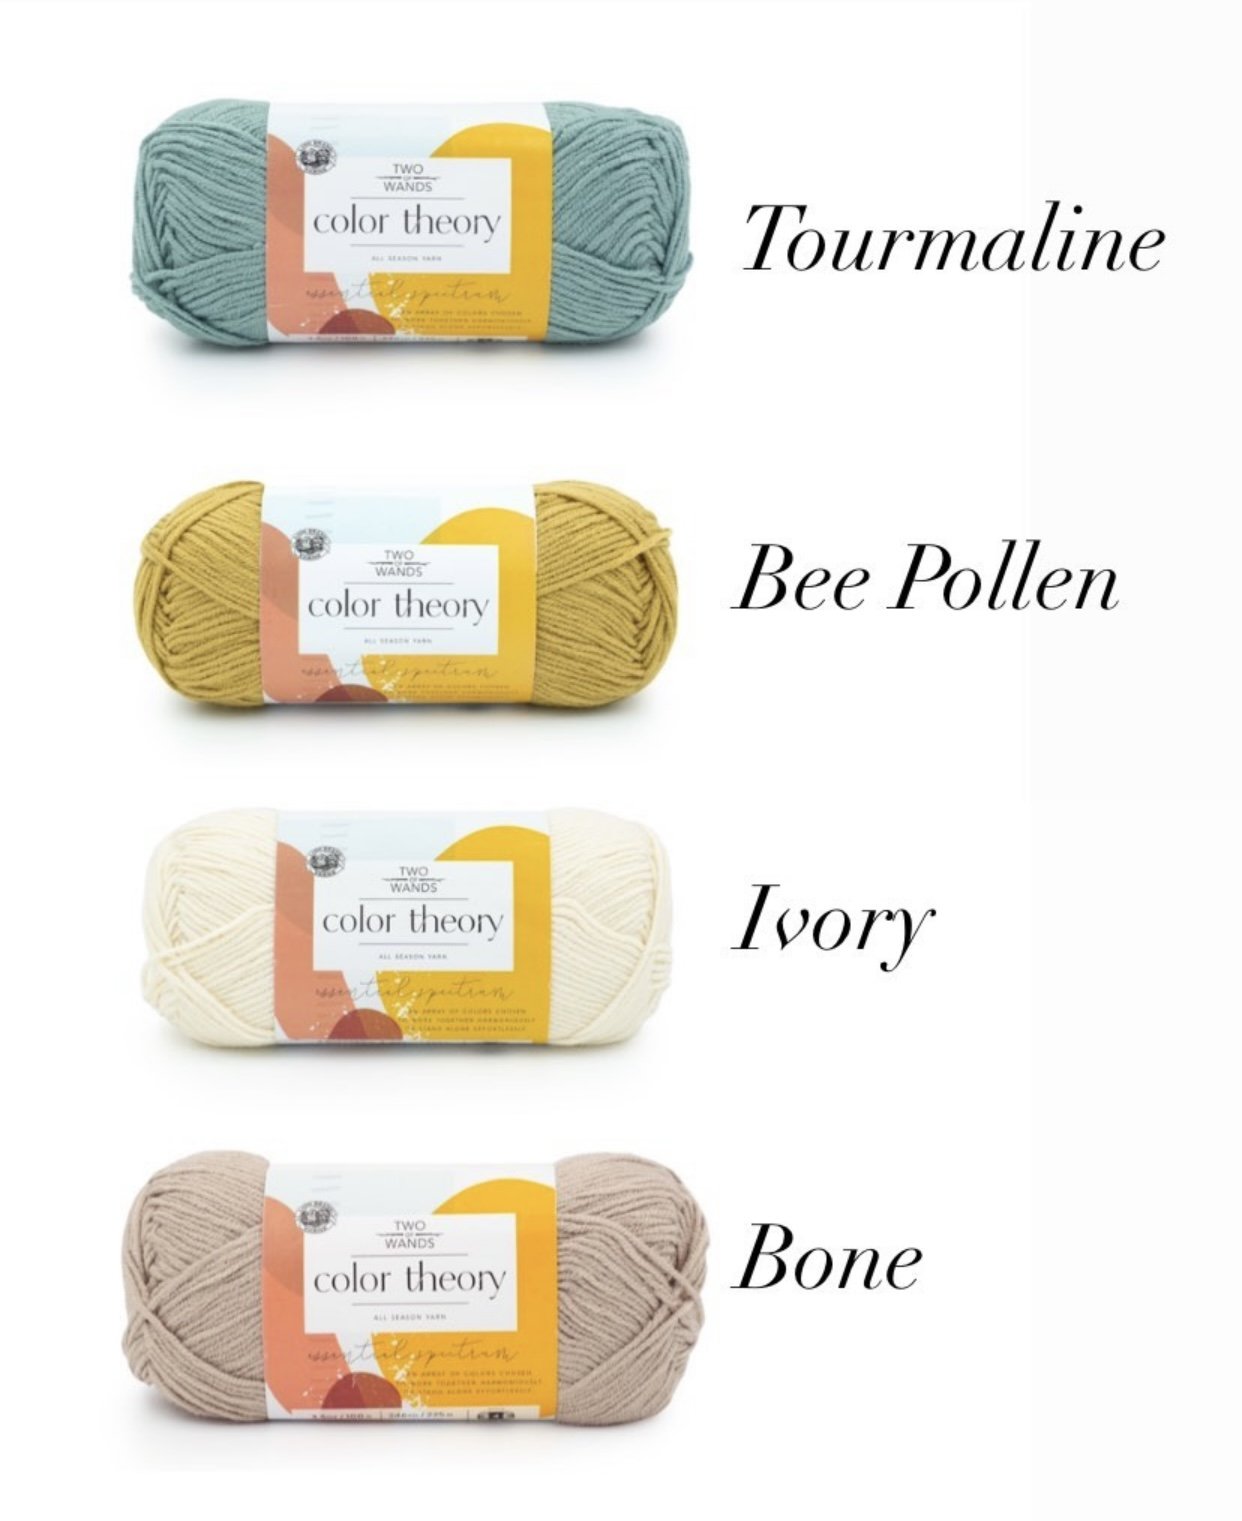
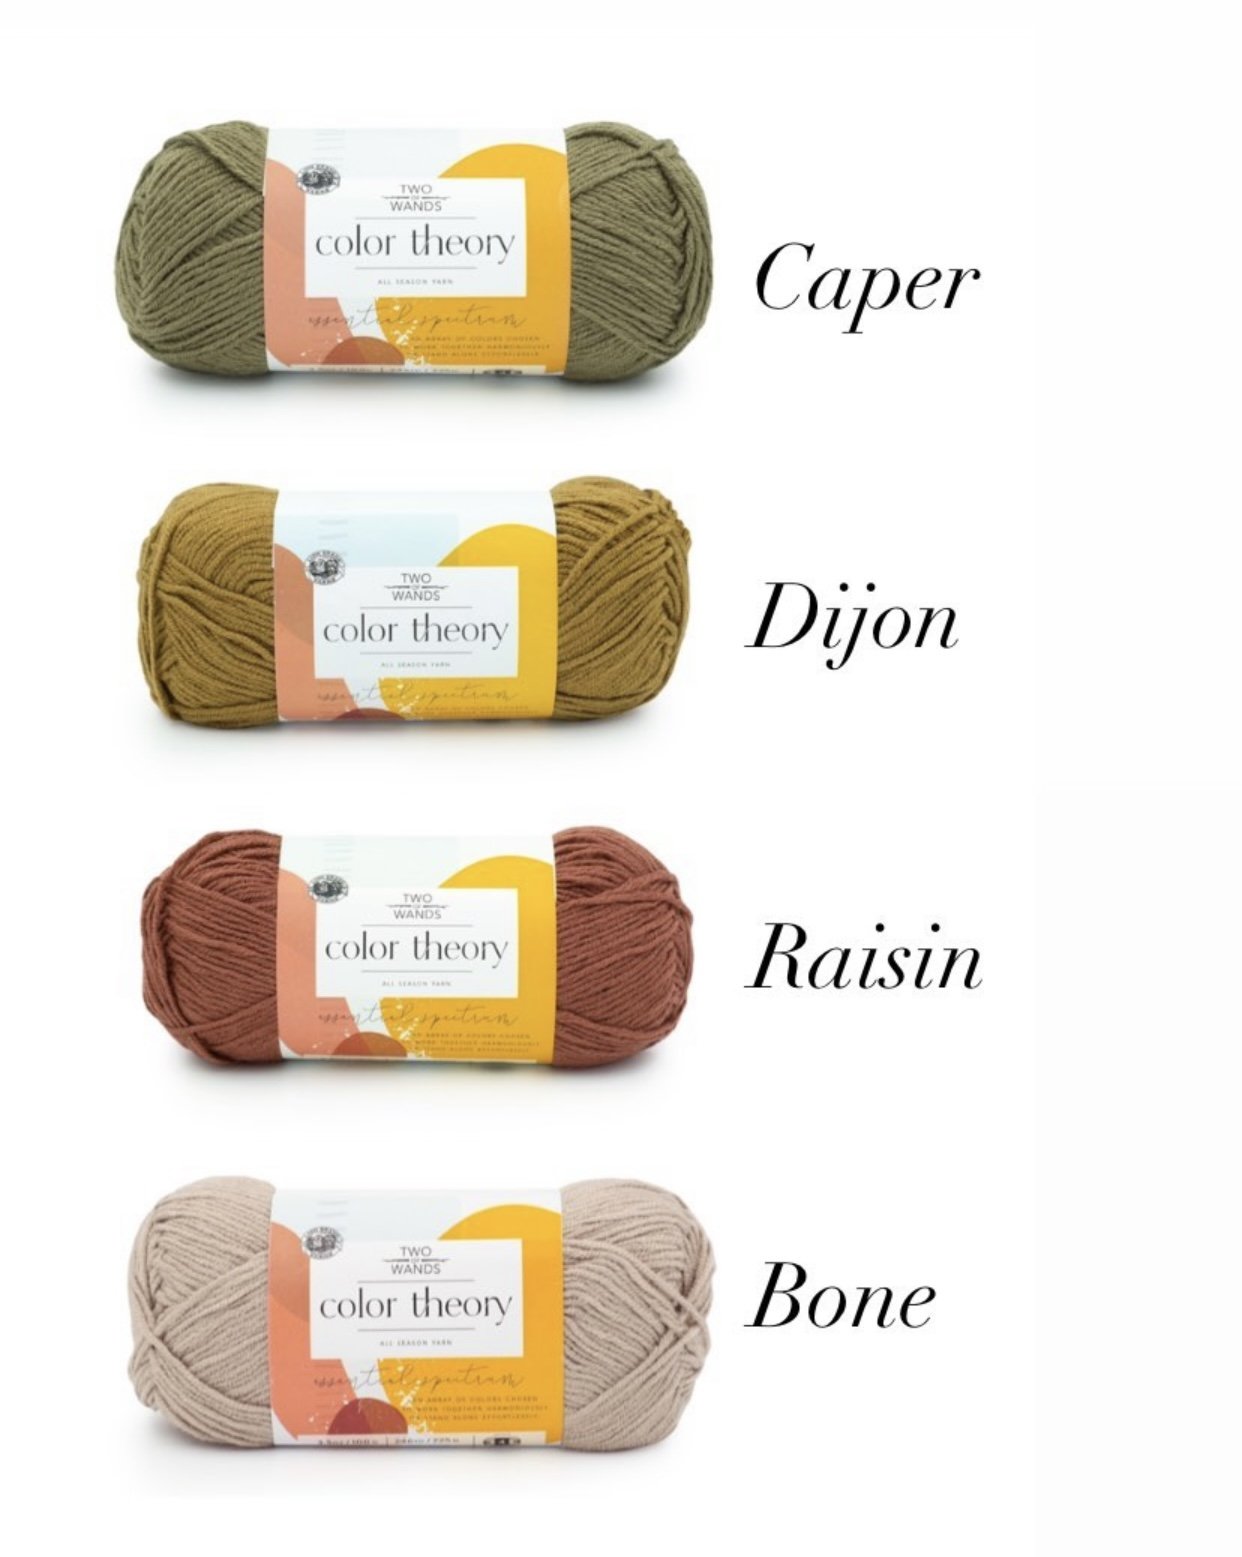
Lion Brand Yarn, Color Theory, 3.5oz, 246yd, #4, 100% Acrylic
A, Ivory - 1
B, Bone - 1
C, Bee Pollen - 1
D, Satellite - 2
E, Tourmaline - 1
F, Stonewash - 1
NEEDLES
Worked Flat. Addi Turbo Circulars, US 10 (6 mm), 20in interchangeable cord to fit the stitches
NOTIONS
Yarn Needle, 2 Stitch Markers
GAUGE
(Blocked) = yarn doubled
13sts x 22rows = 4” of Garter Stitch
*Matching stitches per inch will get your width to match.
Thank you so much for your shop support! I hope you love it! Contact me for any help or questions you might have along the way.
**This Pattern is a copyright of Whistle and Wool© so you may not copy, alter, adjust, share, record, redistribute or resell my Pattern. No tutorials or any kind of demonstrations may be made using any information contained in my Pattern. I do not mind if you wish to sell a completed HANDMADE item and you are a small independently owned business, however, you do not have permission to use ANY of my photos. If you do sell a completed item, please list credit of the design belonging to me, Whistle and Wool and a link to my shop. www.WhistleandWool.etsy.com
NOTES:
Once you start the pattern you may need to work about 15 rows to see the point taking shape with the I-Cord detail. As long as you’re slipping sts pw, yif when instructed you’ll be fine.
Yarn is held double throughout. On the faded sections (eg A+B) you’ll drop one strand of A, pick up one strand of B, and work A+B together, yarn doubled. When you get to Color B doubled, drop your strand of A, and now work with two strands of B.
I worked from the same skein when working doubled. For example, when working Color A doubled, I knit with the strand from the center of the skein and outside at the same time.
My yarn didn’t twist with this method and if you get a twist here and there you should notice it with the texture.
I used a M for easy tracking on the increase rows to help mark the RS, increase side, and when to increase.
I-cord edging is created by slipping sts on the end of each row and knitting them at the beginning of the next row. It’s that easy!
Gauge is flexible on this one. Sts per inch will affect your width; row height will affect total length.
If you have extra yarn and want to add more rows per section for an overall longer shawl, you definitely can do that. I always switched yarns on the RS, Increase Row.
GAUGE:
**Please check your gauge before you start this Pattern to match the finished measurements:
It’s best to make your swatch slightly bigger than what the pattern states it should measure, so you can measure it in the center of your square, getting an accurate reading. You can do this by adding 2 additional stitches and working 2 additional rows. Do not count the first and last stitch in your measurement or the first and last row.
Needle Size Suggestions:
If your swatch has less stitches, swatch again using a smaller needle.
If your swatch has more stitches, swatch again using a larger needle.
Finished measurements (in inches) will stretch when worn
Widest Point
30.5”
Length
68”
Stitches to Know
inc Increase
k Knit
kfb Knit into the front and back of the stitch for an increase Knitwise
M Stitch Marker
PM Place Marker
pw Purl Wise
slip Slip the stitches (pw)
SM Slip Marker
sts Stitch(es)
RS Right side of the project
yif Yarn in front
PATTERN
Cast on
6 sts in Color A doubled
NOTE: Throughout the pattern sts are slipped pw with the yif
Row 1: (RS) K3, PM, slip 3 sts - (6 sts)
Row 2-4: K3, SM, slip 3 sts
Row 5: K2, kfb, SM, slip 3 sts - (7 sts)
Row 6-10: (SM as you come to it throughout the pattern) Knit till last 3 sts, slip 3 sts
Row 11: Knit till st before M, kfb, SM, slip 3 sts - (8 sts)
Row 12-14: Knit till last 3 sts, slip 3 sts
Row 15: (Inc) Repeat Row 11 - (9 sts)
Row 16-20: Repeat Row 12
Row 21: (Inc) Repeat Row 11 - (10 sts)
Row 22-24: Repeat Row 12
Row 25: (Inc) Repeat Row 11 - (11 sts)
Row 26-30: Repeat Row 12
Row 31: (Inc) Knit till st before M, kfb, SM, slip 3 sts - (12 sts)
Row 32-34: Knit till last 3 sts, slip 3 sts
Row 35-62: Repeat Row 31-34 (1 Inc row followed by 3 non Inc rows)- (19 sts)
Row 63: (Inc) Repeat Row 31 - (20 sts)
Row 64-70: Repeat Row 32
Row 71-98: Repeat Row 31-34 - (27 sts)
Row 99: (Inc) Repeat Row 31 - (28 sts)
Row 100-106: Repeat Row 32
Row 107-114: Repeat Row 31-34 - (30 sts)
Row/Stitch counts will restart per color fade section for an easier way to track where you are
Row 1-12: Color A+B held together, Repeat Row 31-34 (used from above throughout the remaining pattern) - (33 sts)
Row 1-64: Color B doubled, Repeat Row 31-34 - (49 sts)
Row 1-8: Color B+C held together, Repeat Row 31-34 - (51 sts)
Row 1-44: Color C doubled, Repeat Row 31-34 - (62 sts)
Row 1-8: Color C+D held together, Repeat Row 31-34 - (64 sts)
Row 1-76: Color D doubled, Repeat Row 31-34 - (83 sts)
Row 1-12: Color D+E held together Repeat Row 31-34 - (86 sts)
Row 1-20: Color E doubled, Repeat Row 31-34 - (91 sts)
Row 1-12: Color E+F held together, Repeat Row 31-34 - (94 sts)
Row 1-20: Color F doubled, Repeat Row 31-34 - (99 sts)
On a RS row, bind off using an Icelandic Bind Off. See Steps below.
Weave in all ends.
How to:
Step 1: Knit 1 st.
Step 2: Slip the stitch pw back to your left needle. Do not remove from right needle.
Step 3: Insert your right needle kw into the next stitch. Slipping past that first stitch. We twisted them.
Step 4: Knit that 2nd stitch like normal, and slip them both off the needle.
Repeat Steps 2-4.
You can sub any of your favorite bind offs as preferred, I chose this one because it is nice and stretchy for when you wrap this around you, and it’s almost undetectable giving this a lovely free edge.