
My Favorite Throw-crochet pattern
I’m so excited to announce that the “My Favorite Throw” now has a crochet dupe for all of my crochet lovers!!!

NEW - Available as a kit today!
Do you remember me blogging about this last Spring with my knit version? If not that’s okay, let me tell you all about this design idea. What I love about the knit and crochet version of “My Favorite Throw” and the meaning behind its name is that you can create your favorite fade!
Favorite colors, favorite Seasonal Tones, the list goes on!
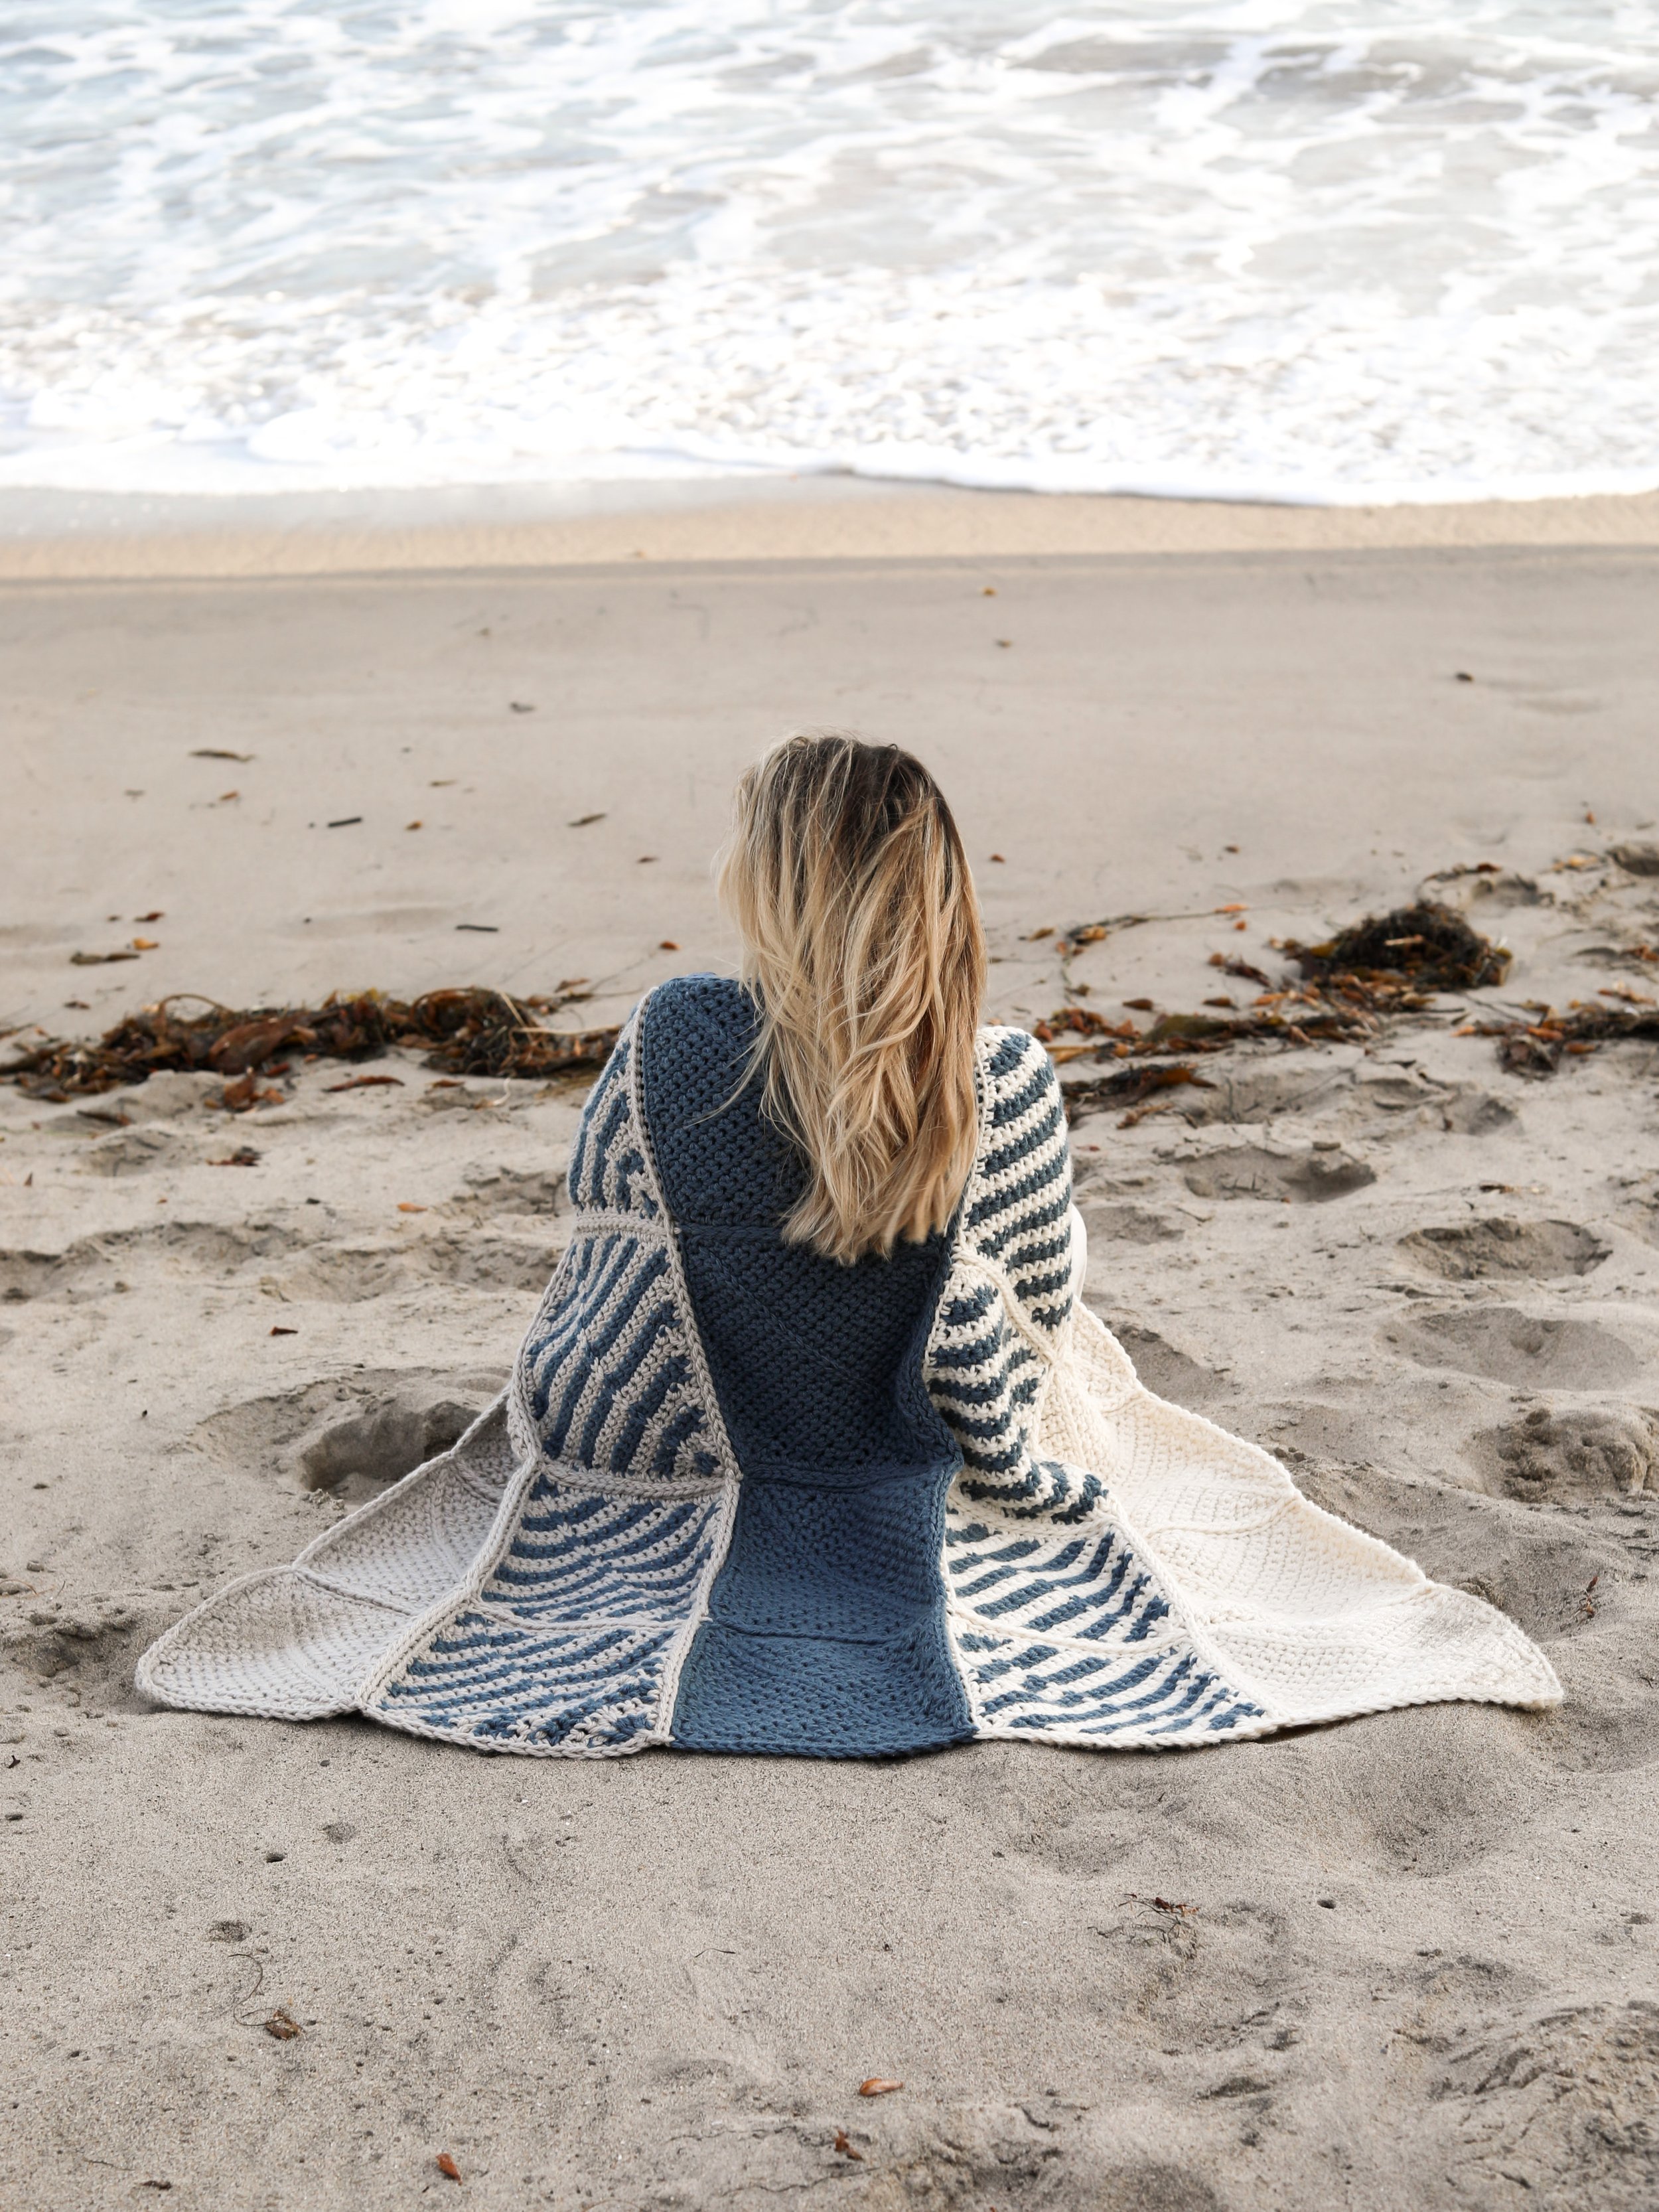
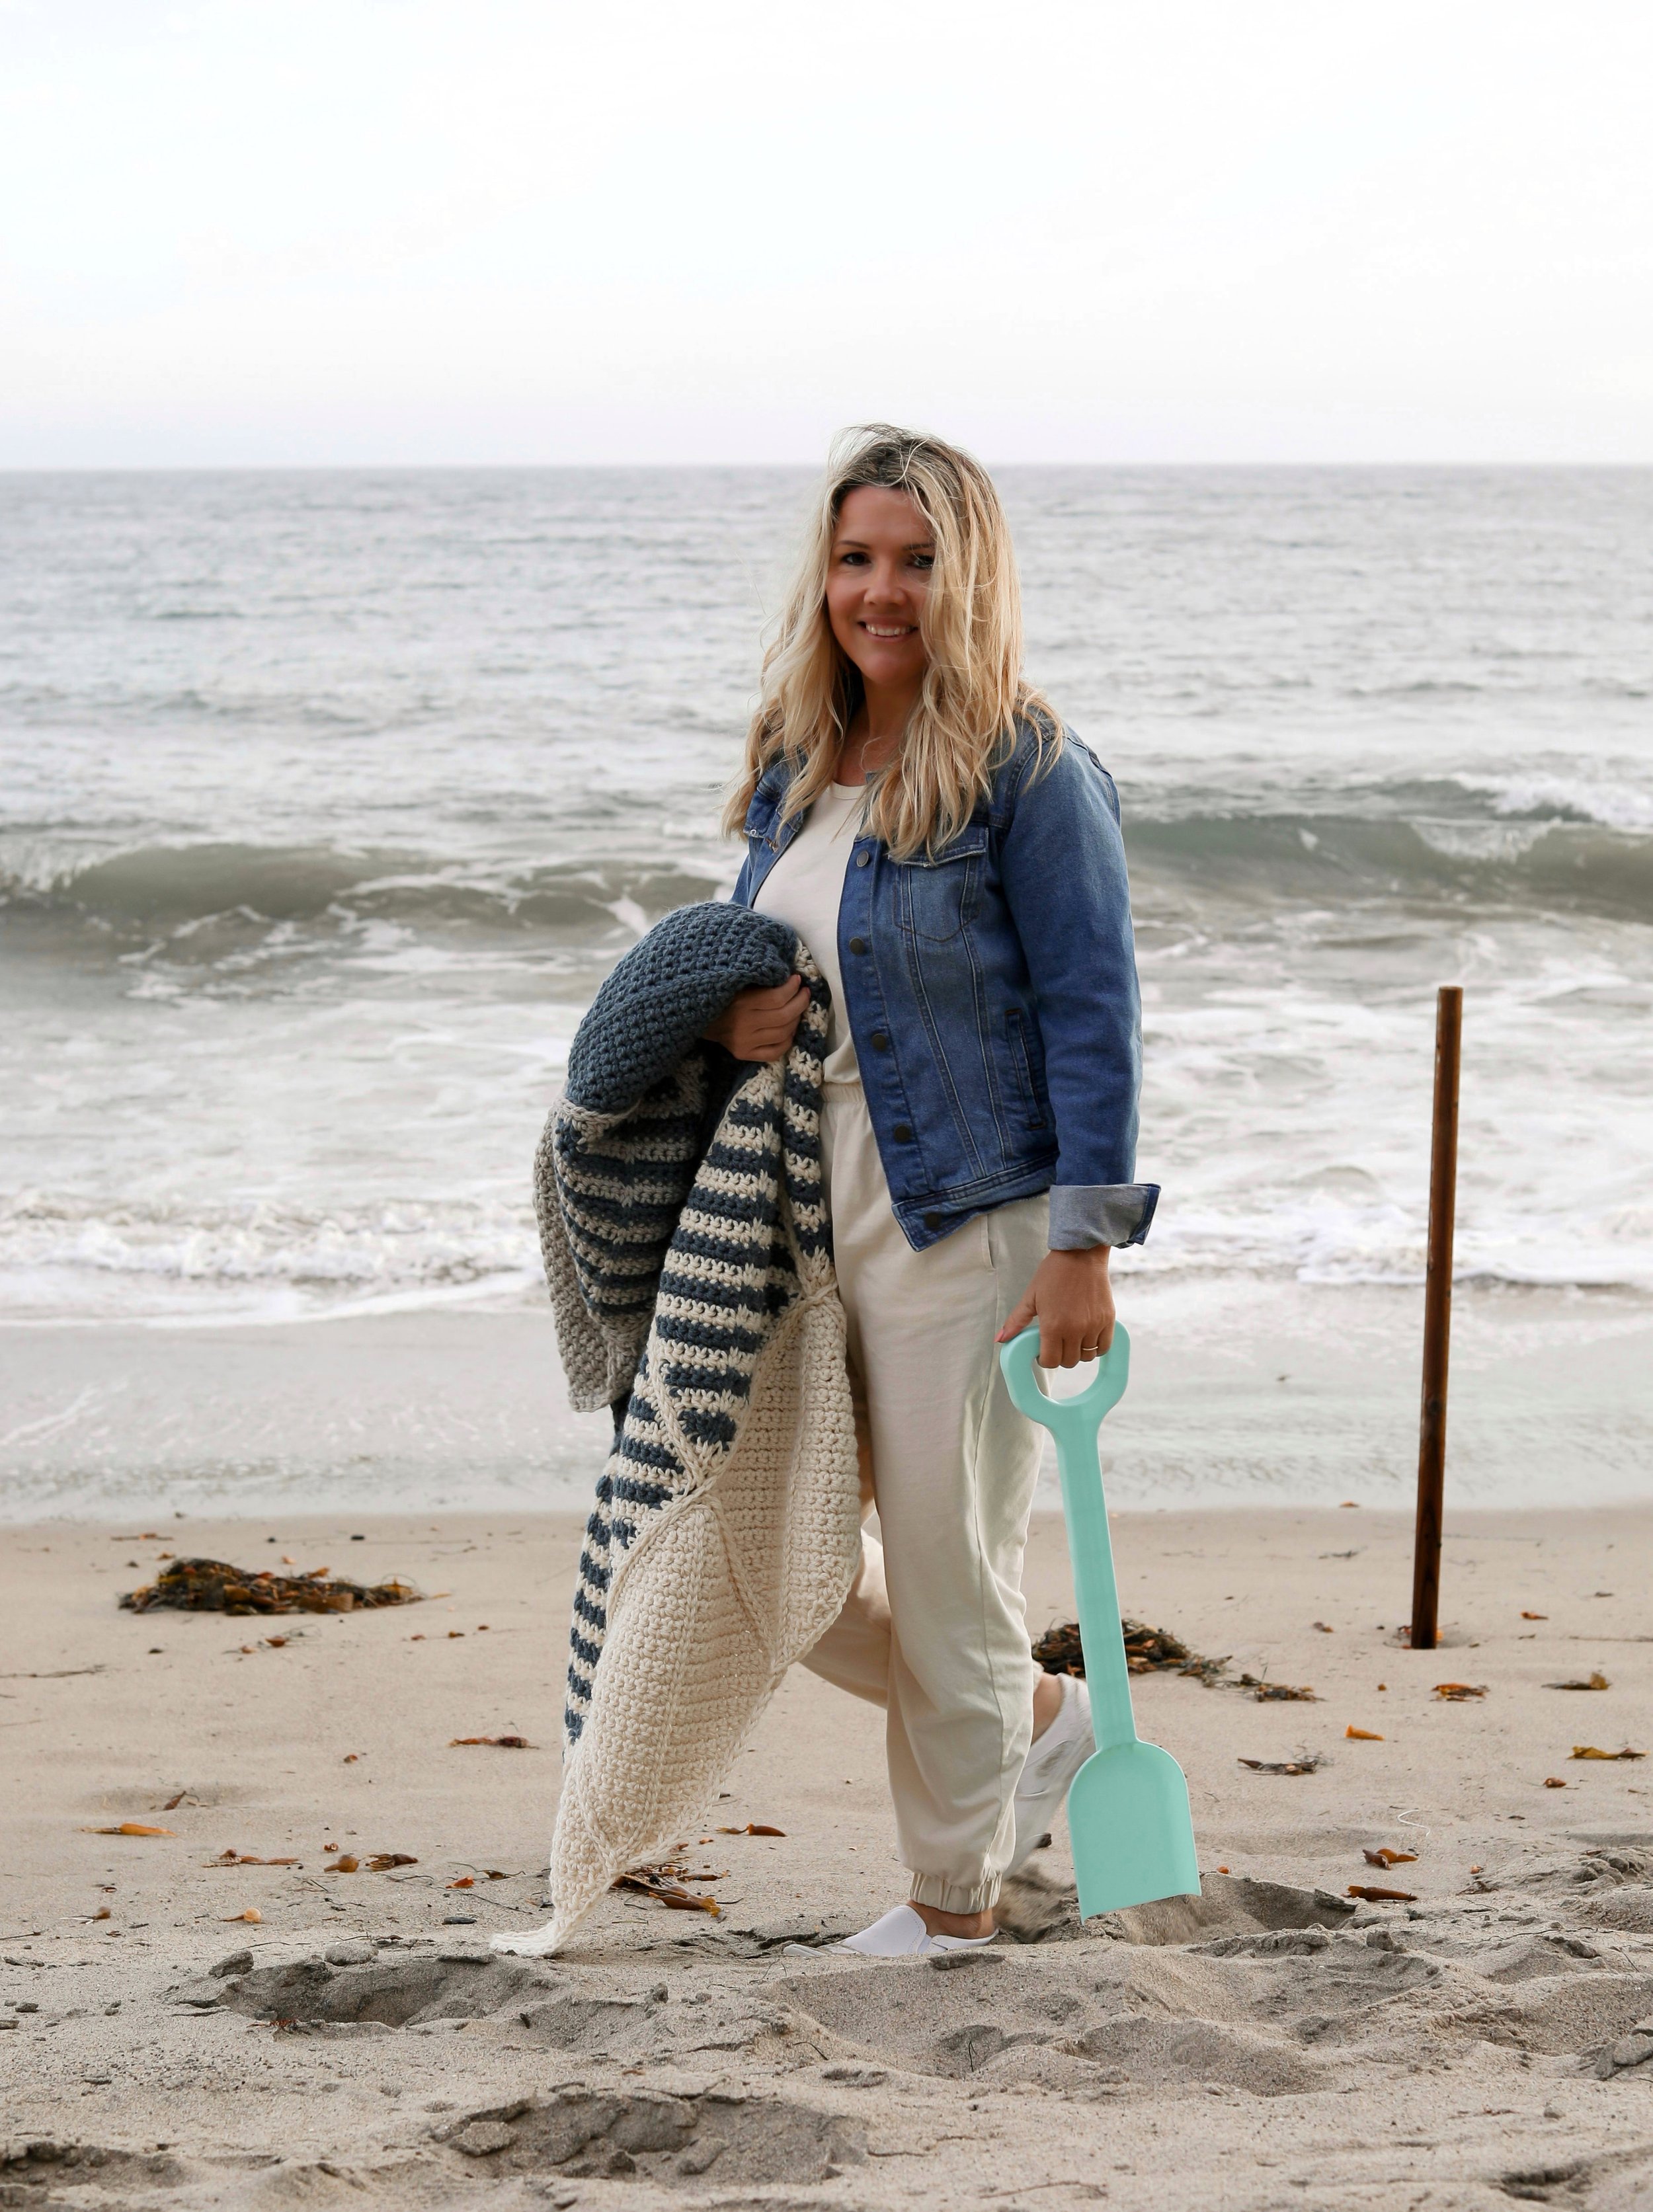
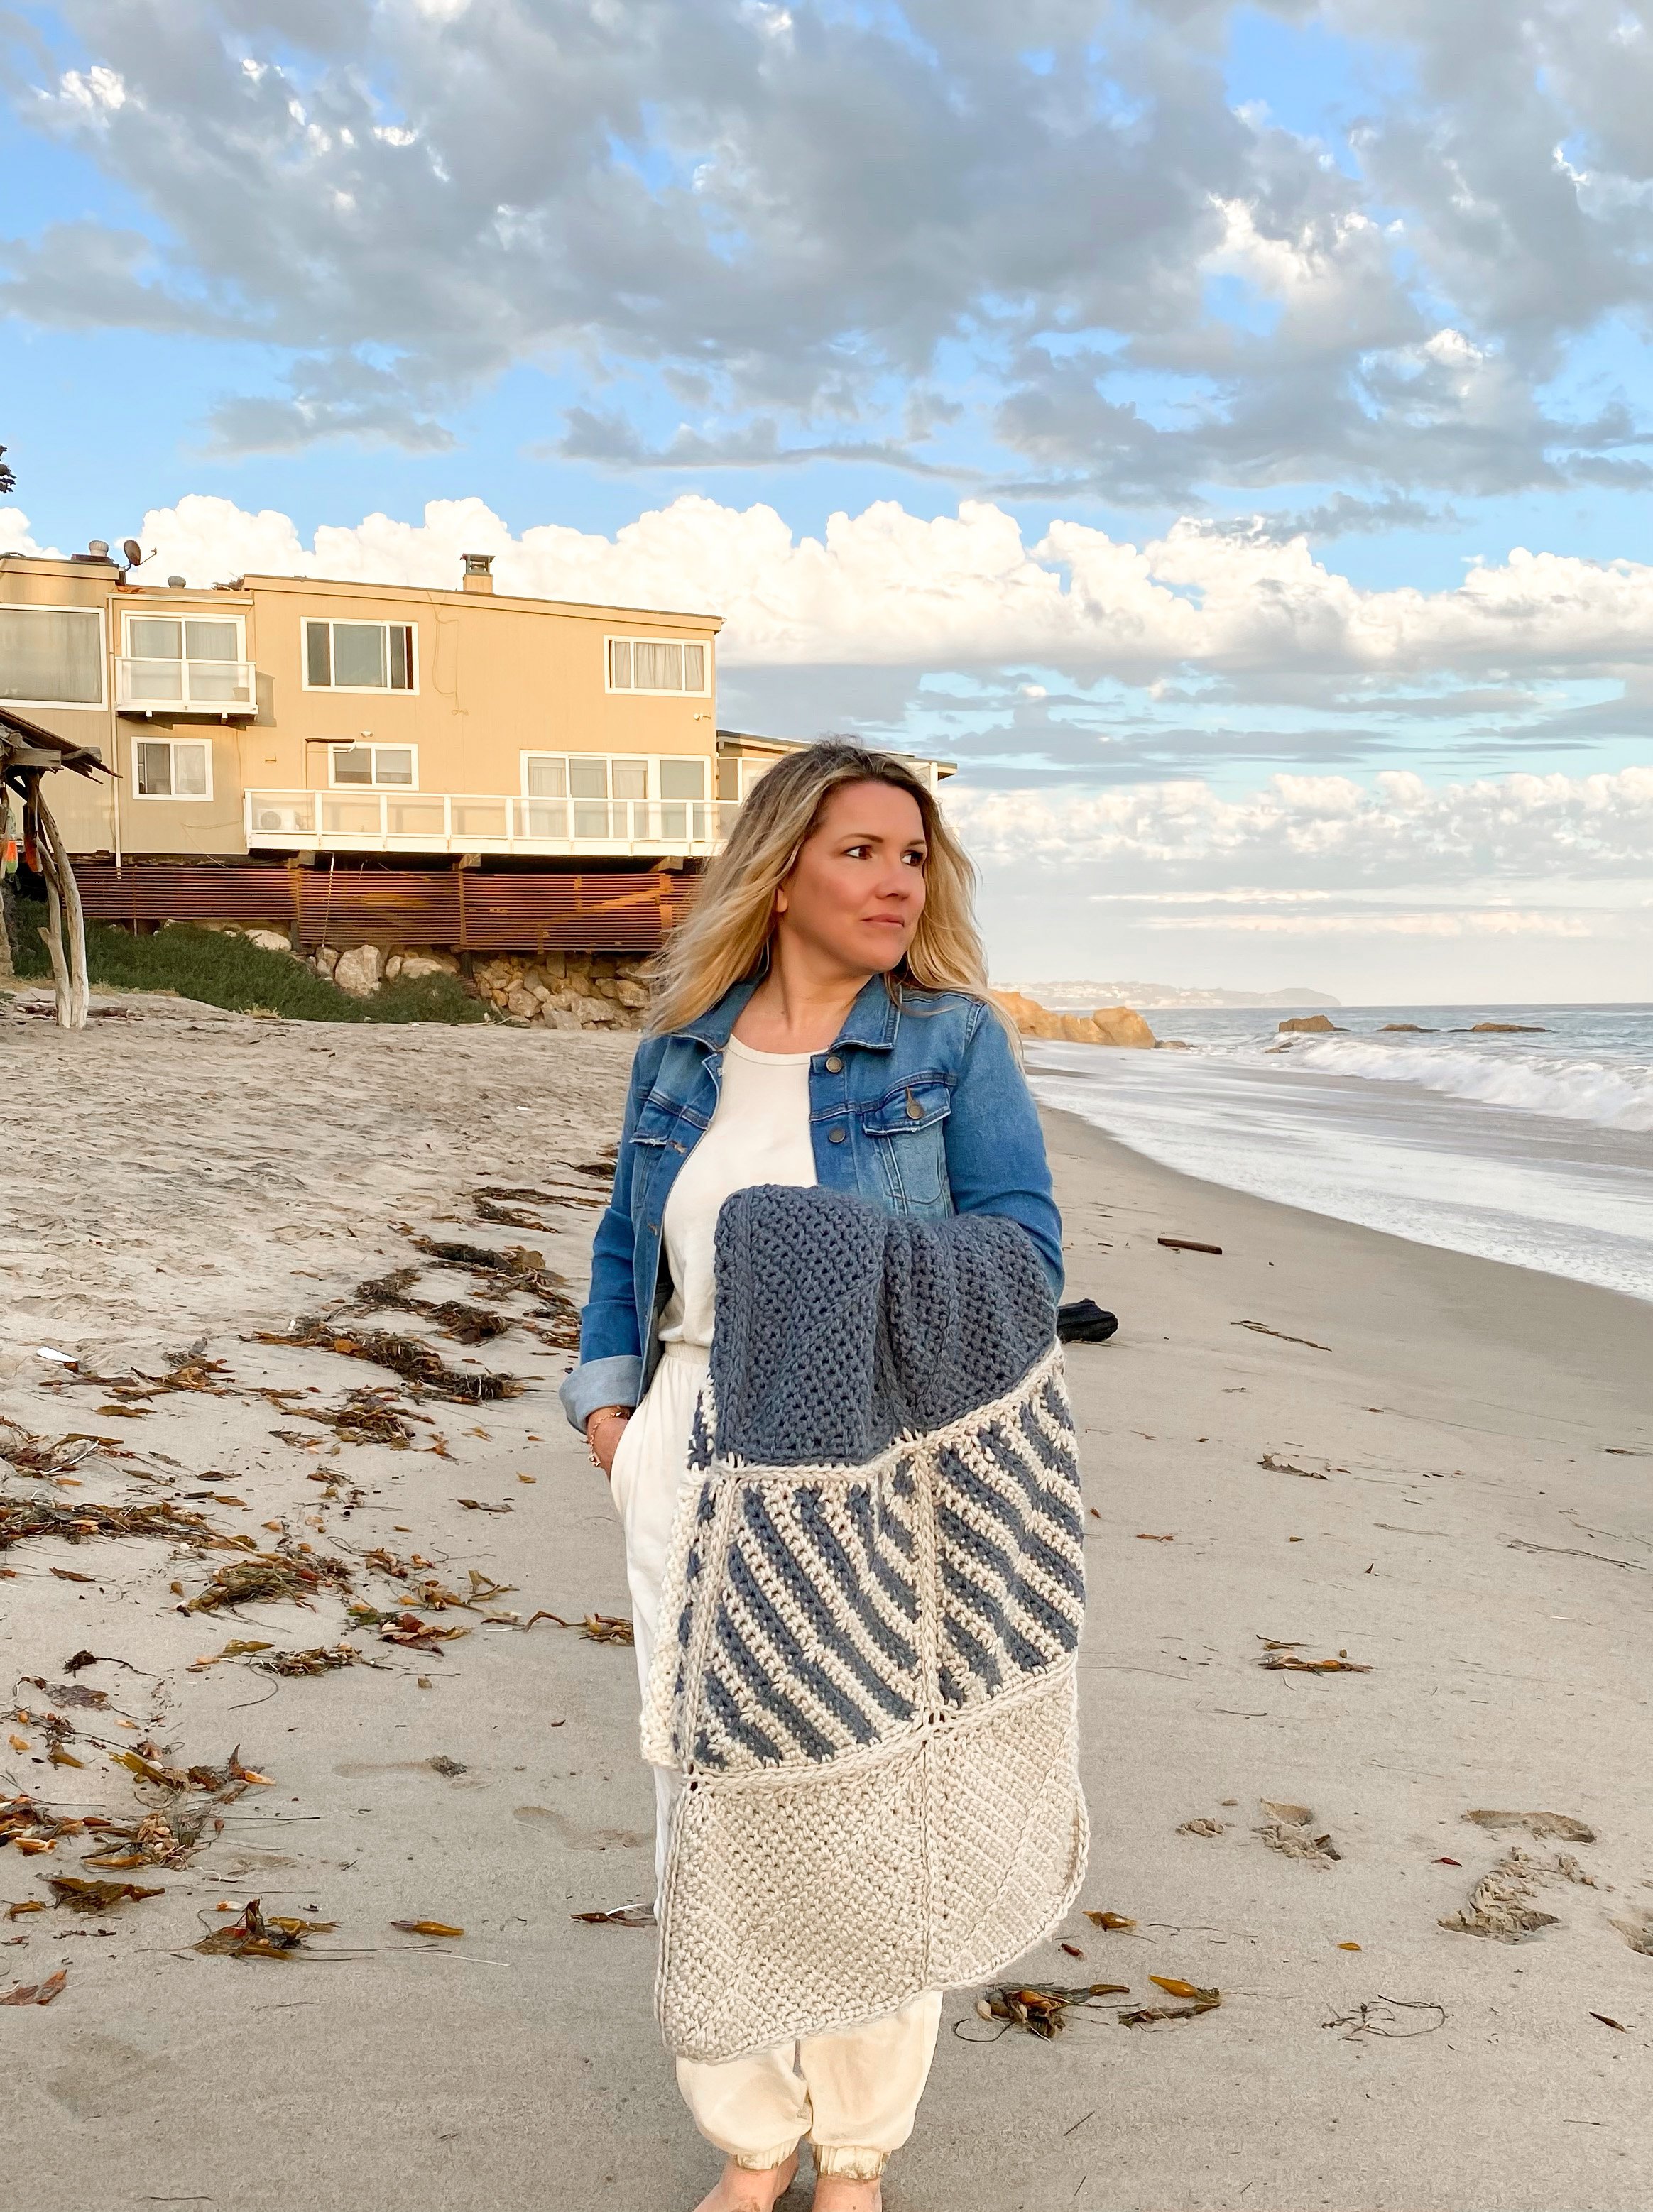
Clearly my inspo for both of these were Summer beach days, splashing in the water with the kiddos, summer break, just getting to relax and be present, SO, the photo shoot had to take place in my favorite inspirational spot
“ I just wanted to do another quick thank you for all your love and support of my designing. I am very excited to announce this design is available FREE on my Blog and as a Kit thanks to Lion Brand Yarn. Each and every Kit purchase you’ve ever made means me collaborating more and more with a company and yarn I find so dear to me. I can’t even begin to add up all the projects I’ve made through the years with their yarn. My latest combo is with my favorite go to Bulky Yarn. Order the kit, pick your combo, and happy stitching. If you reach out to me via email or IG, I’m happy to help give my thoughts on colorways to help you pick your perfect kit!” - Angie, now more from me below haha
I’ve really been loving making blankets lately. I keep saying i’m in blanket making mode haha. There’s something wonderful about reaching for that home made throw when you’re cold on a chilly night, or those cool mornings when you need to wrap up while you sip your morning tea!
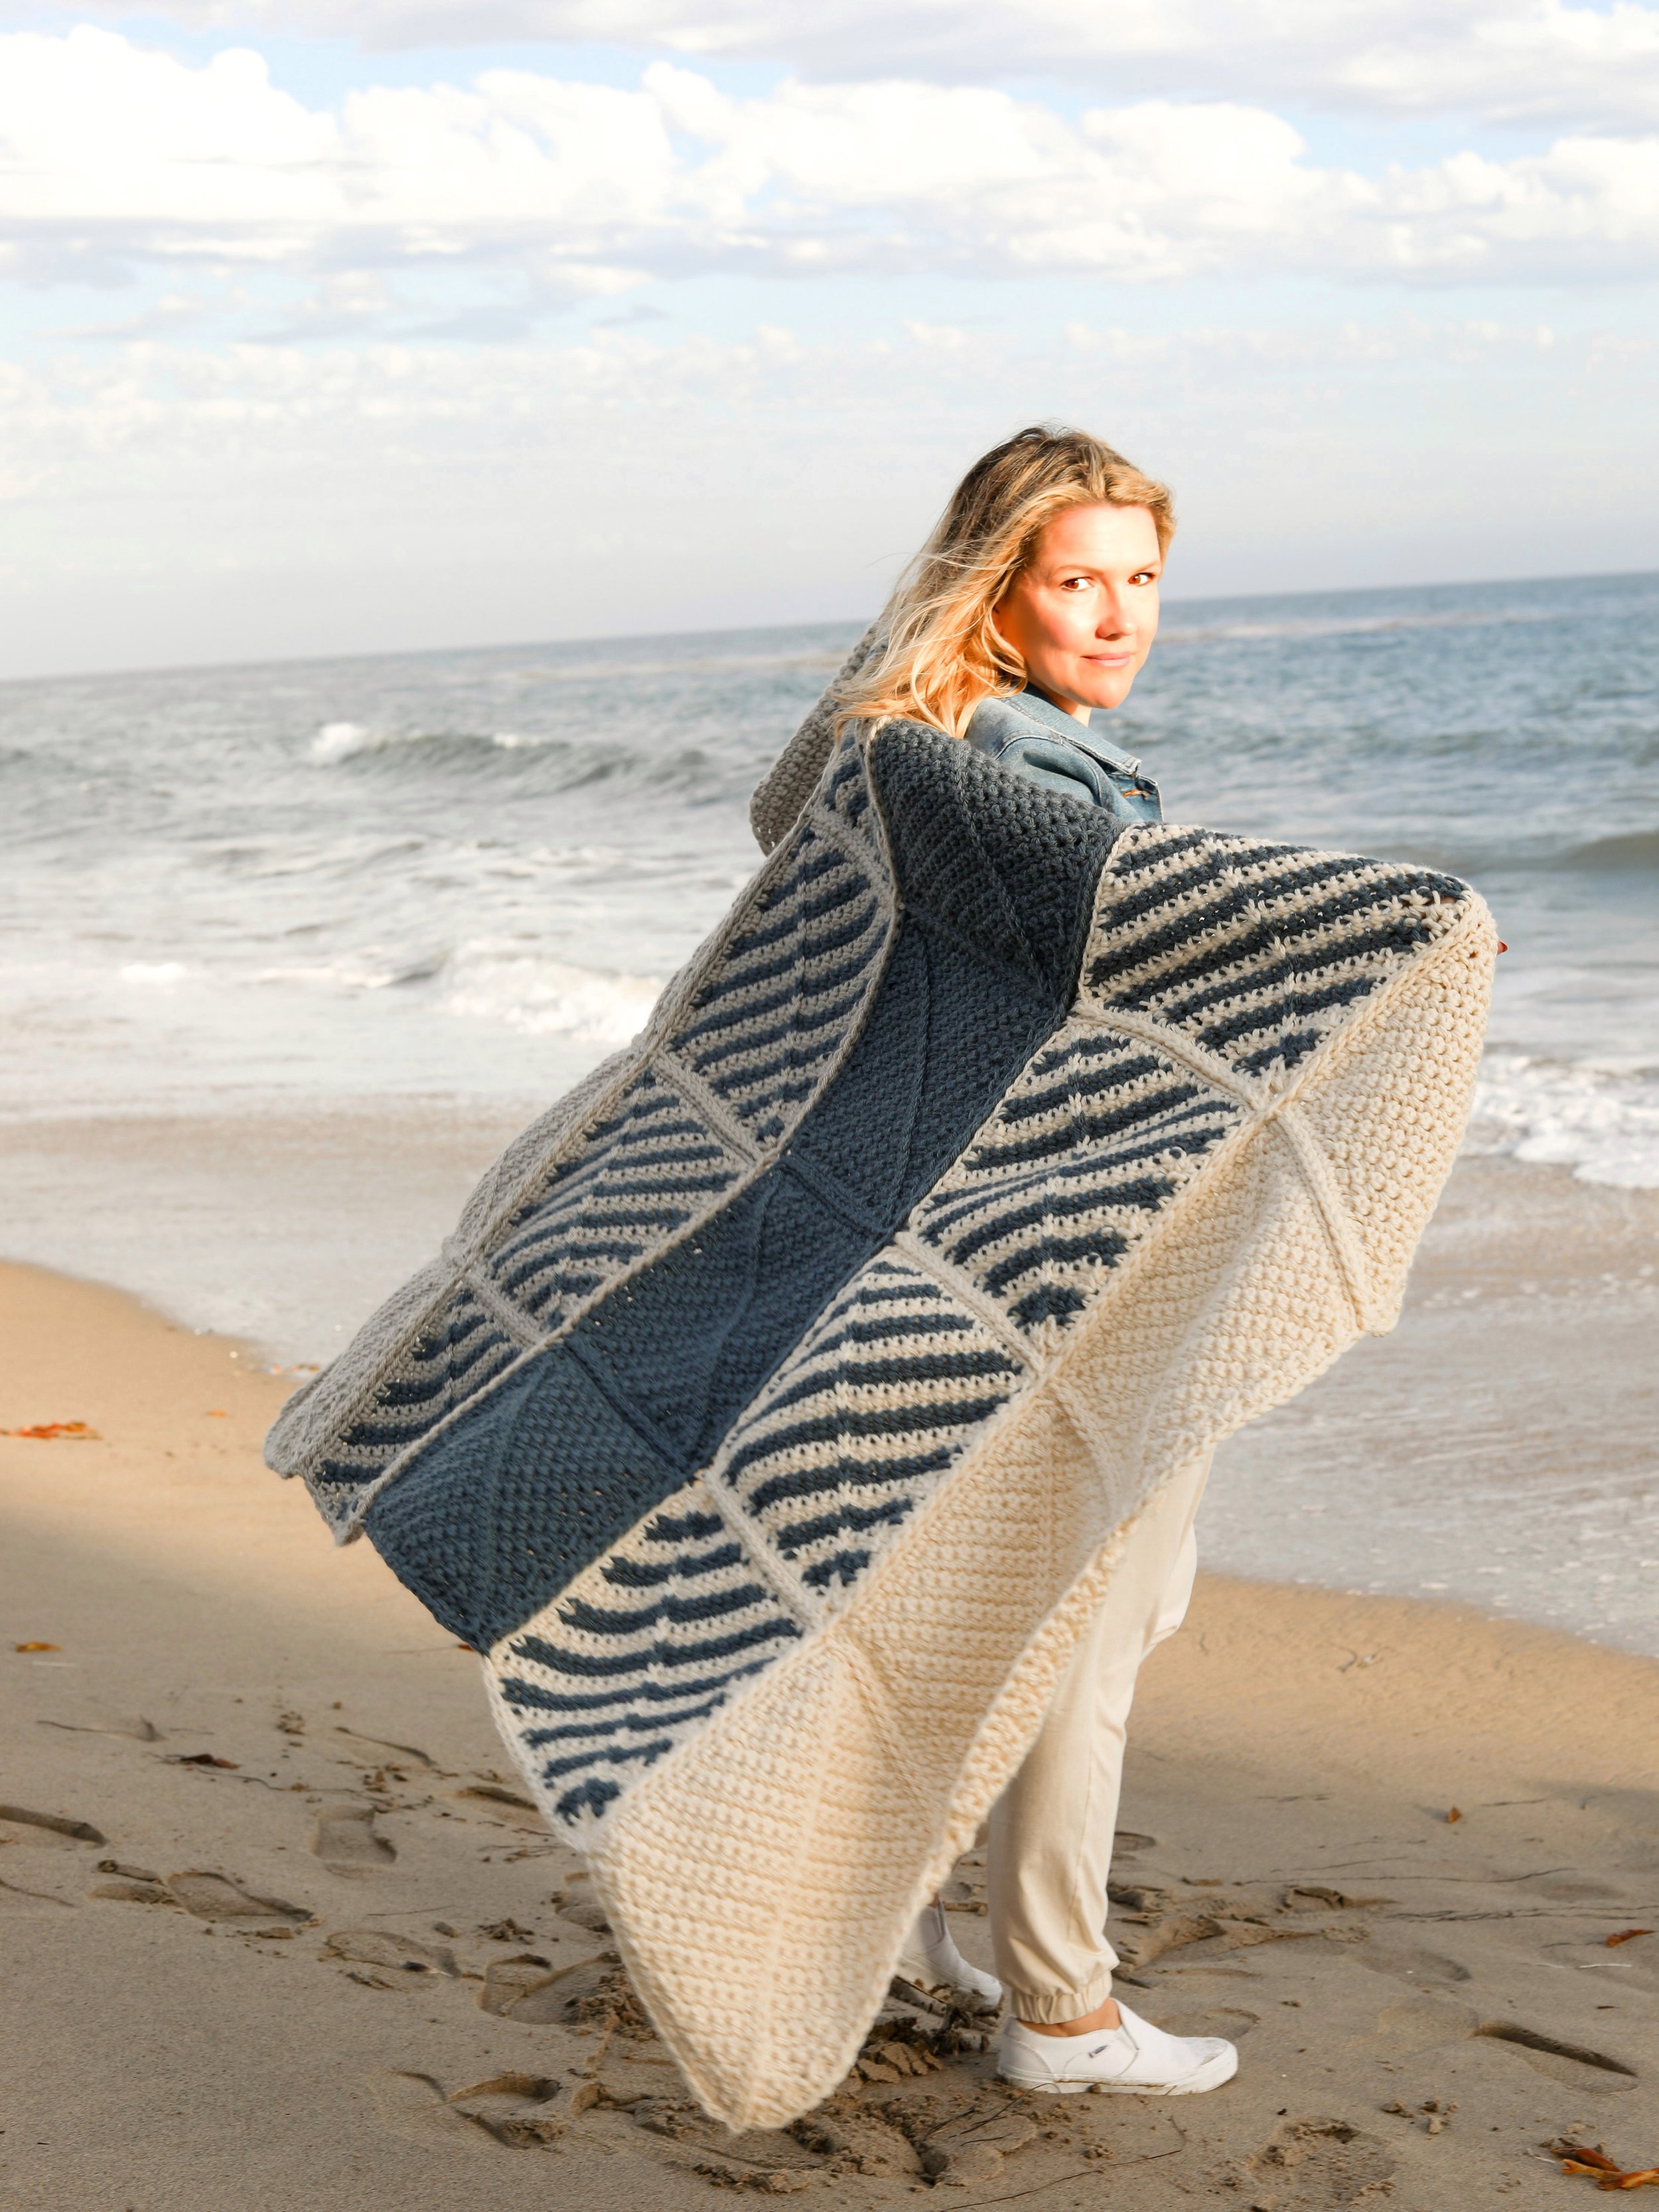
This one is easily adjusted for size too which I love. It’s created in squares that we seam together. You can add a square or two for width, double the middle or end rows for length, OR just do a 3x3 square for a baby blanket. So customizable, so adjustable, it’s a win win in a blanket project!!

I took mine along on this beach trip and plan to keep repeating that course lol because it was brilliant while on the beach and for the car ride home. The ends of my blanket go wet and sandy when a wave took me by surprise BUT I’m happy to report that when the blanket dried the sand just shook right off! This checked a big function box for this busy mama. I didn’t have to dedicate extra time trying to save my yarn blanket, it was good as new, no sand getting in my washing machine. This yarn is just THE BEST!!

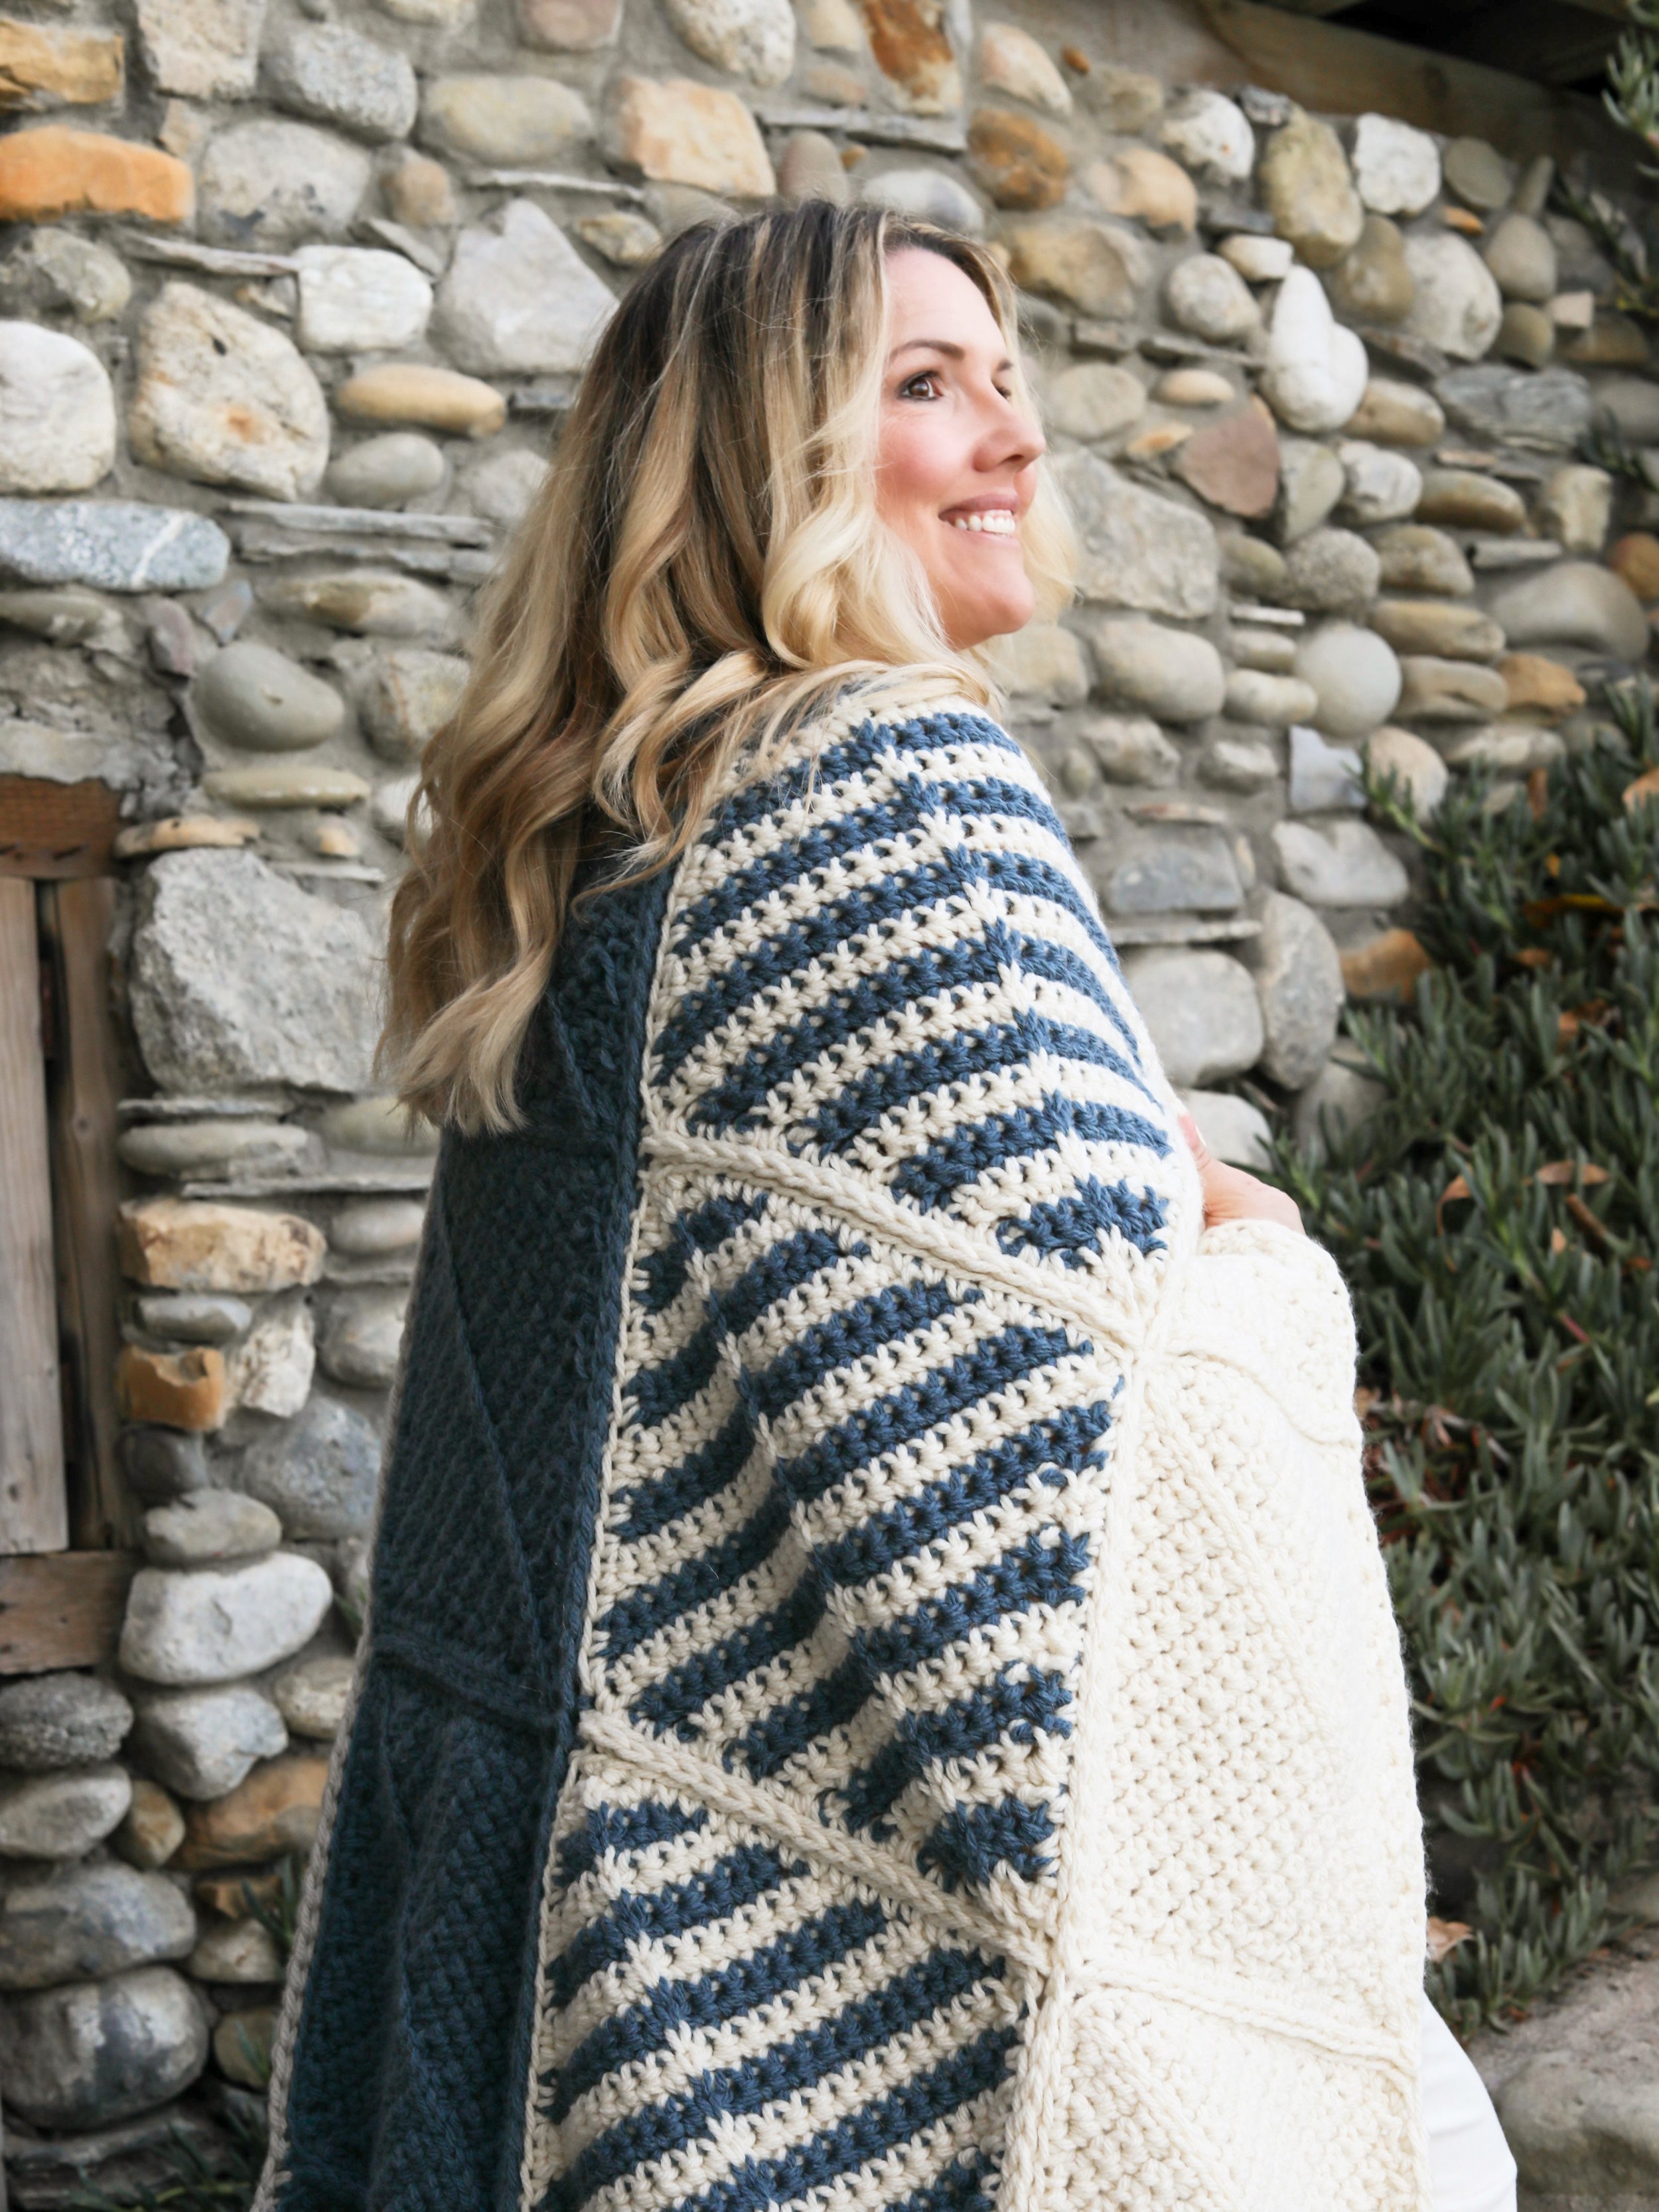
I worked this up in some of my favorite neutrals but I’d also like to mention stash busting! I think every square in its own color would be super cute, or a blanket in all one color is always a classic way to go!
Here is just a few more color combo and combo ideas from Hue and Me to look at to pick your favorite colors for you kit.
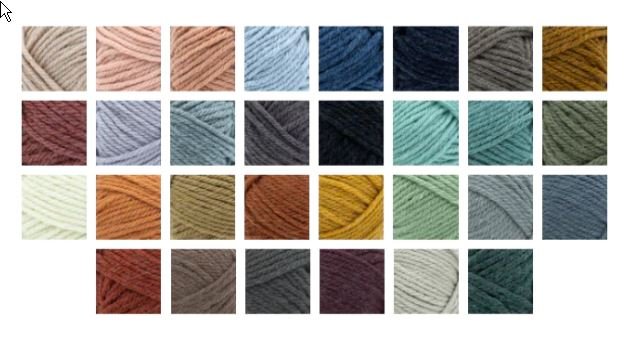
Combine neutrals with that POP of color!!

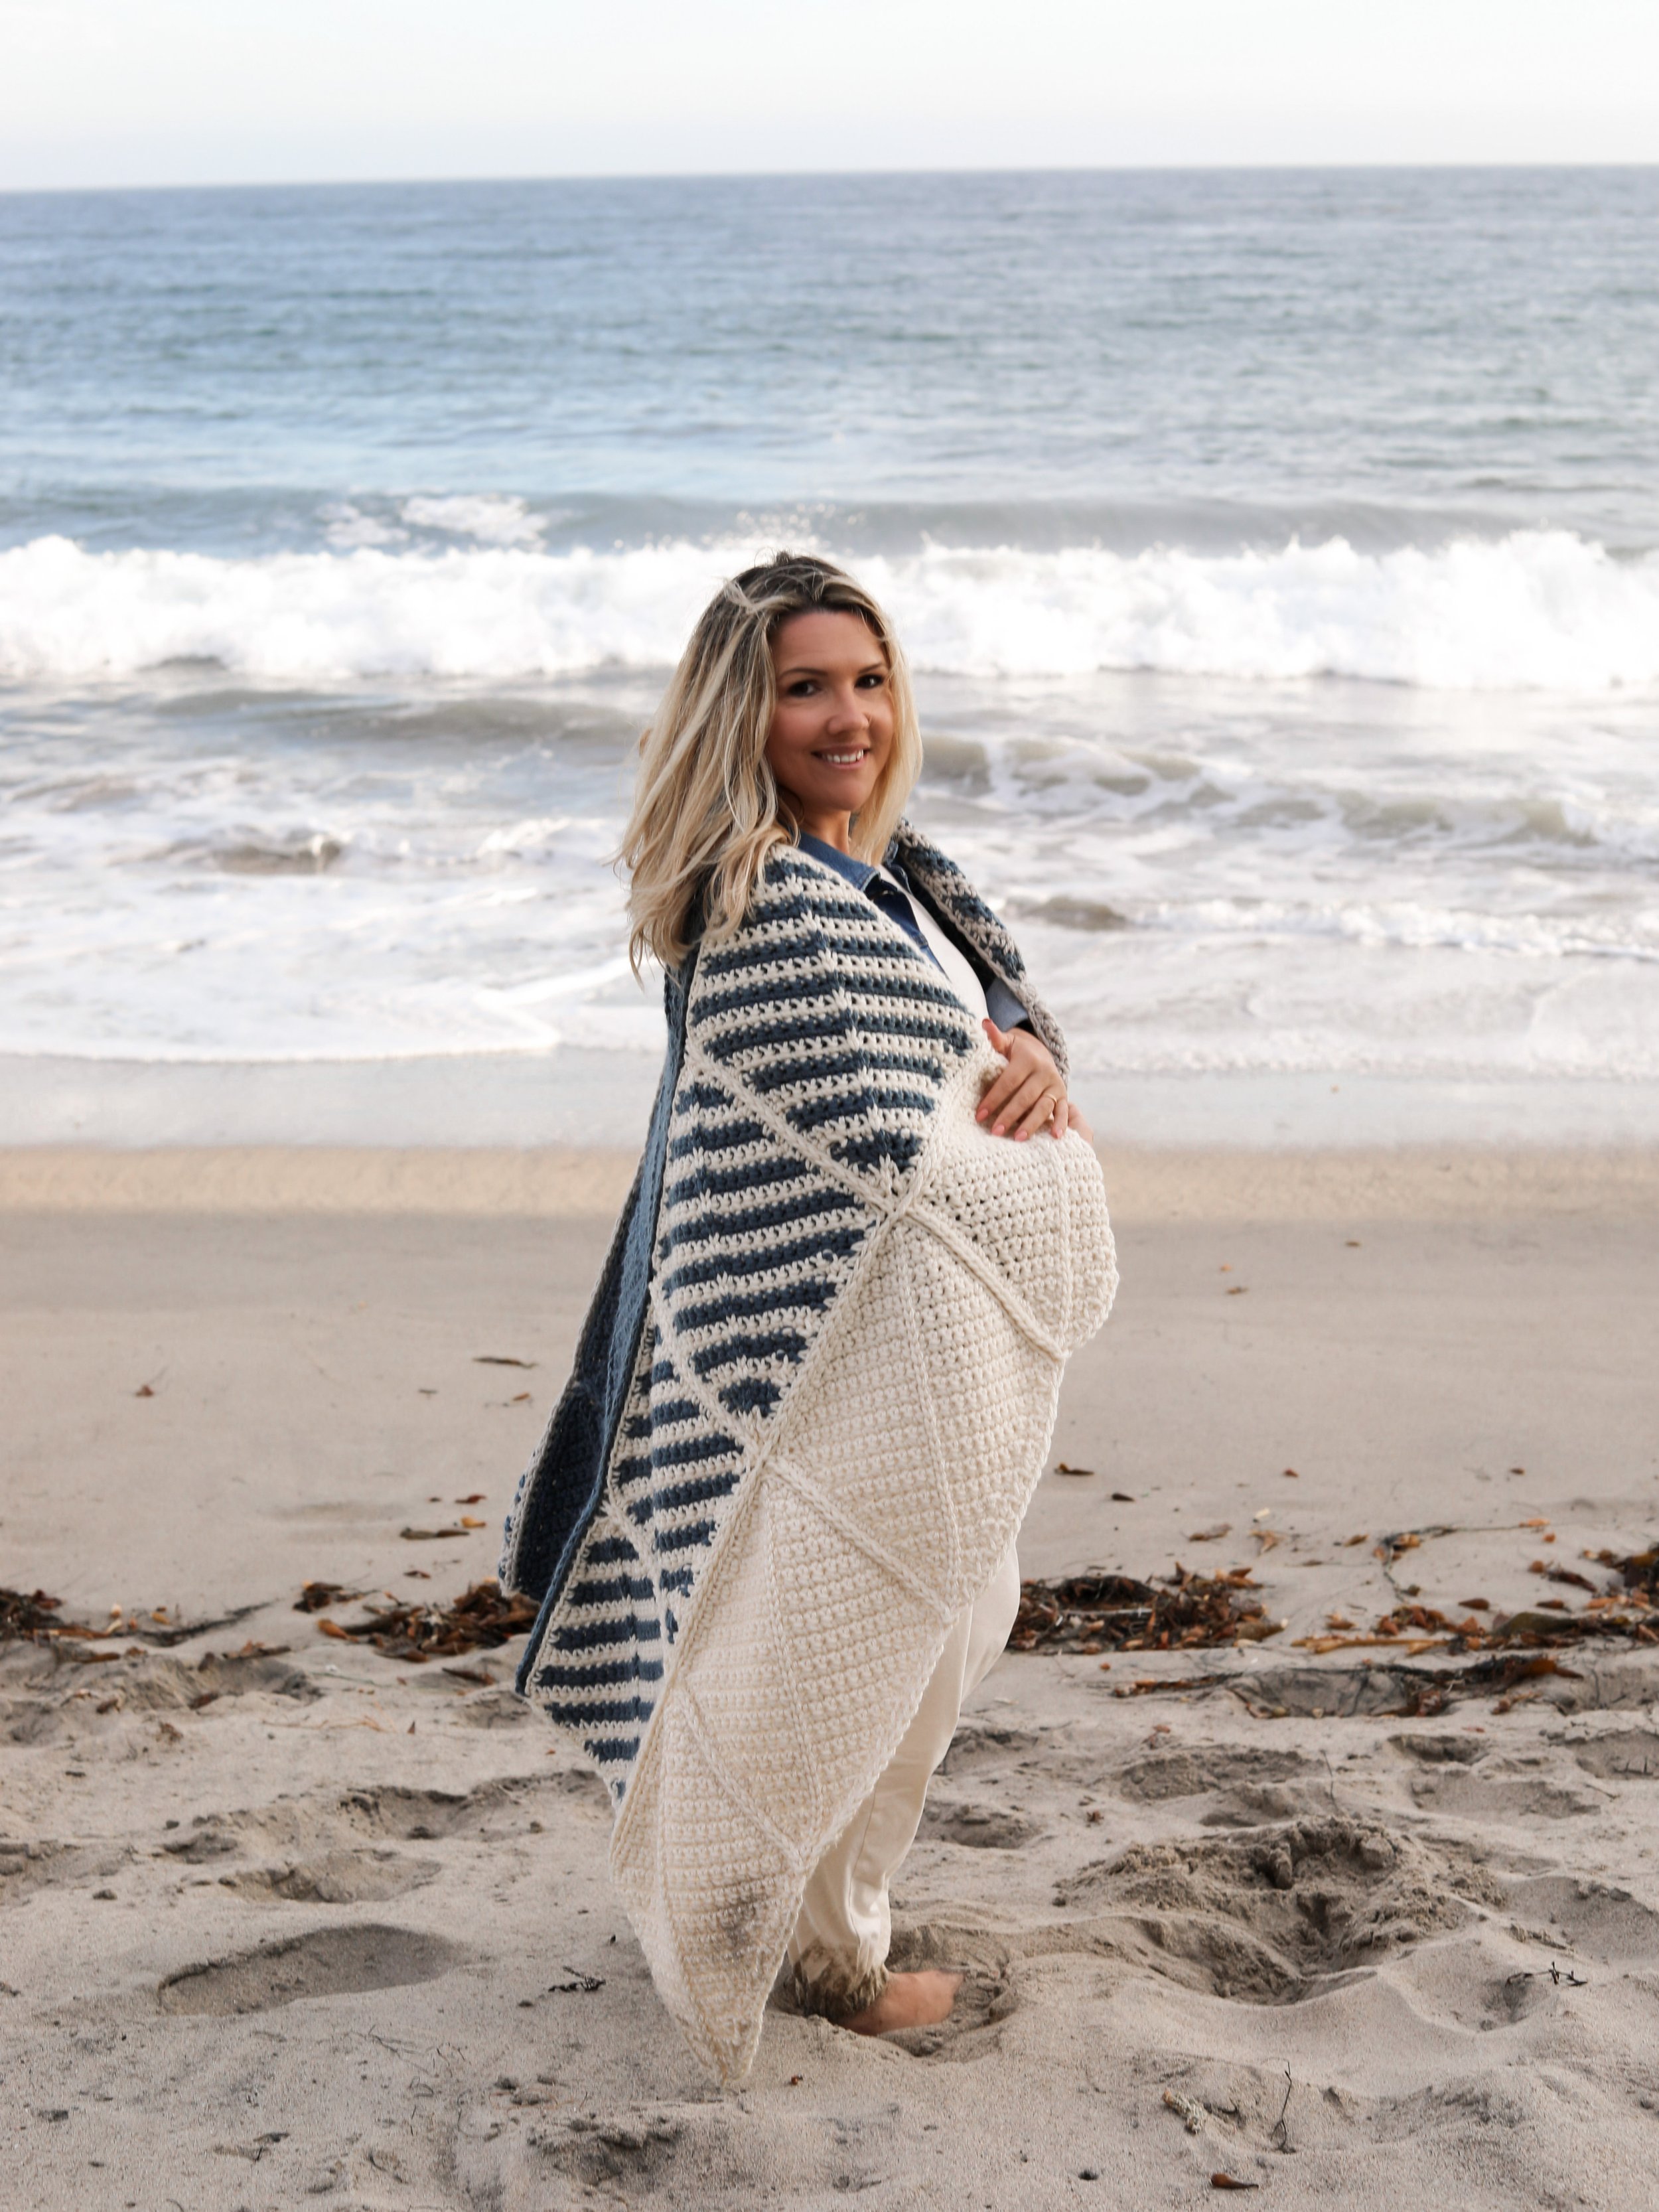
Look at the flow and drape of this!! It’s squishy, it’s stretchy, it can easy drape across two people for movie nights or school drop off on those cold mornings BRRRR!! I hope this will be a new favorite in your house as it is in mine.
DON’T NEED THE YARN? I got you covered. I have an easy to follow and formatted PDF Pattern in my Ravelry, Lovecrafts and Etsy Shops.


PATTERN INFO
METHOD: Crochet
DIFFICULTY: Beginner
SIZE: Throw
DESCRIPTION:
This Crochet version of the “My Favorite Throw” is a cozy throw with a customizable fade. Create this in your favorite colors to match your mood or favorite seasonal tones and you’ll smile every time you reach for this to cuddle up
YARN:

Lion Brand Yarn in:
Lion Brand, Hue and Me
137 YD, #5, 4.4 oz. 80% Acrylic, 20% Wool
Color A- Salt, B- Marine, C-Whisper
Skeins needed: A-3.25 B-4.5 C-3.25
HOOK
Clover Amour M (9 mm)
NOTIONS
Yarn Needle, SM
GAUGE
(unblocked) 8 sts x 10 rws = 4” of sc
*Matching stitches per inch will get your width to match.
NOTES:
For my Throw I used every bit of my 3rd skein for Colors A+
C. If you purchased the kit you’ll have 4 skeins of each, giving you plenty for gauge differences and skein yardage allowance. You’ll have plenty leftover to make 5 squares of width versus 4 for a larger blanket, or you could make a cute little matching pillow with the extra yarn as another idea.Beginning chain counts as a stitch.
The center detail on your square is worked last, using a simple Surface Crochet technique.
Your Throw will have a total of 20 squares.
The squares are worked individually, bottom up in a diagonal bias.
Once you add your sc edging your square measures 10”.
Weave in your square ends and block them before seaming.
After working your squares in your favorite colorways to create your own special fade, you will seam the squares together to create rows.
Then you will seam the rows together.
GAUGE
**Please check your gauge before you start this Pattern to match the finished measurements:
It’s best to make your swatch slightly bigger than what the pattern states it should measure, so you can measure it in the center of your square, getting an accurate reading. You can do this by adding 2 additional stitches and work 2 additional rows. Do not count the first and last stitch in your measurement or the first and last row.
Hook Size Suggestions:
If your swatch has less stitches, swatch again using a smaller hook.
If your swatch has more stitches, swatch again using a larger hook.
For an EASY TO READ, PRINTABLE PDF, shop below
A bit of inspiration behind the name:
When I created this Throw it was my Knit version and I loved it so much I knew I needed a crochet dupe! With the temps warming up outside I envisioned so many happy moments of Summer (beach days) that would soon be here! Creating this in some of my favorite blues and sand tones had me thinking how easily this throw could be a favorite in so many ways. Curating this in your favorite colors, or seasonal tones, create an easy crochet fade that will be sure to bring a happy smile each time you reach for it.
My Favorite Throw Crochet version
Finished measurements (in inches). Throw will stretch a few inches with weight and drape.
Throw Width 40”
Throw Length 50”
Square Size 10”
ch - Chain
dec - Decrease
inc - Increase
sc - Single Crochet
2sc - (inc) Single Crochet twice into the same stitch
sc2tog - (dec) Single Crochet 2 stitches together
st (s) - Stitch(es)
SM - Stitch Marker
RS - Right side of the project
WS - Wrong side of the project
Slip Stitch Seaming
Please see my Ravelry and Etsy listing for a recommended YouTube link, visual tutorial.
*When cutting your working yarn, leave a long enough tail so you can easily sew in your ends.
Want another cozy design to set your needles or hooks on?
Square Pattern
NOTE: Create 4 Squares in each the following Colorways: A, B, C (12 total)
Row 1: Ch2, in the 2nd ch from the hook, (sc1, ch1, sc1) in the same stitch -3sts
Your beginning chain counts as a stitch throughout the remaining pattern.
Row 2: Ch2, turn, sc1 in the base of the chain (counts as 2sc), ch1 (place a SM), 2sc - 5st
inc only worked at 1st and last sts
Your center “ch1 sts” will all be in a straight line on the square, replace your SM as you go. The center stitching detail is worked here later.
Row 3: Ch2, turn, sc1 in the base of the chain, sc1, ch1 (SM), sc1, 2sc - 7sts
Row 4: Ch2, turn, sc1 in the base of the chain, sc till SM, ch1 (SM), sc till last stitch, 2sc - 9sts
Row 5: Ch2, turn, sc to SM, ch1 (SM), sc the row - 9sts
Row 6: Ch2, turn, sc1 in the base of the chain, sc to SM, ch1 (SM), sc till last stitch, 2sc - 11sts
Row 7-17: Repeat Rows 4-6
See the chart on pg 5 (ON THE AD FREE PDF) to keep track of your stitch counts and what increase repeat you’re working on.
Measures 9” across, not diagonally.
DECREASE SECTION:
Row 18-32: Repeat Rows 4-6 but instead of a 2sc work a sc2tog for a decrease (see the chart- ON ADD FREE PDF)
For your sc2tog, work into the 2 sts after your starting “ch2, turn” (not the base of the ch).
Row 33: Ch2, turn, sc1, ch1, sc2tog in the last 2sts- 4sts
Row 34: Ch2, turn, skip ch space, sc2tog in the last 2sts -2sts
Do not cut yarn , continue to SC edging
NOTE: The square shape may appear tilted because of the texture direction, blocking straightens your square.
SC Edging - Photo on AD FREE PDF
Row 1: Ch1, (no turn, this will now be your RS) sc along the 4 sides of the square, Sl St to join in the round.
See photo.
I got 16 each side and 1 in each corner (18 per side). Adjust as needed but keep the st count the same for every side, on all squares.
Do not cut yarn, continue to Center Stitch Detailing.
Center Stitch Detailing - Tutorial on ADD FREE PDF
Step 1: (RS) Ch1, with your working yarn held under the square, insert your hook into the 1st center ch1 stitch, yarn over and pull up a loop, then pull the loop through the loop on the hook. (surface crochet technique)
Step 2: Insert into the next ch1 center space, pull up a loop, and pull through the loop on your hook.
Step 3: Repeat Row 2 for the entire center row.
When you reached the end of the row, cut yarn and pull your end through to keep it from unraveling.
Weave in the ends.
Repeat for each square/colorway.
Striped Square Pattern
Repeat the Square Pattern above in the following Colorway combos:
A+B (B+C) (4 squares each, 8 total)
CHAIN 2 - with Color A (A+B square), Color B (B + C square)
Row 1-2: Color A (Color B)
Row 3-4: Color B (Color C)
Every 2 rows alternate skeins. Carry the yarn up the side so you have no extra ends to weave in.
Work your SC border in the lightest shade. For A+B square, I used A. For B+C square, I used C.
When working your Center Stitch Detailing, alternate the color ways. Match the loop being pulled up to the “ch1 stitch” section you pull through. For example, pull 2 loops in Color A, then pull up 2 loops in Color B.
Seaming
Use an M hook or one that gives you a similar spacing to your stitches so your seams don’t pull the seam tighter then your square widths. Adjust tension as you go, it doesn’t need to be tight. Block your squares first if needed.
Use a Slip Stitch method.
When seaming, stitch parallel stitches so you don’t get buckling or stretched sections, keeping the seams even and flat.
Seaming the Squares into Rows
(See Pic 1+2 on pg7) RS facing you, turn your square to the right, red line on bottom. This is the position all of them will be in for seaming.
Line up all 4 matching squares in a row to be seamed together. Make sure your center diagonal stitch is running the same direction on each square, and also not upside down.
Using a Slip Stitch seam, and matching yarn color, seam the sides of the four squares together working bottom corners up. Cut yarn when done with each.
Repeat for all rows. You should have 4 connected squares once done, 5 rows worth.
Weave in ends.
Seaming the Rows together
Seam the 5 rows in the following order: A, A+B, B, B+C, C
I matched yarn colors as follows: A, B, C, C
(See Pic 3) With the Rows RS facing you, Slip Stitch 2 Rows together working right to left. As you came upon the vertical seams from the square joins, slip stitch those two points together so a nice crossover forms. All vertical seams will line up.
Continuing adding on the next row until you’re done.
Cut yarn and weave in ends.
Voila! You’re done! Block and enjoy!
