
Regent Tote
I’m so excited to announce that the “Regent Tote” is now available, a crochet dupe of my knitted High Street Bag!!!

NEW - Available as a kit today!
Do you remember me making the knit version last year? After launching that design I had a few of my crocheting friends reach out for a crochet version, so I’ve had this on the list to make for a bit and I’m so glad to say it’s finally here. I finished it a bit ago but sometimes things have their own timing to them. If you didn’t see the knit one and knitting is your favorite, I’ll be sure to include the link for that one below.
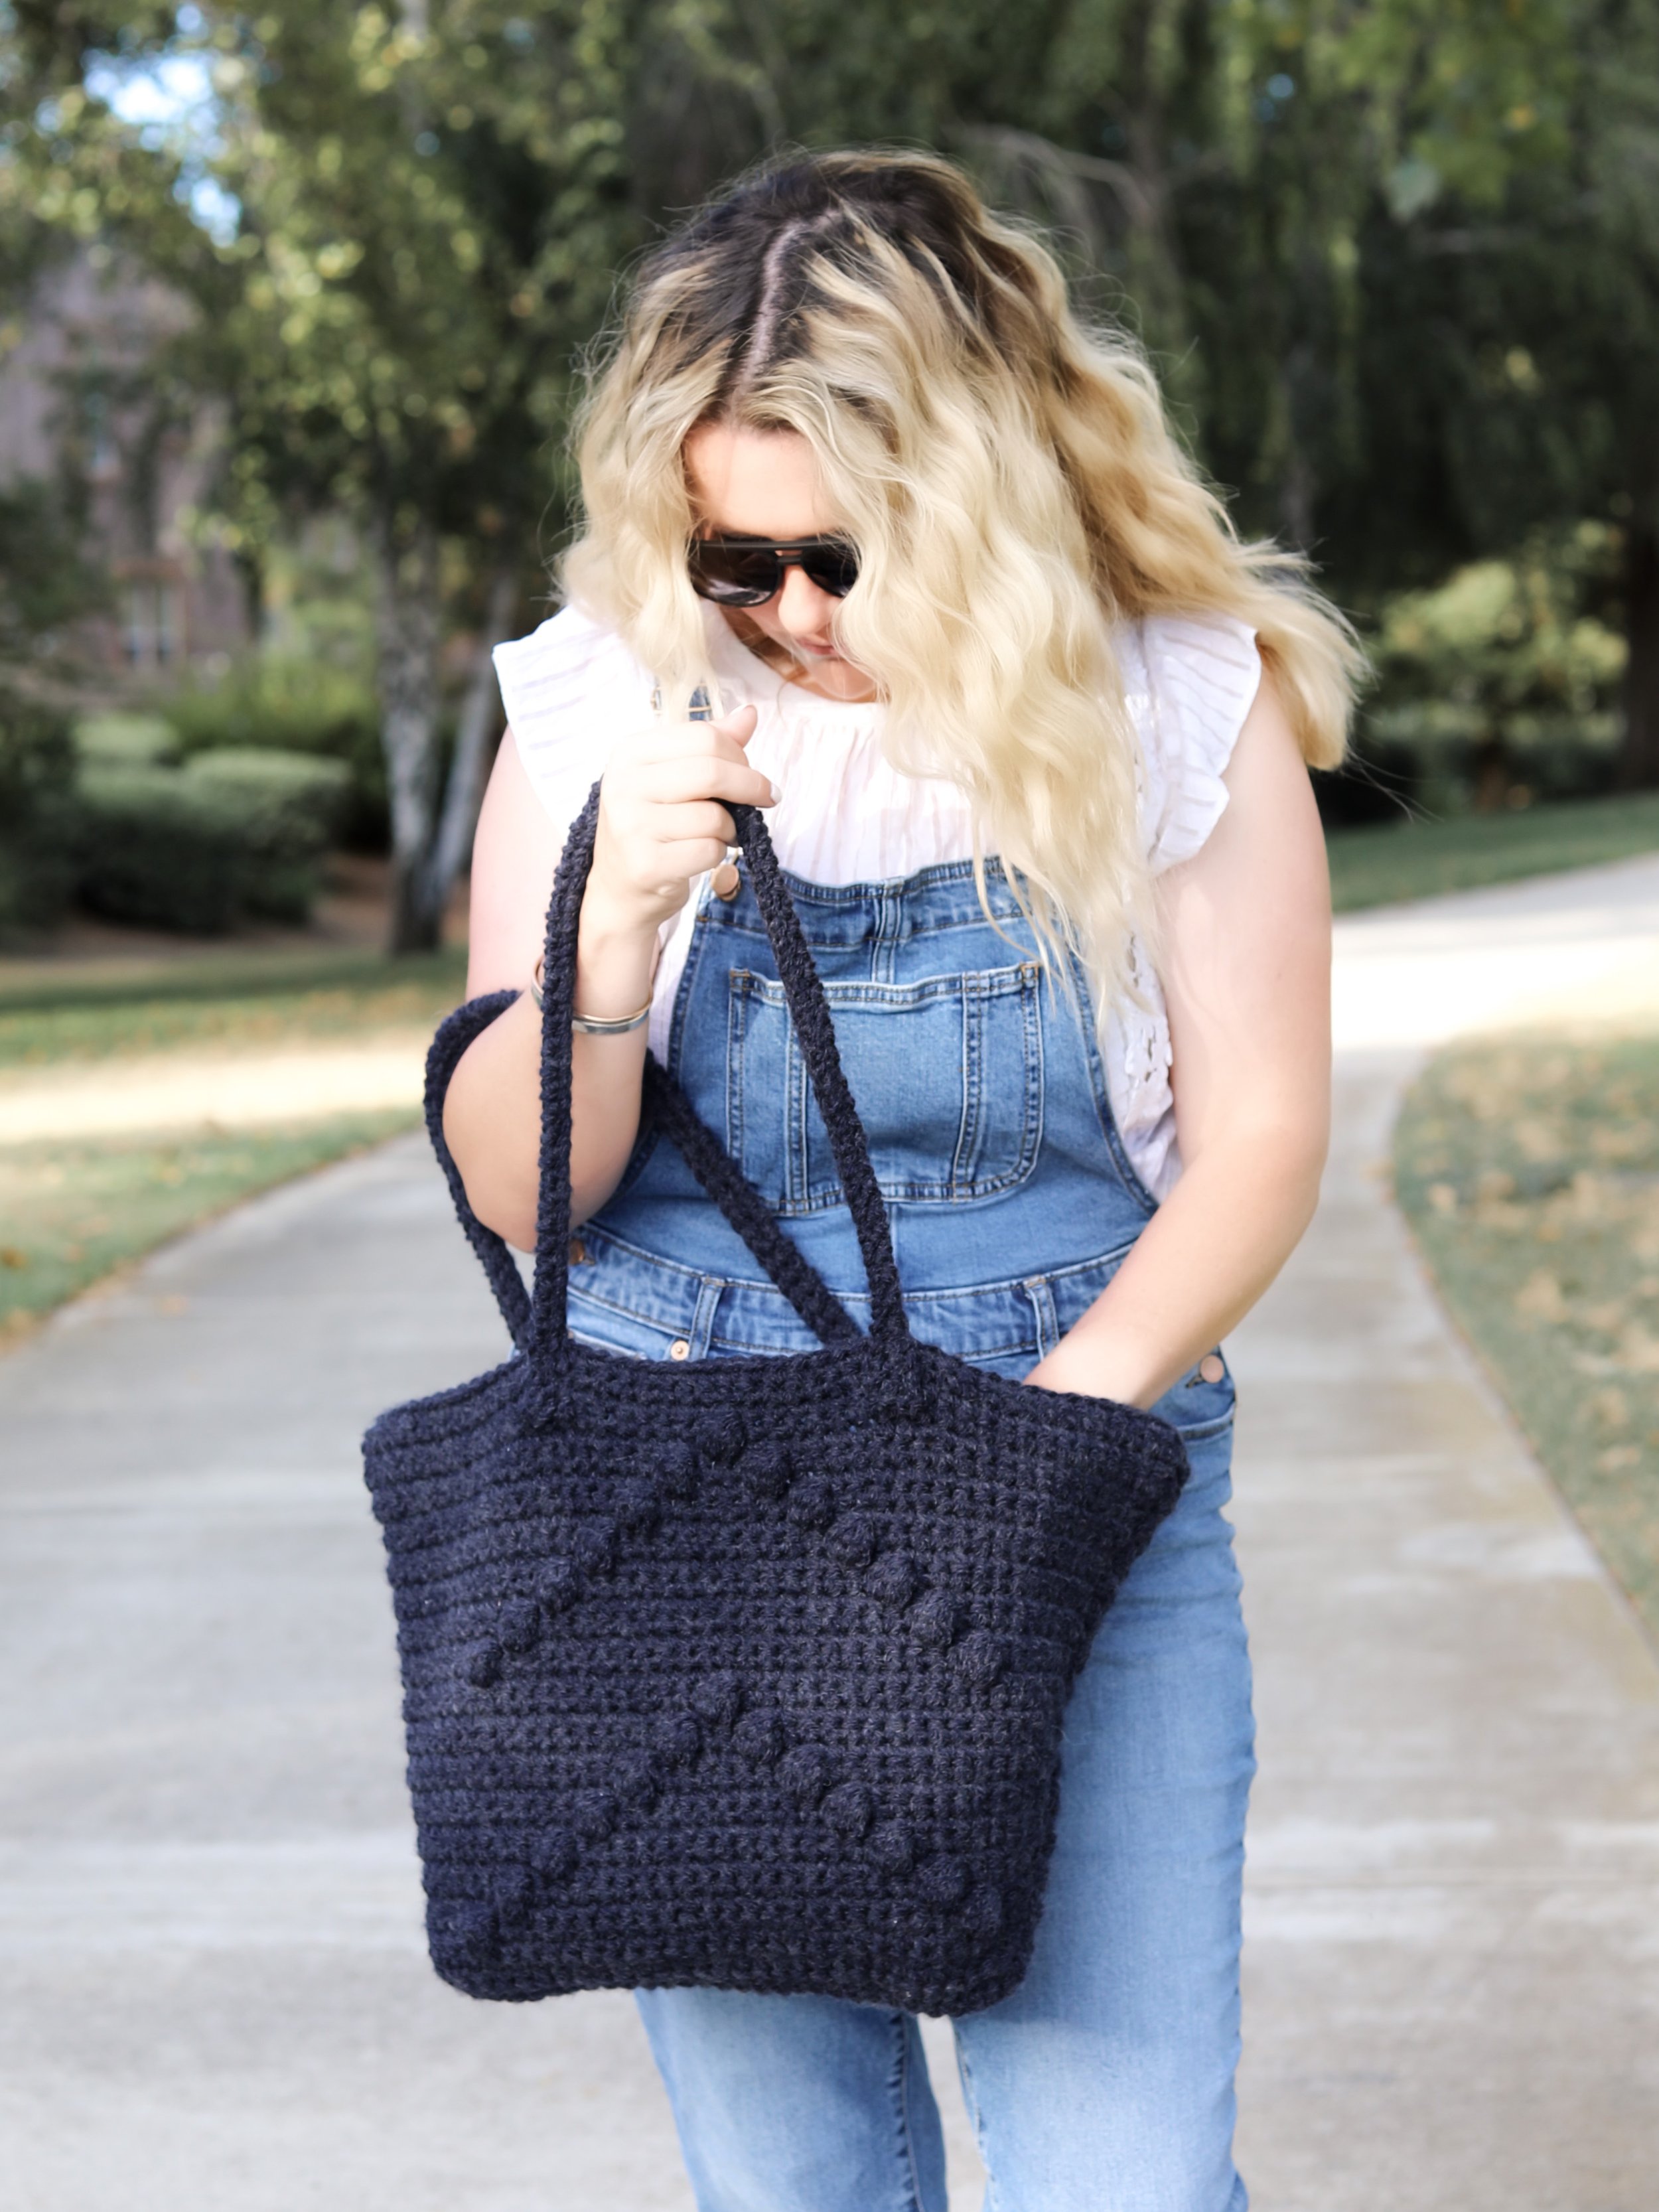
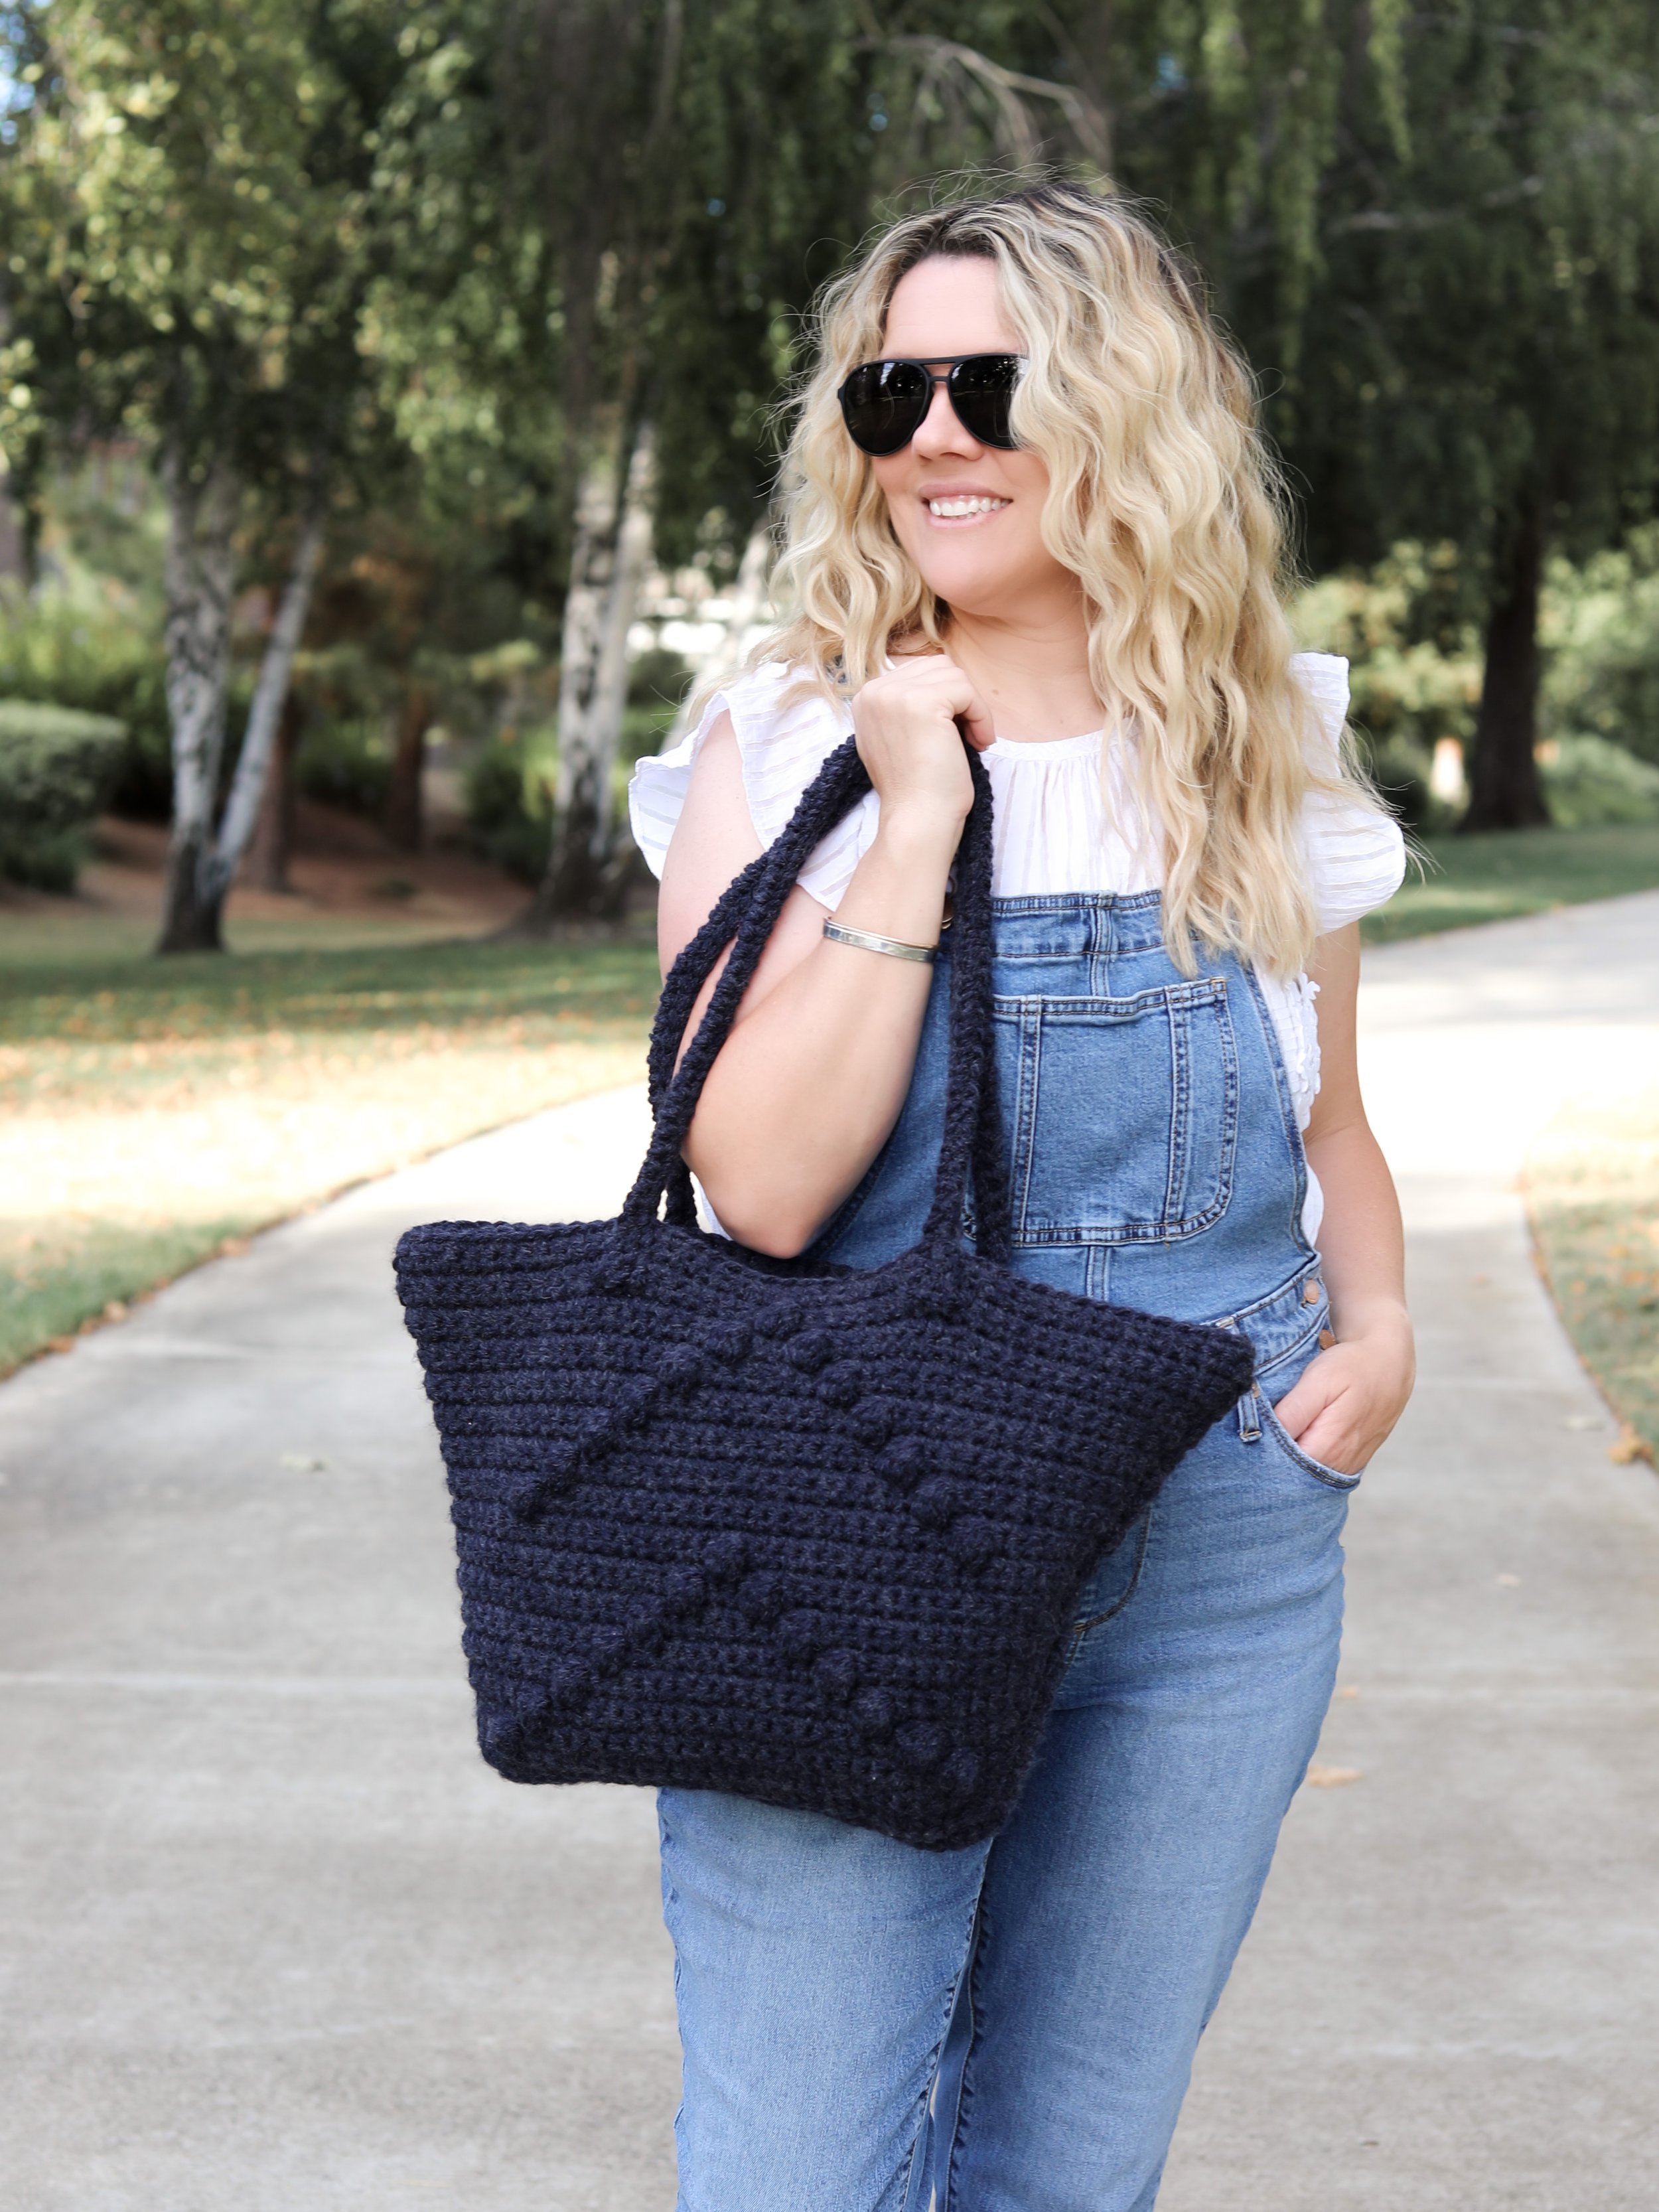
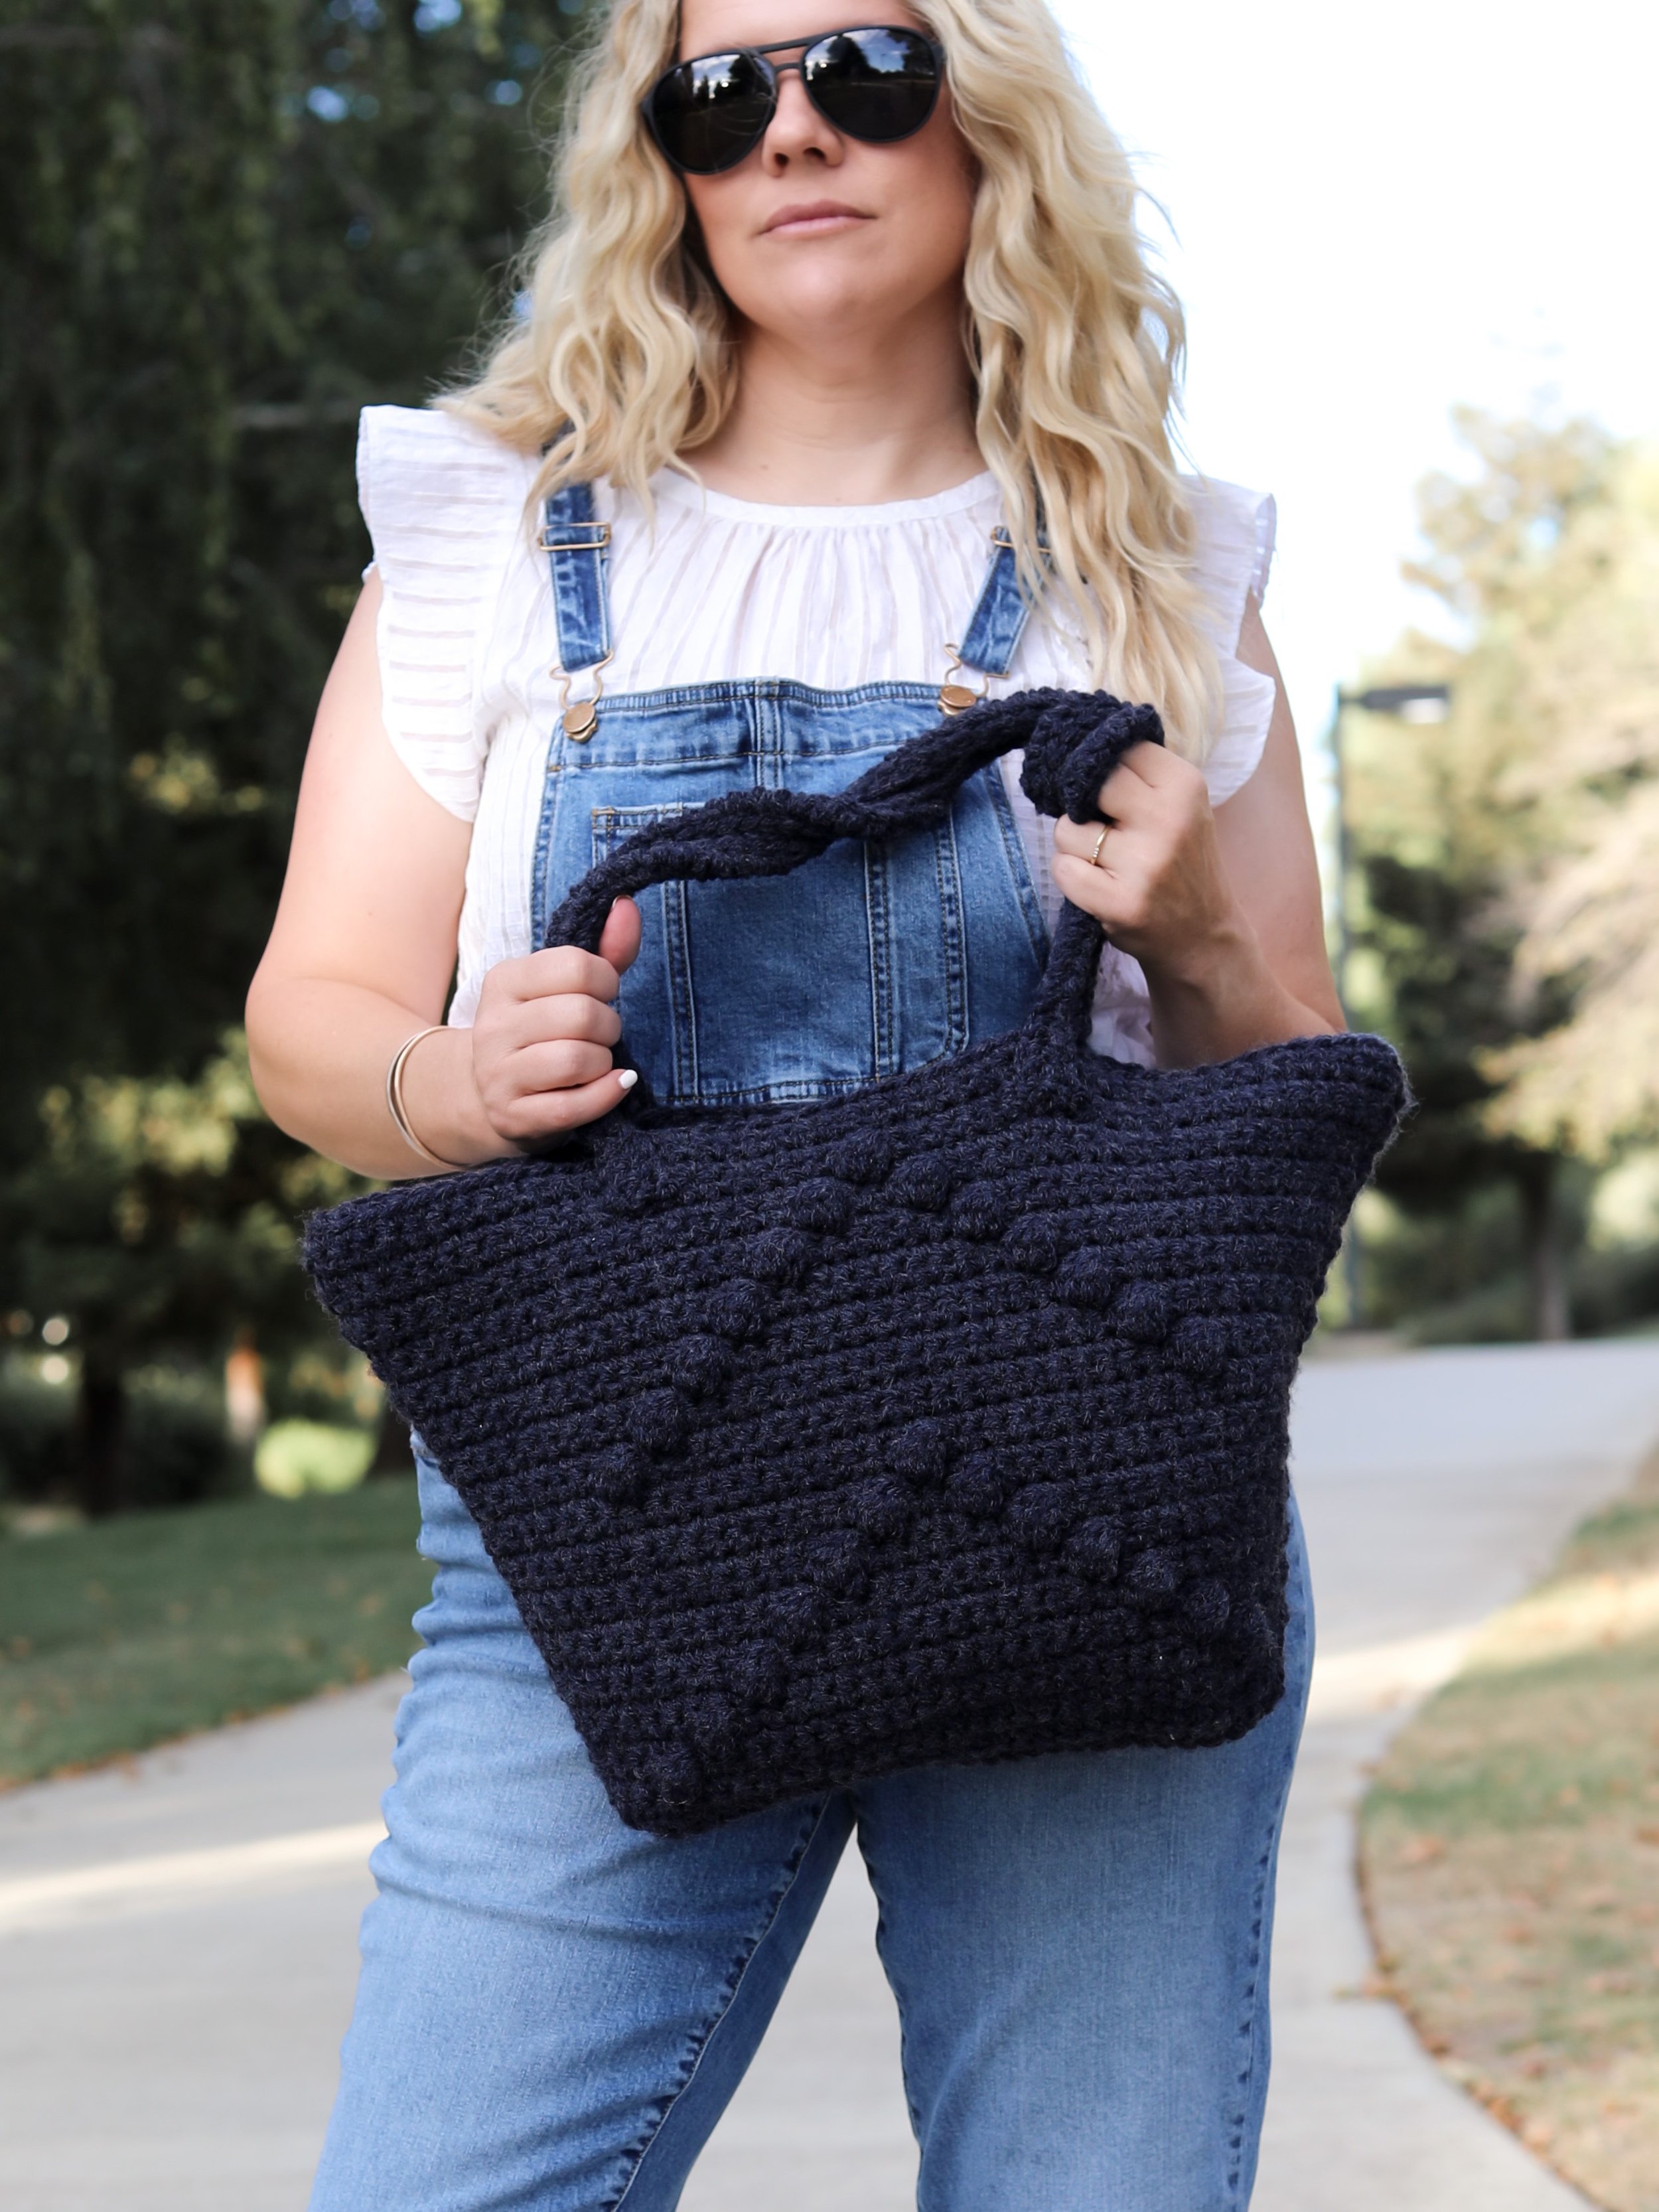
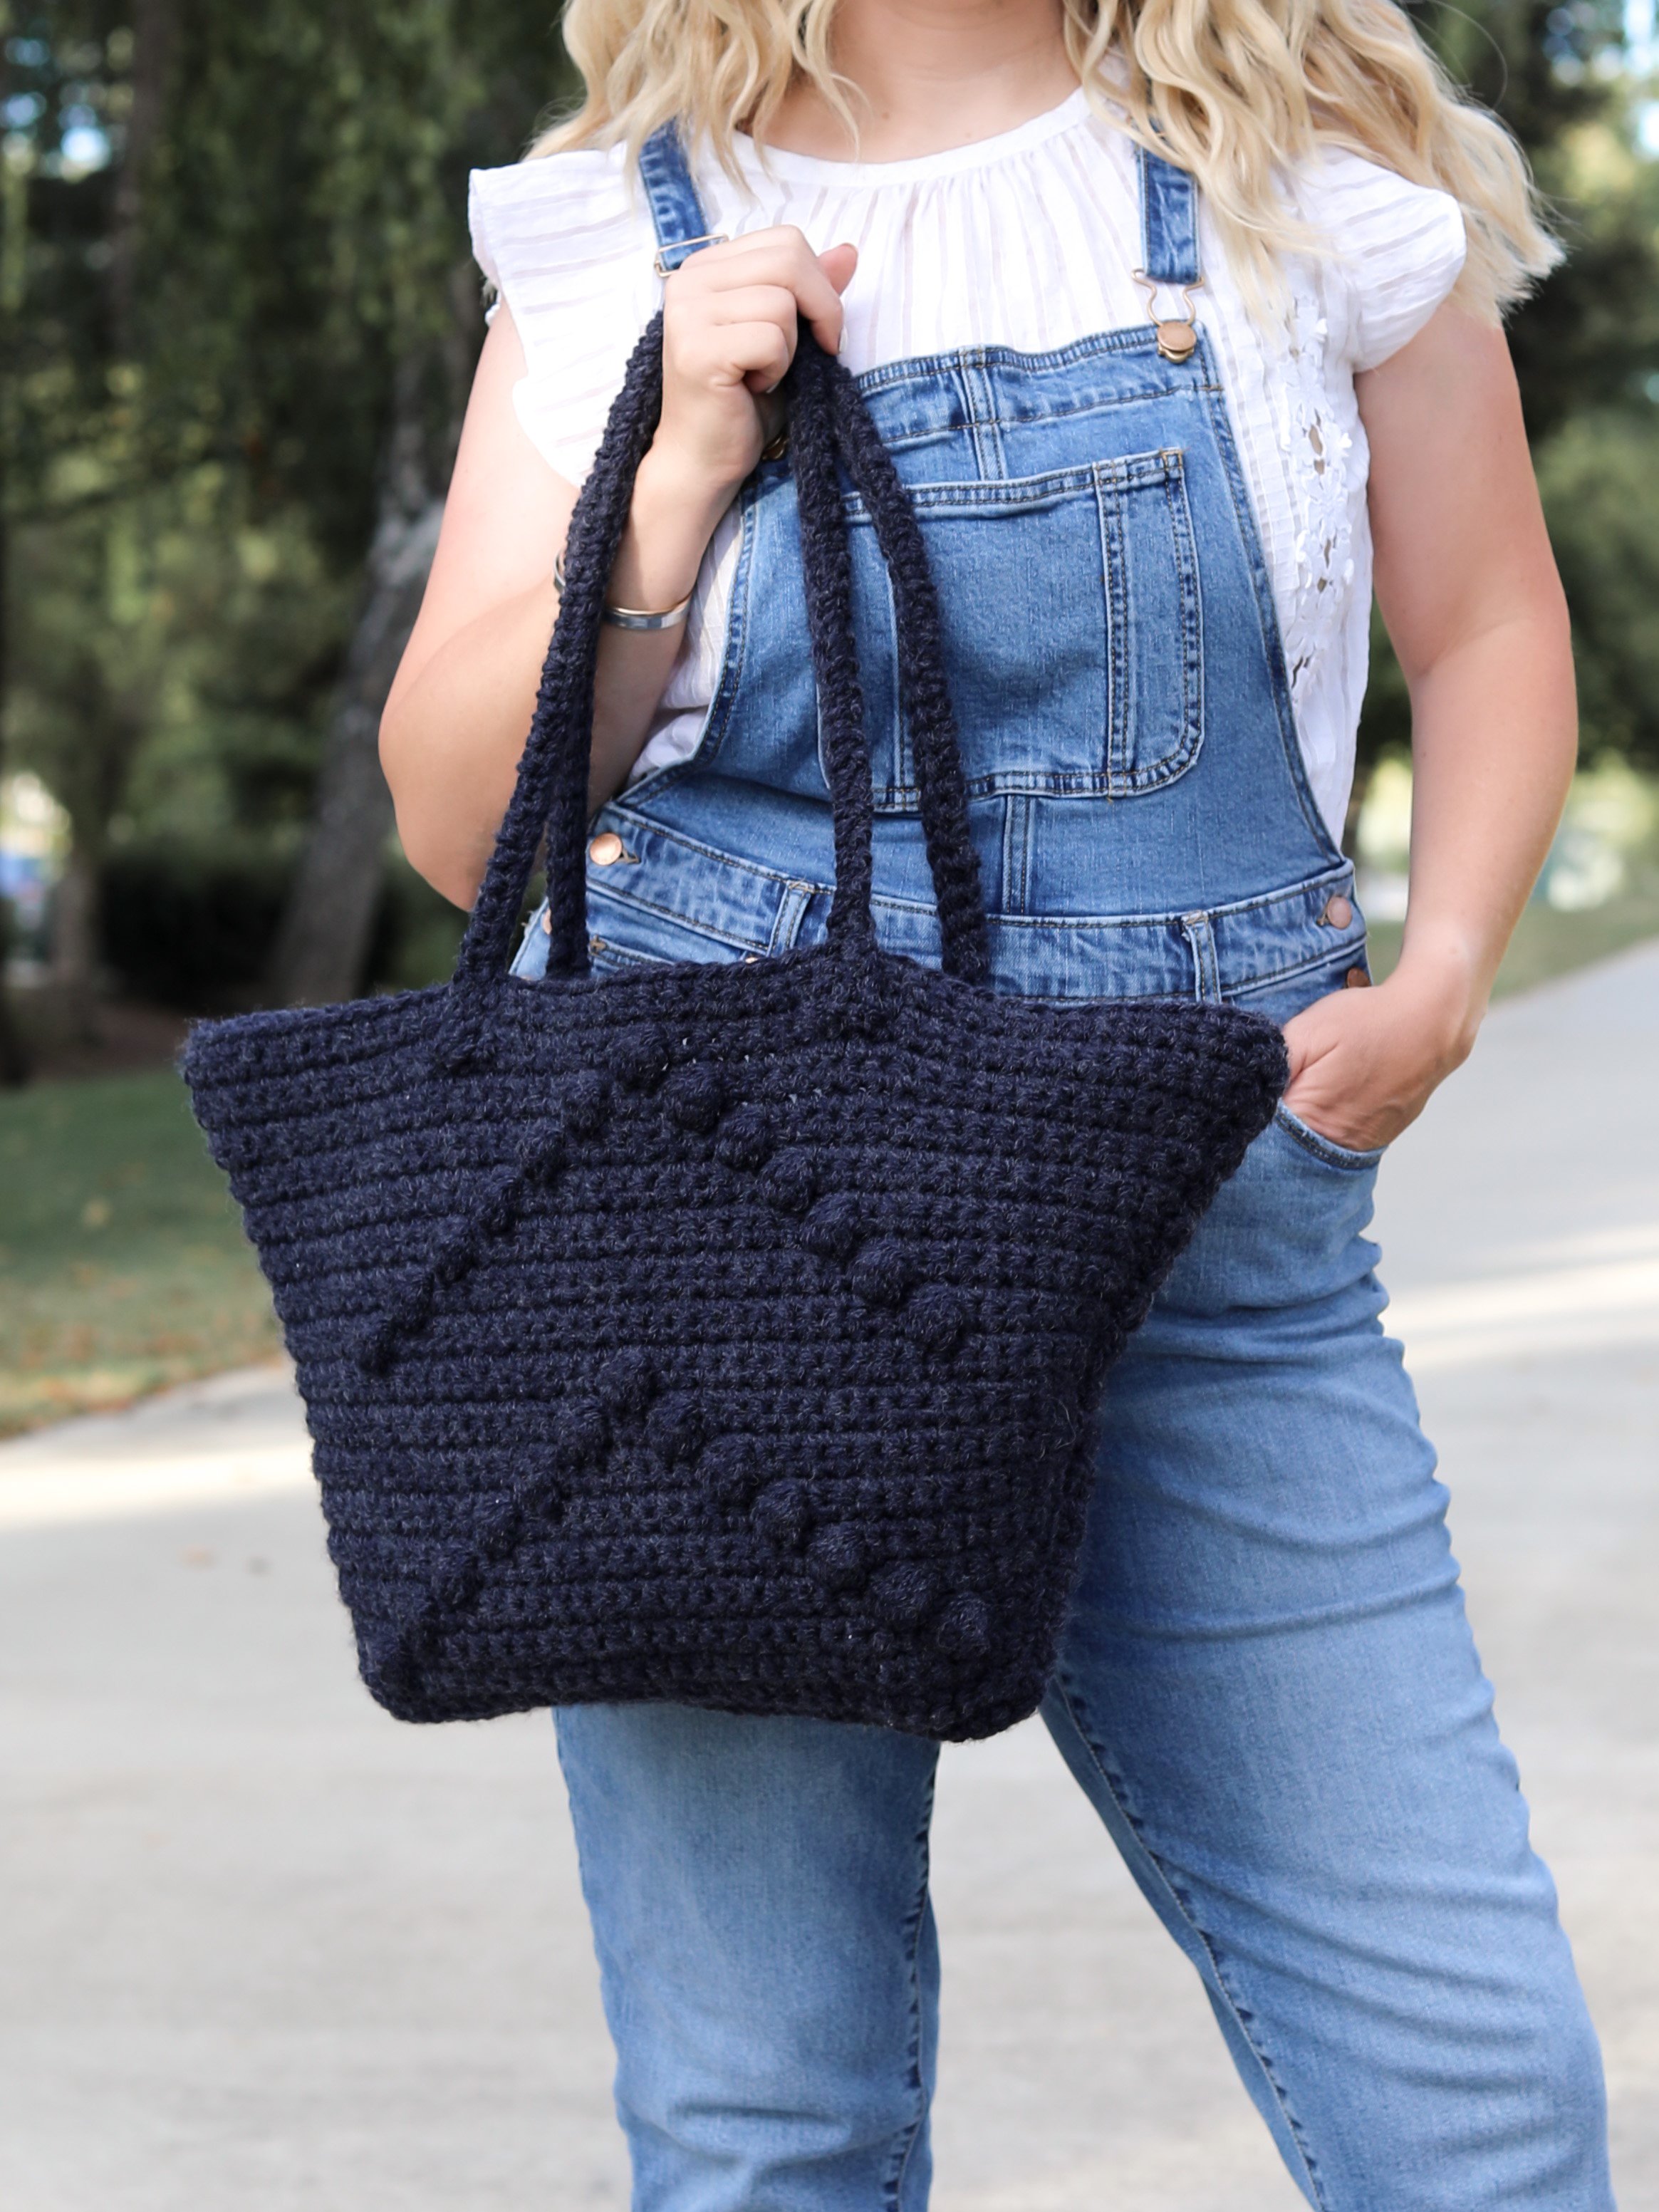
This bag works wonderfully for all seasons. Peep my Fall pic below. Geometric shaping details with the ever fun bobble stitch, and a sturdy construction due to crochets wrapped texture, make this bag capable of most things you throw at it. I took mine on a park trip recently and it carried the water bottles and food like a champ!
“ I just wanted to do another quick thank you for all your love and support of my designing. I am very excited to announce this design is available FREE on my Blog and as a Kit thanks to Lion Brand Yarn. Each and every Kit purchase you’ve ever made means me collaborating more and more with a company and yarn I find so dear to me. I can’t even begin to add up all the projects I’ve made through the years with their yarn. My latest combo is with my favorite go to Bulky Yarn. Order the kit, pick your combo, and happy stitching. If you reach out to me via email or IG, I’m happy to help give my thoughts on colorways to help you pick your perfect kit!” - Angie, now more from me below haha
I’ve noticed I’m definitely in a blanket, bag making mode this Summer. I haven’t made many garments as of late and I’m not even sad about it. There’s something so lovely about accessorizing your outfits with a little bit of DIY and getting that “I made this” joy. Some seasons in life we need those quick few hour projects from start to finish for that joy of finishing something new.

Regent Tote
Grab the kit! Select any colorway and the pattern is free from Lion Brand Yarn.
If you’re more of a knitter and would prefer a little soothing knit and purl combo, check out the link below. It has a more soft and flowy nature as all knitting does, but it’s the perfect tote when you need to carry around your wips and doing it in style to boot! I love how I can add all my tools, measuring tapes and yarn etc. to this one, and it fits with ease.

High Street Bag
Grab the kit! Select any colorway and the pattern is free from Lion Brand Yarn. OR you can also grab the PDF from my Etsy and Ravelry.
This project is also very affordable which is always a bonus! It only uses 2.5 skeins and this yarn is very easy to care for - which is bonus #2!!

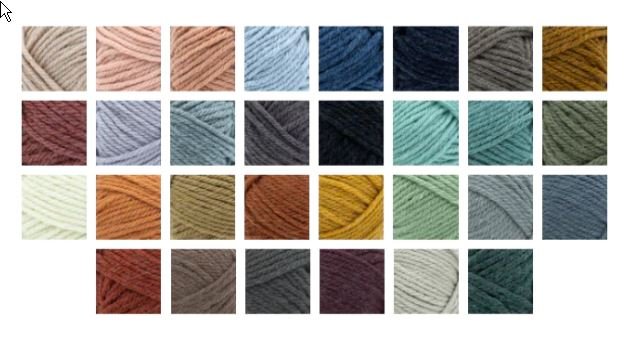
I worked this up in a fave as far as neutrals go but I’d also like to mention you could totally make yours using a pop of color to add to your OOTD. Grapefruit and the deep mustard tone in this tote would be amazing especially as we wade into the Fall months.

PATTERN INFO
METHOD: Crochet
DIFFICULTY: Beginner
SIZE: Tote
DESCRIPTION:
A sturdy tote that is lightweight and easy to carry! Ample storage and Geometric Texture make this a daily go to!
YARN:

Lion Brand Yarn in:
Lion Brand Hue and Me
137 yds, 4.4 oz, #5
200yds in “Peacoat”
Skeins: 2.5
HOOK
Clover Amour K (6.5 mm)
NOTIONS
Yarn Needle, 2 SMs
GAUGE
(unblocked) worked flat
10sts x 12rows = 4” in sc
*Matching stitches per inch will get your width to match.
NOTES:
Chain doesn’t count as a stitch.
Worked flat.
Two bag panels are sewn together.
Handles are worked flat, then seamed into a tube and attached to the bag. .
GAUGE
**Please check your gauge before you start this Pattern to match the finished measurements:
It’s best to make your swatch slightly bigger than what the pattern states it should measure, so you can measure it in the center of your square, getting an accurate reading. You can do this by adding 2 additional stitches and work 2 additional rows. Do not count the first and last stitch in your measurement or the first and last row.
Hook Size Suggestions:
If your swatch has less stitches, swatch again using a smaller hook.
If your swatch has more stitches, swatch again using a larger hook.
For an EASY TO READ, PRINTABLE PDF, shop below

A bit of history behind the name:
Regent Street is a major shopping street in the West End of London. It is named after George, the Prince Regent (later George IV). The street's layout was completed in 1825 and was an early example of town planning in England. Regent Street was one of the first planned developments of London. An ordered structure of London streets, replacing the mediaeval layout, had been planned since just after the Great Fire of London (1666) when Sir Christopher Wren and John Evelyn drew plans for rebuilding the city on the classical formal model. After a lack of progress, houses were rebuilt on the old street network anyway.
Regent Tote
Finished measurements (in inches). Throw will stretch a few inches with weight and drape.
Height: 13”
Including handles - 24”
Width: 21”
Strap length: 26.5”
Bobble - Work 1 Bobble Stitch. Work 3dc wraps on your hook (not closing them out, 4 loops should now be on your hook, yarn over, pull through all the loops on the hook.
ch - Chain
dec - Decrease
inc - Increase
sc - Single Crochet
2sc - (inc) Single Crochet twice into the same stitch
st (s) - Stitch(es)
SM - Stitch Marker
RS - Right side of the project
WS - Wrong side of the project
*When cutting your working yarn, leave a long enough tail so you can easily sew in your ends.
Want another cozy design to set your needles or hooks on?


Bag Panel - Make 2
Chain 30
Row 1: In the 2nd ch from the hook, sc29
Row 2: Ch1, turn, sc29
Row 3: Ch1, turn, 2sc, sc to the last st, 2sc - 31sts
Row 4: Ch1, turn, sc the row
NOTE:
Place a SM on each side of the center 25 stitches, this will be your bobble pattern section […] in the pattern. Remove and replace the SMs in the newly worked stitch as you go to keep track of your [bobble pattern]. See chart below.


Row 5: Ch1, turn, sc3, [bobble, sc23, bobble], sc3
Row 6: Ch1, turn, 2sc, sc the row, 2sc - 33sts
Row 7: Ch1, turn, sc4,[sc2, bobble, sc19, bobble, sc2], sc4
Row 8: Ch1, turn, 2sc, sc the row, 2sc - 35sts
Row 9: Ch1, turn, sc5, [sc4, bobble, sc15, bobble, sc4], sc5
Row 10: Ch1 turn, sc the row
Row 11: Ch1, turn, sc5, [sc6, bobble, sc11, bobble, sc6], sc5
Row 12: (Inc) Repeat Row 8 - 37sts
Row 13: Ch1, turn, sc6, [sc8, bobble, sc7, bobble, sc8], sc6
Row 14: Repeat Row 10 - 37sts
Row 15: Ch1, turn, sc6, [sc10, bobble, sc3, bobble, sc10], sc6
Row 16: (Inc) Repeat Row 8 - 39sts
Row 17: Ch1, turn, sc7, [sc12, bobble, sc12], sc7
Row 18: Ch1, turn, sc the row
Repeat Graph Design […], Rows 5-18 once more.
Your increase rows will be every 4th row. R20-41sts, R24-43sts, R28-45sts, R32-47sts
Row 33-34: Ch1, turn, sc the row
Cut yarn and weave in ends
DIAGRAM

Bag Panel Seaming
RS of the panels facing each other. Using a Whip Stitch, seam the panels together along the sides and bottom of the bag.
Handles - Make 2
Chain 66 sts
Row 1: In the 2nd ch from the hook, sc65
Row 2: Ch1, turn, sc65
Cut yarn

Creating your Handles
See pic. Starting 1” in from the end (leave a 12”yarn tail), Slip Stitch the beginning chain row to the last row, stopping 1” from the end. These flat ends will be sewn to the bag.
Cut yarn leaving a 12” tail
Repeat for both handles
Sewing on Handles
Placement: See main pic. The bottom of the handle is 1.5” down from the top edge of the bag, 6” in from the outer edges of the bag sides.
Step 1: Using your yarn tails, sew the handle ends down.
Repeat for both sides of the bag.
Weave in all ends.
Voila! You’re done! Steam block your bag.
