
Pumpkin Spice Blanket

NEW - Available as a Kit through Lion Brand Yarn, PDF in my Ravelry, Etsy and LoveCrafts shops!
A bit of inspiration behind the name: Pumpkin Spice Blanket
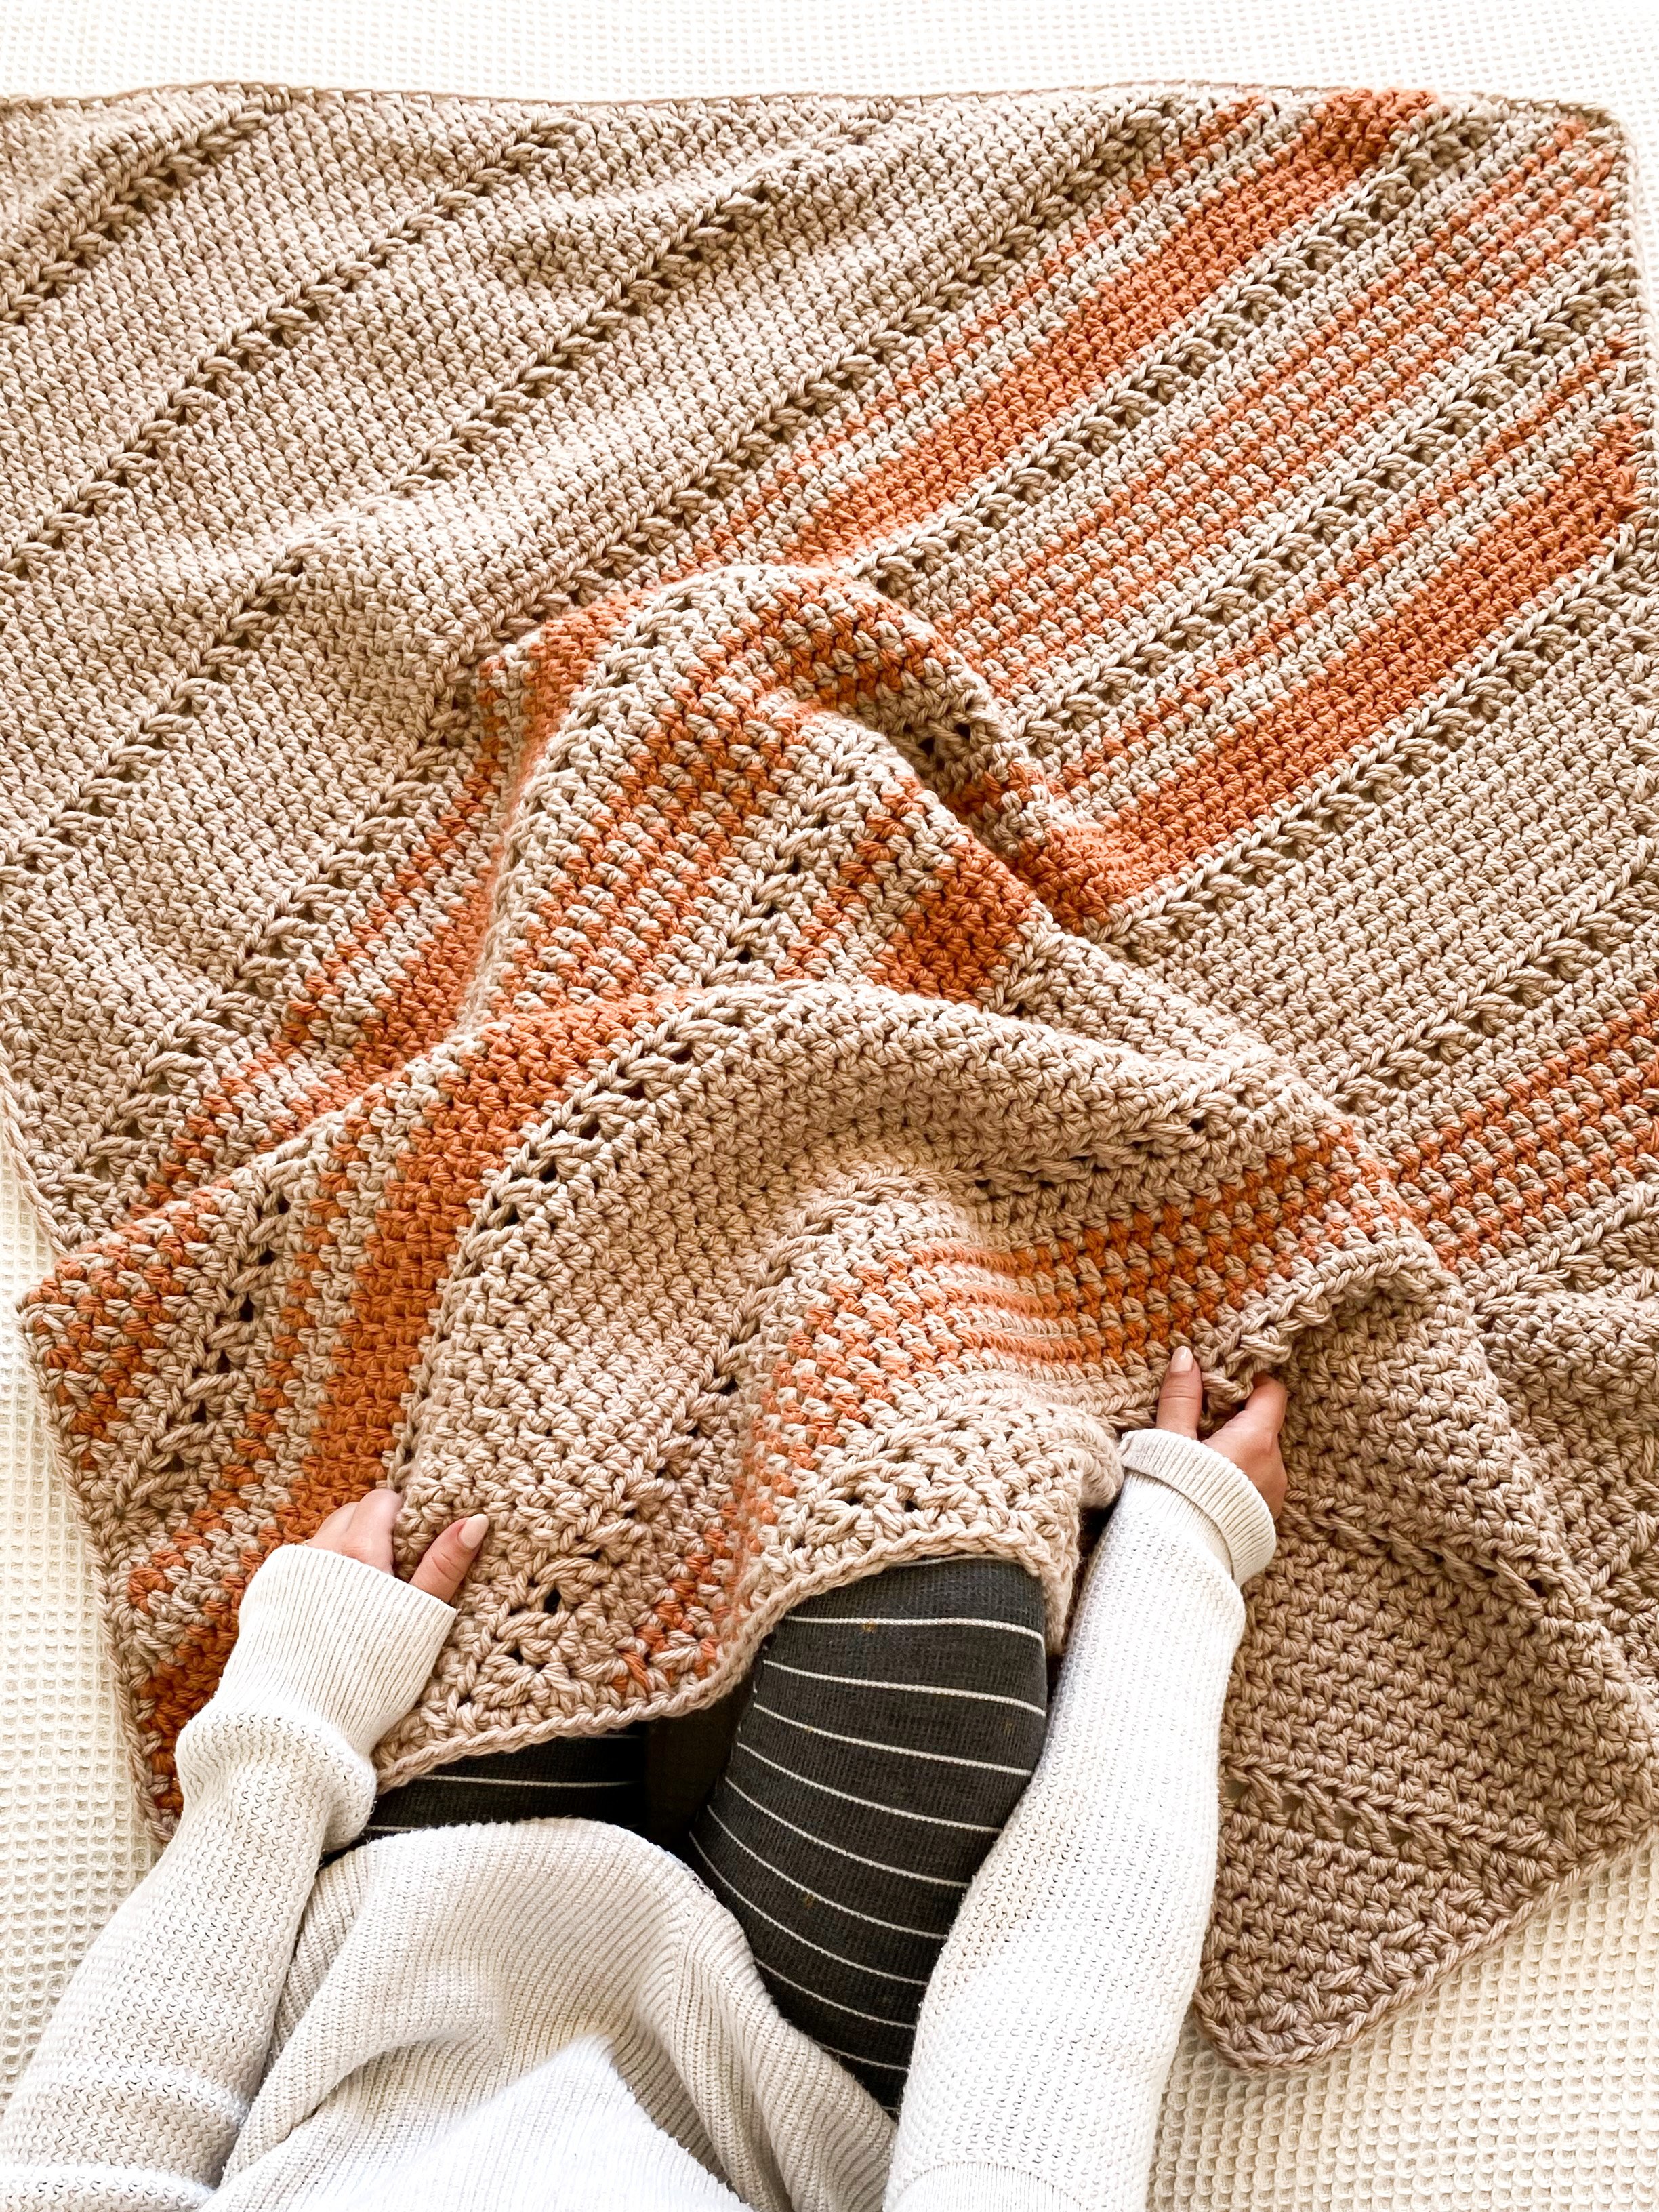
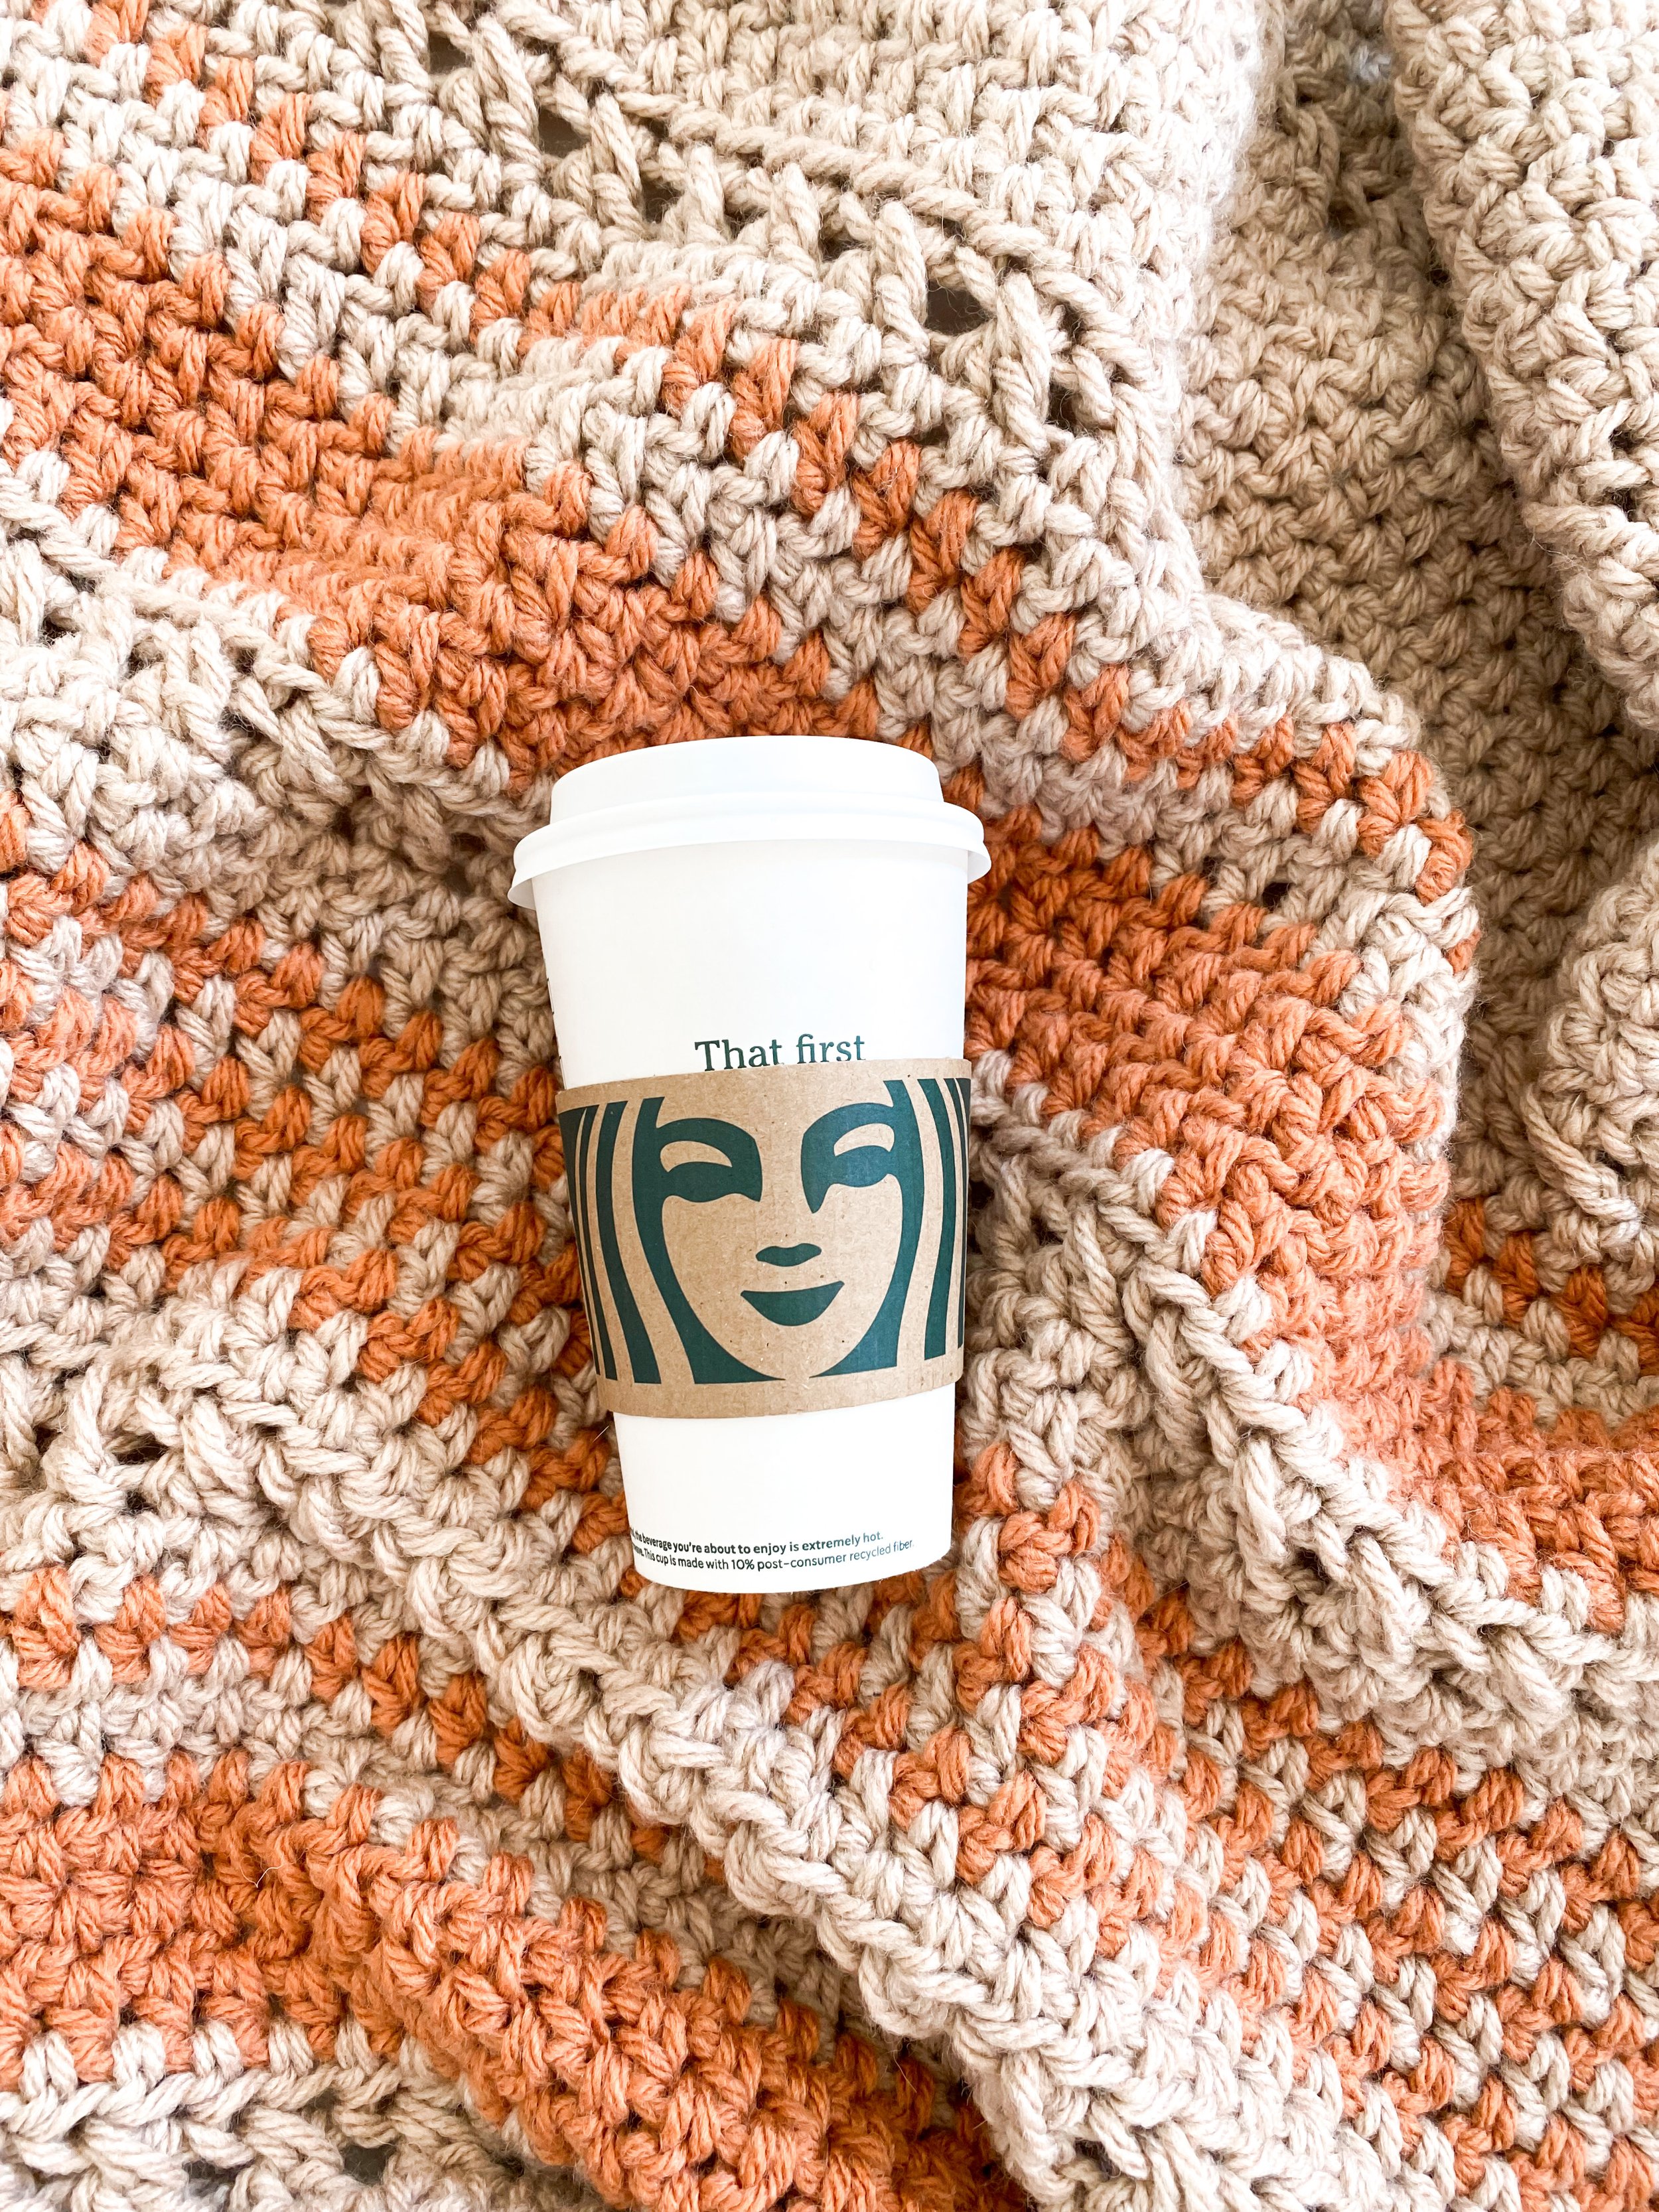
One of my favorite things about Fall is when pumpkin flavor anything comes back! Donuts, pie, YUM! In particular, my PSL! A Pumpkin Spice Latte is the yummiest if you ask me and when I wanted a cozy blanket to embrace my love for Fall, I knew I found the perfect match in these two colorways. It’s my favorite coffee all rolled into a blanket! The great thing about this blanket is you can make it in your favorite colors and then bundle up - be cozy!
“ I just wanted to do another quick thank you for all your love and support of my designing. I am very excited to announce this design is available as a Kit thanks to Lion Brand Yarn. Each and every Kit purchase you’ve ever made means me collaborating more and more with a company and yarn I find so dear to me. I can’t even begin to add up all the projects I’ve made through the years with their yarn. Order the kit, pick your combo, and happy stitching! If you reach out to me via email or IG, I’m happy to help give my thoughts on colorways to help you pick your perfect kit!” - Angie. (Now more from me below… haha!)

Pumpkin Spice Blanket
Grab the kit! Select any colorway and the pattern is free from Lion Brand Yarn.
Match mine or make your own Fall inspo!!
It’s perfectly normal to make a design after your favorite Fall treat, right? I totally agree haha! I get such a cozy comfy vibe everytime I get my eagerly waited for PSL as soon as they hit the menu, that I thought it’d be so fun to carry on that cozy vibe with some handmade goodness! As soon as I saw these colors, the vibe was complete. If you follow me on Instagram (if you don’t, join me! I have tutorials and all the behind the scenes of the whole design process), then you know I went with carefree, random stripes with this one! I normally love a complete repeat but the way these worked up, make me so happy! Thrilled I went with the subtle uneveness of it all.

Pumpkin Spice Blanket on Etsy
Beginner, Bulky Weight, Crochet
The yarn in this project really packs some warmth too! It uses 10 skeins but you get a really big throw/blanket, and it’s still lightweight. I love the lightness but warmth you can get from bulky!
Even though I was in such a fall mood as soon as August hit, I knew I wanted a blanket to represent my favorite Fall go to. Keep in mind you can just work this up in neutrals, brights, anything! I think all combos would flourish with this design!

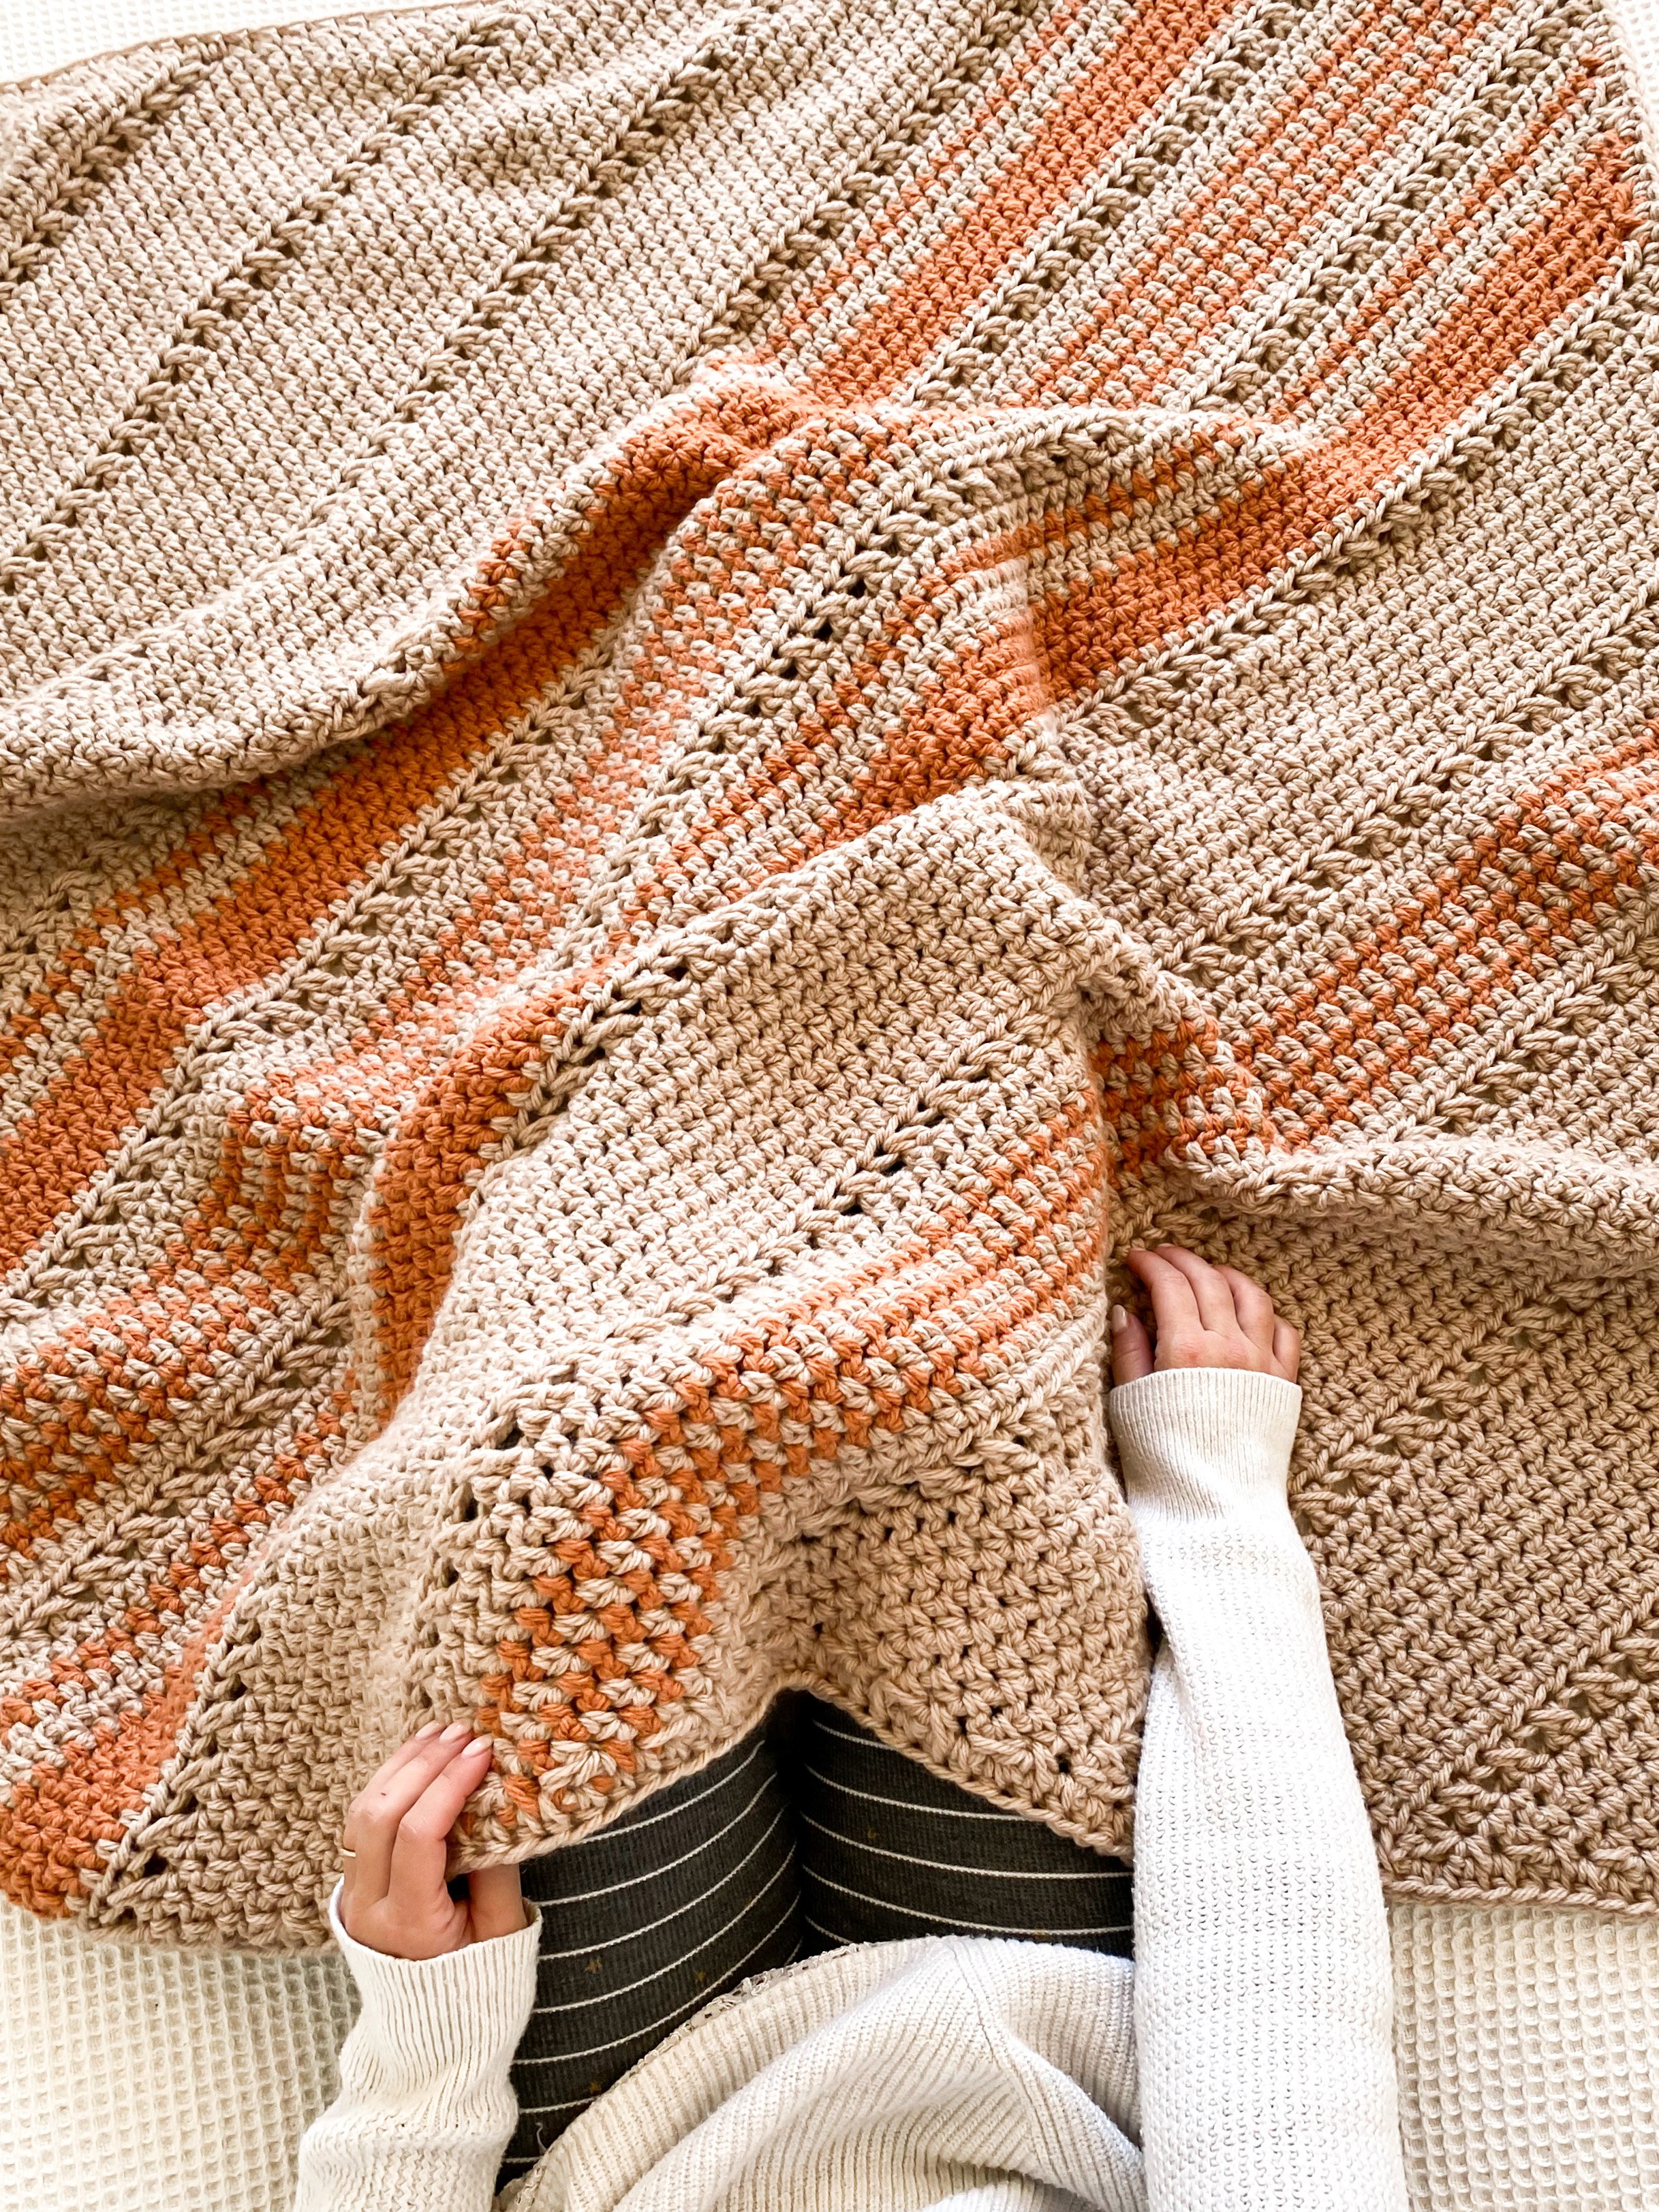
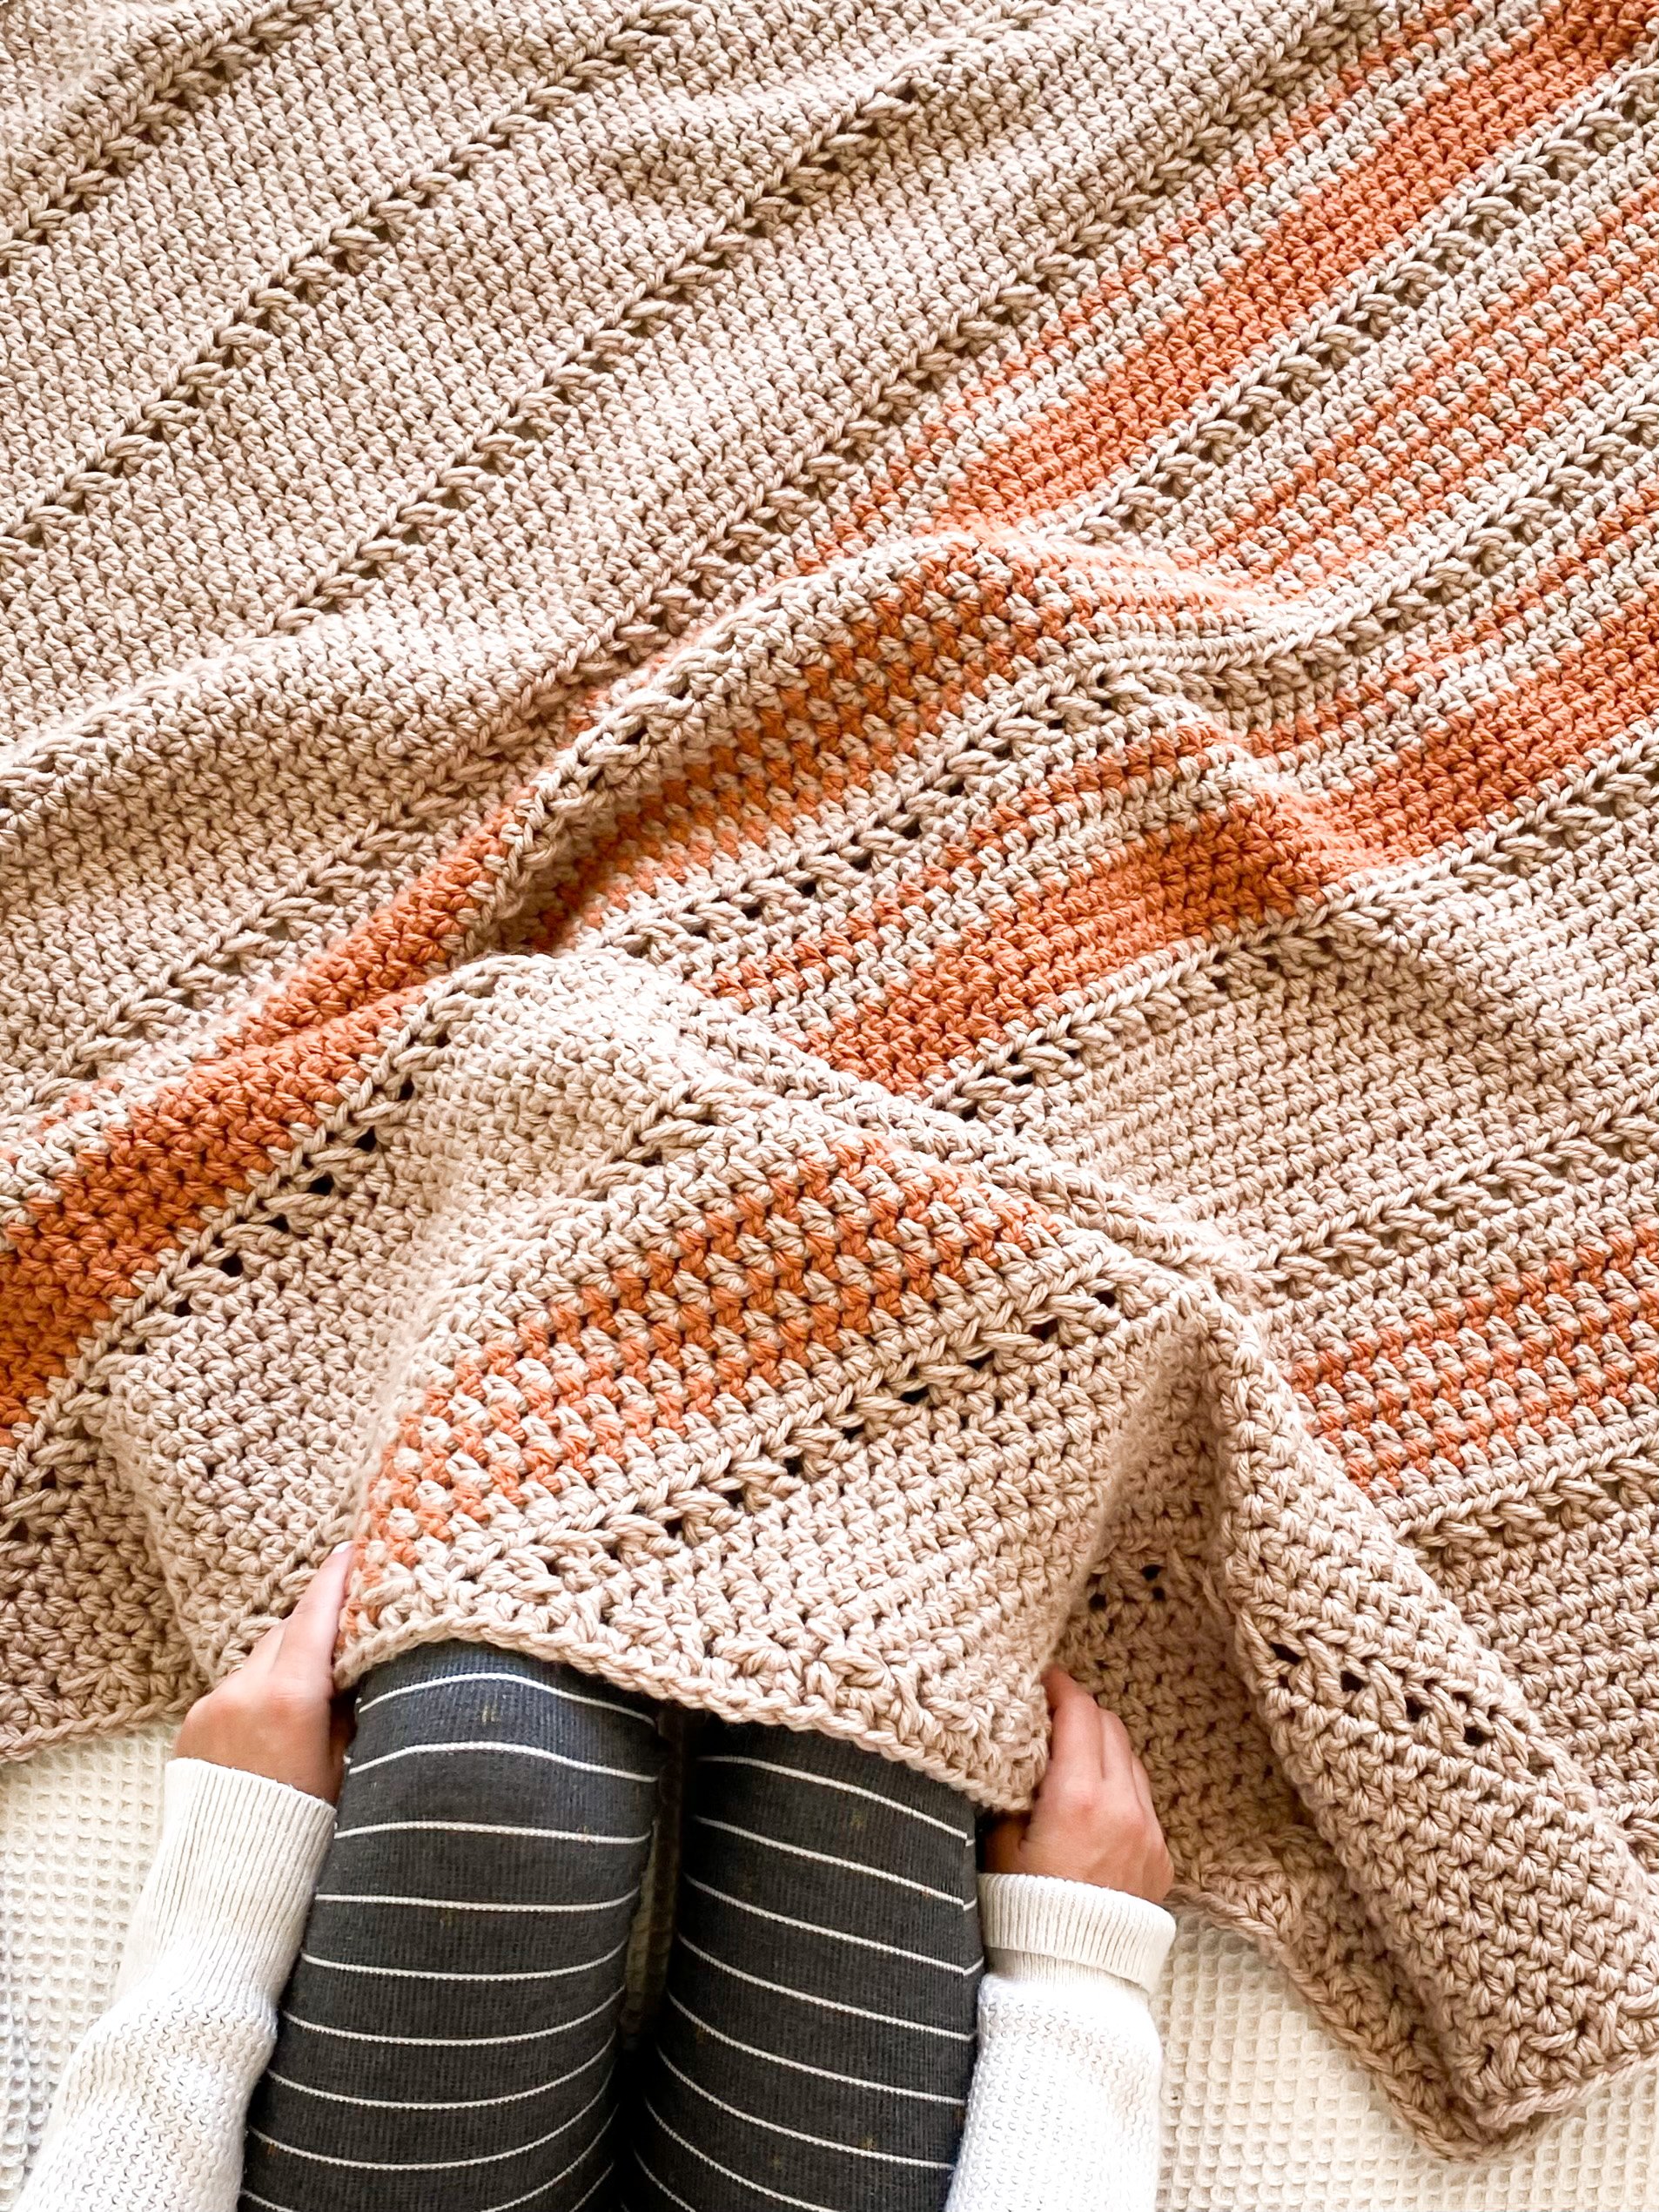
As you see here the texture goes diagonal. This blanket is worked on the bias. If you haven’t done that before, it sounds more fancy skill wise then it is. With simple increases on each end, you watch this beautiful texture take place. Also, yes, I do have a quick video tutorial for this, it’s on my IG. So if you haven’t already, join me on there, let’s be yarn friends!
Add the bias texture with some stripes and crochet texture through a simplet 12 row repeat, and you get this cozy beauty! It’s a beginner friendly blanket, and the beauty of that is it doesn’t look like it. Those are my favorite kind of projects. So enjoy this, be warm, be cozy!
PATTERN: Pumpkin Spice Blanket
METHOD
Crochet
DIFFICULTY
Beginner
SIZE
One size
DESCRIPTION
My favorite latte in a blanket! These colors reminded me of my favorite PSL coffee and helped add an extra dose of cozy to it! The relaxing repeat worked on the bias is full of texture whilst having a fun blend of random stripes!
YARN
Lion Brand, Hue and Me
137 YD, #5, 4.4 oz.
80% Acrylic, 20% Wool
Skeins needed:
8 - Color A- Desert
2 - Color B- Grapefruit
HOOK
Clover Amour M (9 mm)
NOTIONS
Yarn Needle
GAUGE
7 sts x 7 rows = 4” of hdc between posts
NOTES
Beginning chain doesn’t count as a stitch.
Odd rows are RS rows, even are WS rows.
This blanket is worked on the bias. Matching gauge or getting very close, ensures your blanket will be a similar size.
I didn’t carry my yarn up the sides because the distance was too much. Cut your yarn between changes. We will work a Color A edging around the blanket when it is done, so the color changes and beginning chain will be a smooth edge.
The blanket works up in a 10 row repeat: 8 rows of hdc between posts, an X Stitch row, then a normal hdc row (not between posts). 9 hdc rows are between each X Stitch row.
The only thing that changes is you’re adding stripes and adjusting the beginning increases and decreases when indicated to create a rectangle shape, worked diagonally.
GAUGE
**Please check your gauge before you start this Pattern to match the finished measurements:
It’s best to make your swatch slightly bigger than what the pattern states it should measure, so you can measure it in the center of your square, getting an accurate reading. You can do this by adding 2 additional stitches and work 2 additional rows. Do not count the first and last stitch in your measurement or the first and last row.
Hook Size Suggestions:
If your swatch has less stitches, swatch again using a smaller hook.
If your swatch has more stitches, swatch again using a larger hook.
PATTERN INFO
Thank you so much for your shop support! I hope you love it! Contact me for any help or questions you might have along the way.
**This Pattern is a copyright of Whistle and Wool© so you may not copy, alter, adjust, share, record, redistribute or resell my Pattern. No tutorials or any kind of demonstrations may be made using any information contained in my Pattern. I do not mind if you wish to sell a completed HANDMADE item and you are a small independently owned business, however, you do not have permission to use ANY of my photos. If you do sell a completed item, please list credit of the design belonging to me, Whistle and Wool and a link to my shop. www.WhistleandWool.com

Finished measurements (in inches)
Width
45.5”
Length
54.5”
Stitches to Know
ch - Chain
dc - Double Crochet
dc2tog - dc two stitches together for a dec
dec - Decrease
hdc - Half Double Crochet
2hdc - hdc two stitches into the same stitch for an inc
hdc2tog - hdc two stitches together for a dec
inc - Increase
sts - Stitch(es)
RS - Right side of the project
WS - Wrong side of the project
X Stitch - Skip 1 stitch, dc1 in the next st, now dc1 in your previously skipped st
*When cutting your working yarn, leave a long enough tail so you can easily sew in your ends.

PATTERN
Chain 3 in color A
Row 1: In the 3rd ch from the hook, hdc 3 times in the same stitch - (3 sts)
NOTE:
Your beginning chain does not count as a stitch
All hdcs are worked between posts throughout the pattern unless otherwise stated (stitch count + color chart on pg 6+7). Chart available on the paid PDF only
Inc Section
Row 2: Ch2, turn, 2hdc, hdc1, 2hdc - (5 sts)
inc only worked at first and last sts, every increase row goes up by 2 sts (X Stitch rows have no inc)
Row 3-10: Ch2, turn, 2hdc, hdc till last stitch, 2hdc - (21 sts)
Row 11: Ch3, turn, X Stitch for the row, last stitch is a dc1 - (21 sts)
Row 12: Ch2, turn, 2hdc between posts, hdc in the regular way for the row, (not between posts) till the last st, 2hdc between posts - (23 sts)
Row 13-20: Repeat Row 3 - (39 sts)
Row 21: Repeat Row 11 - (39 sts)
Note: Continue repeating Rows 12-21 according to stripe pattern, either following the written instructions below, or using the table on pg 6 (paid PDF only)
Row 22-41: Repeat Rows 12-21 - (75 sts)
Row 42: Repeat Row 12 - (77 sts)
Row 43: Color B, repeat Row 3 - (79 sts)
Row 44-45: Color A, repeat Row 3 - (83 sts)
Row 46-49: Color B, repeat Row 3 - (91 sts)
Row 50-52: Color A, repeat Rows 10+11+12 - (95 sts)
Row 53: Color A, repeat Row 3 - (97 sts)
Row 54: Color B, repeat Row 3 - (99 sts)
Dec/Inc Section
Note:
For this section RS rows begin with an increase and end with a decrease. WS rows begin with decrease and end in an increase.

Row 55: Color A, ch2, turn, 2hdc, hdc the row, ends in a hdc2tog (decrease) - 99 sts (stitch count remains the same for this section)
Row 56: Color B, ch2, turn, hdc2tog, hdc to the last st, 2hdc
Row 57: Color A, repeat Row 55
Row 58: Color B, repeat Row 56
Row 59: Color A, repeat Row 55
Row 60: Color A, ch2, turn, hdc2tog, hdc to the last st, 2hdc
Row 61: Ch3, turn, 2hdc, X Stitch the row until the last 3 sts, dc1, dc2tog the last 2 sts
Row 62: Ch2, turn, hdc2tog, hdc regular way to the last st, 2hdc
Row 63: Color B, repeat Row 55
Row 64-65: Color A, repeat Row 56+55
Row 66-69: Color B, repeat Row 56+55
Dec Section
Note:
For this section decreases are worked on both ends now to close up our rectangle shape - each row decreases 2 sts
Row 70: Color A, ch2, turn, hdc2tog, hdc the row, hdc2tog - (97 sts)
Row 71: Ch3, turn, dc2tog, X Stitch the row until last 3 sts, dc1, dc2tog - (95 sts)
Row 72: Ch2, turn, hdc2tog, hdc the regular way until the last 2 sts, hdc2tog - (93 sts)
Row 73-80: Repeat Row 70 - (77 sts)
Row 81: Repeat Row 71 - (75 sts)
Row 82: Repeat Row 72 - (73 sts)
Row 83: Repeat Row 70 - (71 sts)
Row 84: Color B, repeat Row 70 - (69 sts)
Row 85-88: Repeat Rows 83+84, twice - (61 sts)
Row 89-90: Color A, repeat Row 70 - (57 sts)
Row 91-110: Repeat Rows 71-80 - (17 sts)
Row 111-117: Repeat Rows 71-77 (3 sts)
Last 2 rows
Row 118: Ch2, turn, hdc2tog, hdc1 - (2 sts)
Row 119: (RS) ch2, turn, hdc2tog - (1 st)
Do not cut the yarn
SC Edging
Next: (RS) no turn, ch2, RS, were going to hdc along the blanket edge. Go off how it’s looking, evenly space them so you don’t get pulling or spaces (not enough hdc’s) or a ripple (too many hdc’s). When you get to a blanket corner, 2hdc in the same space for a slight increase which helps the edge to lay fat and not roll inwards. When you get to the end, work an extra hdc, then Sl St to join it in the round.
Cut yarn, and weave in all your ends.
Voila! You’re done! Block and enjoy!

