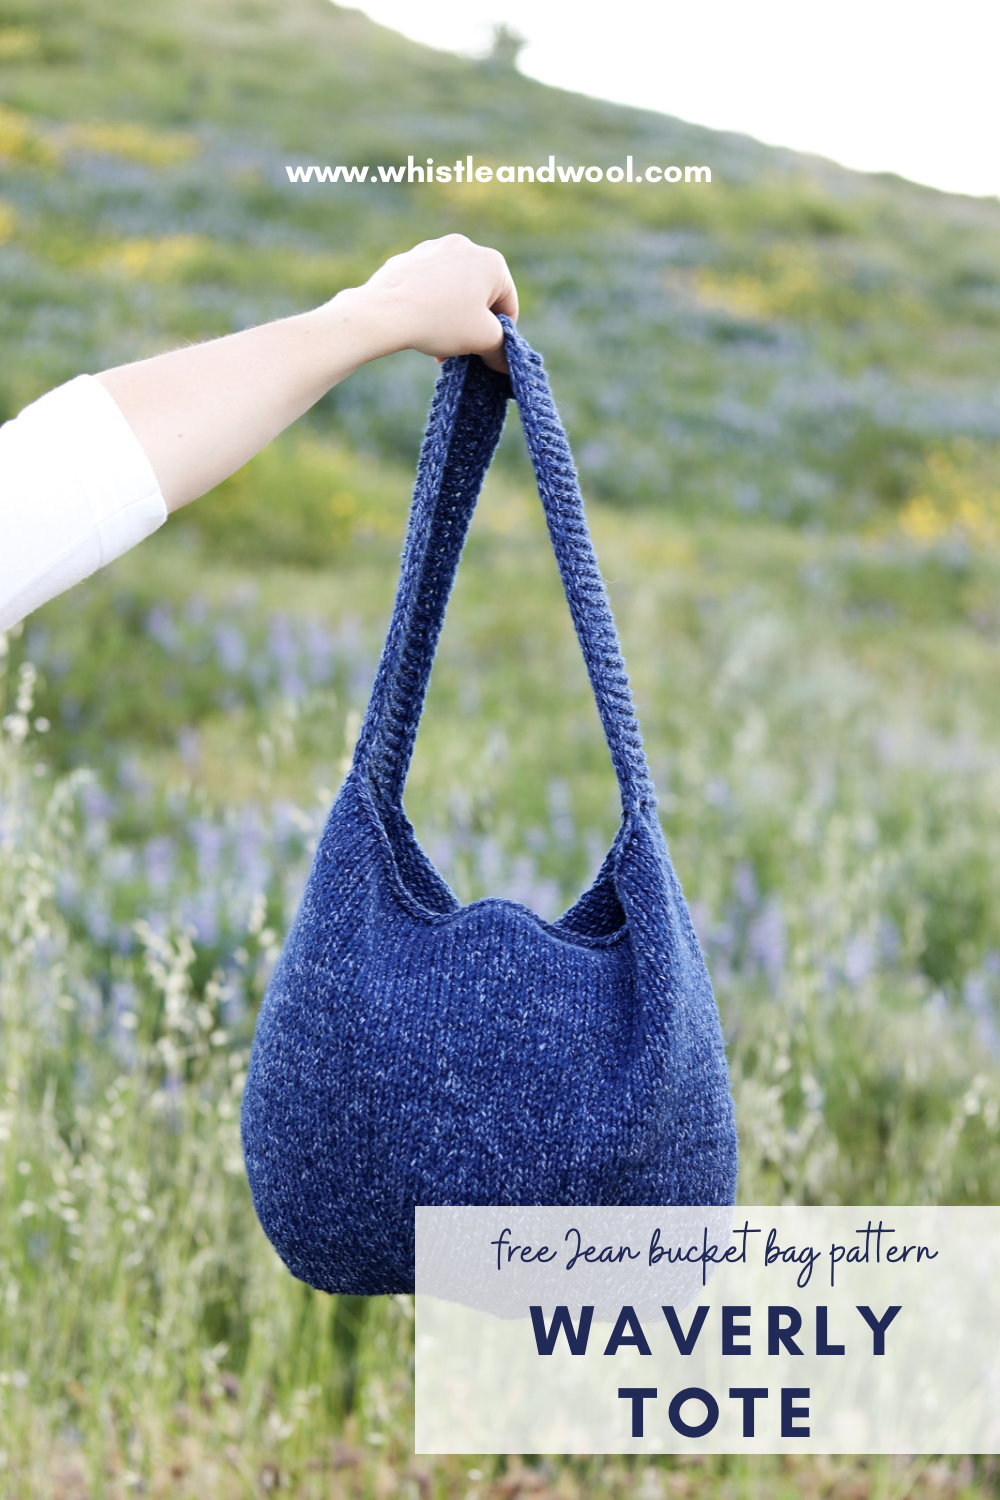
Waverly Tote
A bucket bag worked up in Jeans yarn that adds a timeless look to any outfit!
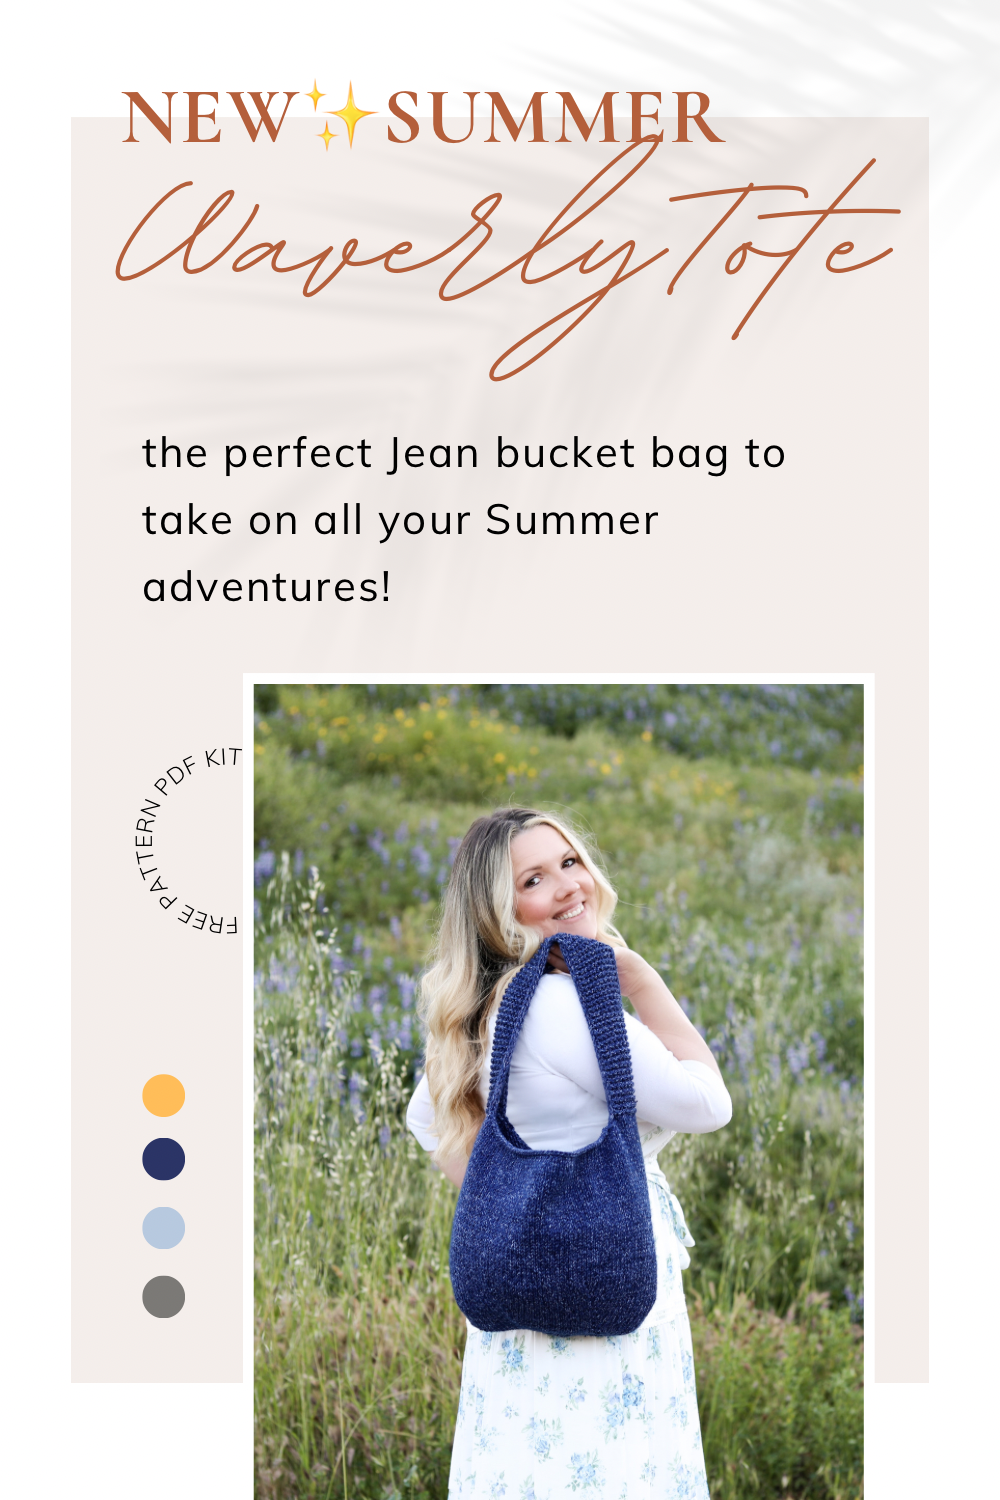
A bucket bag worked up in Jeans yarn that adds a timeless look to any outfit! The increase section mimics a wave texture adding a casual beach day vibe. Knitting with yarn held double adds durability while creating a light and airy tote!
Too many wips on the go right now? PIN this for later!!

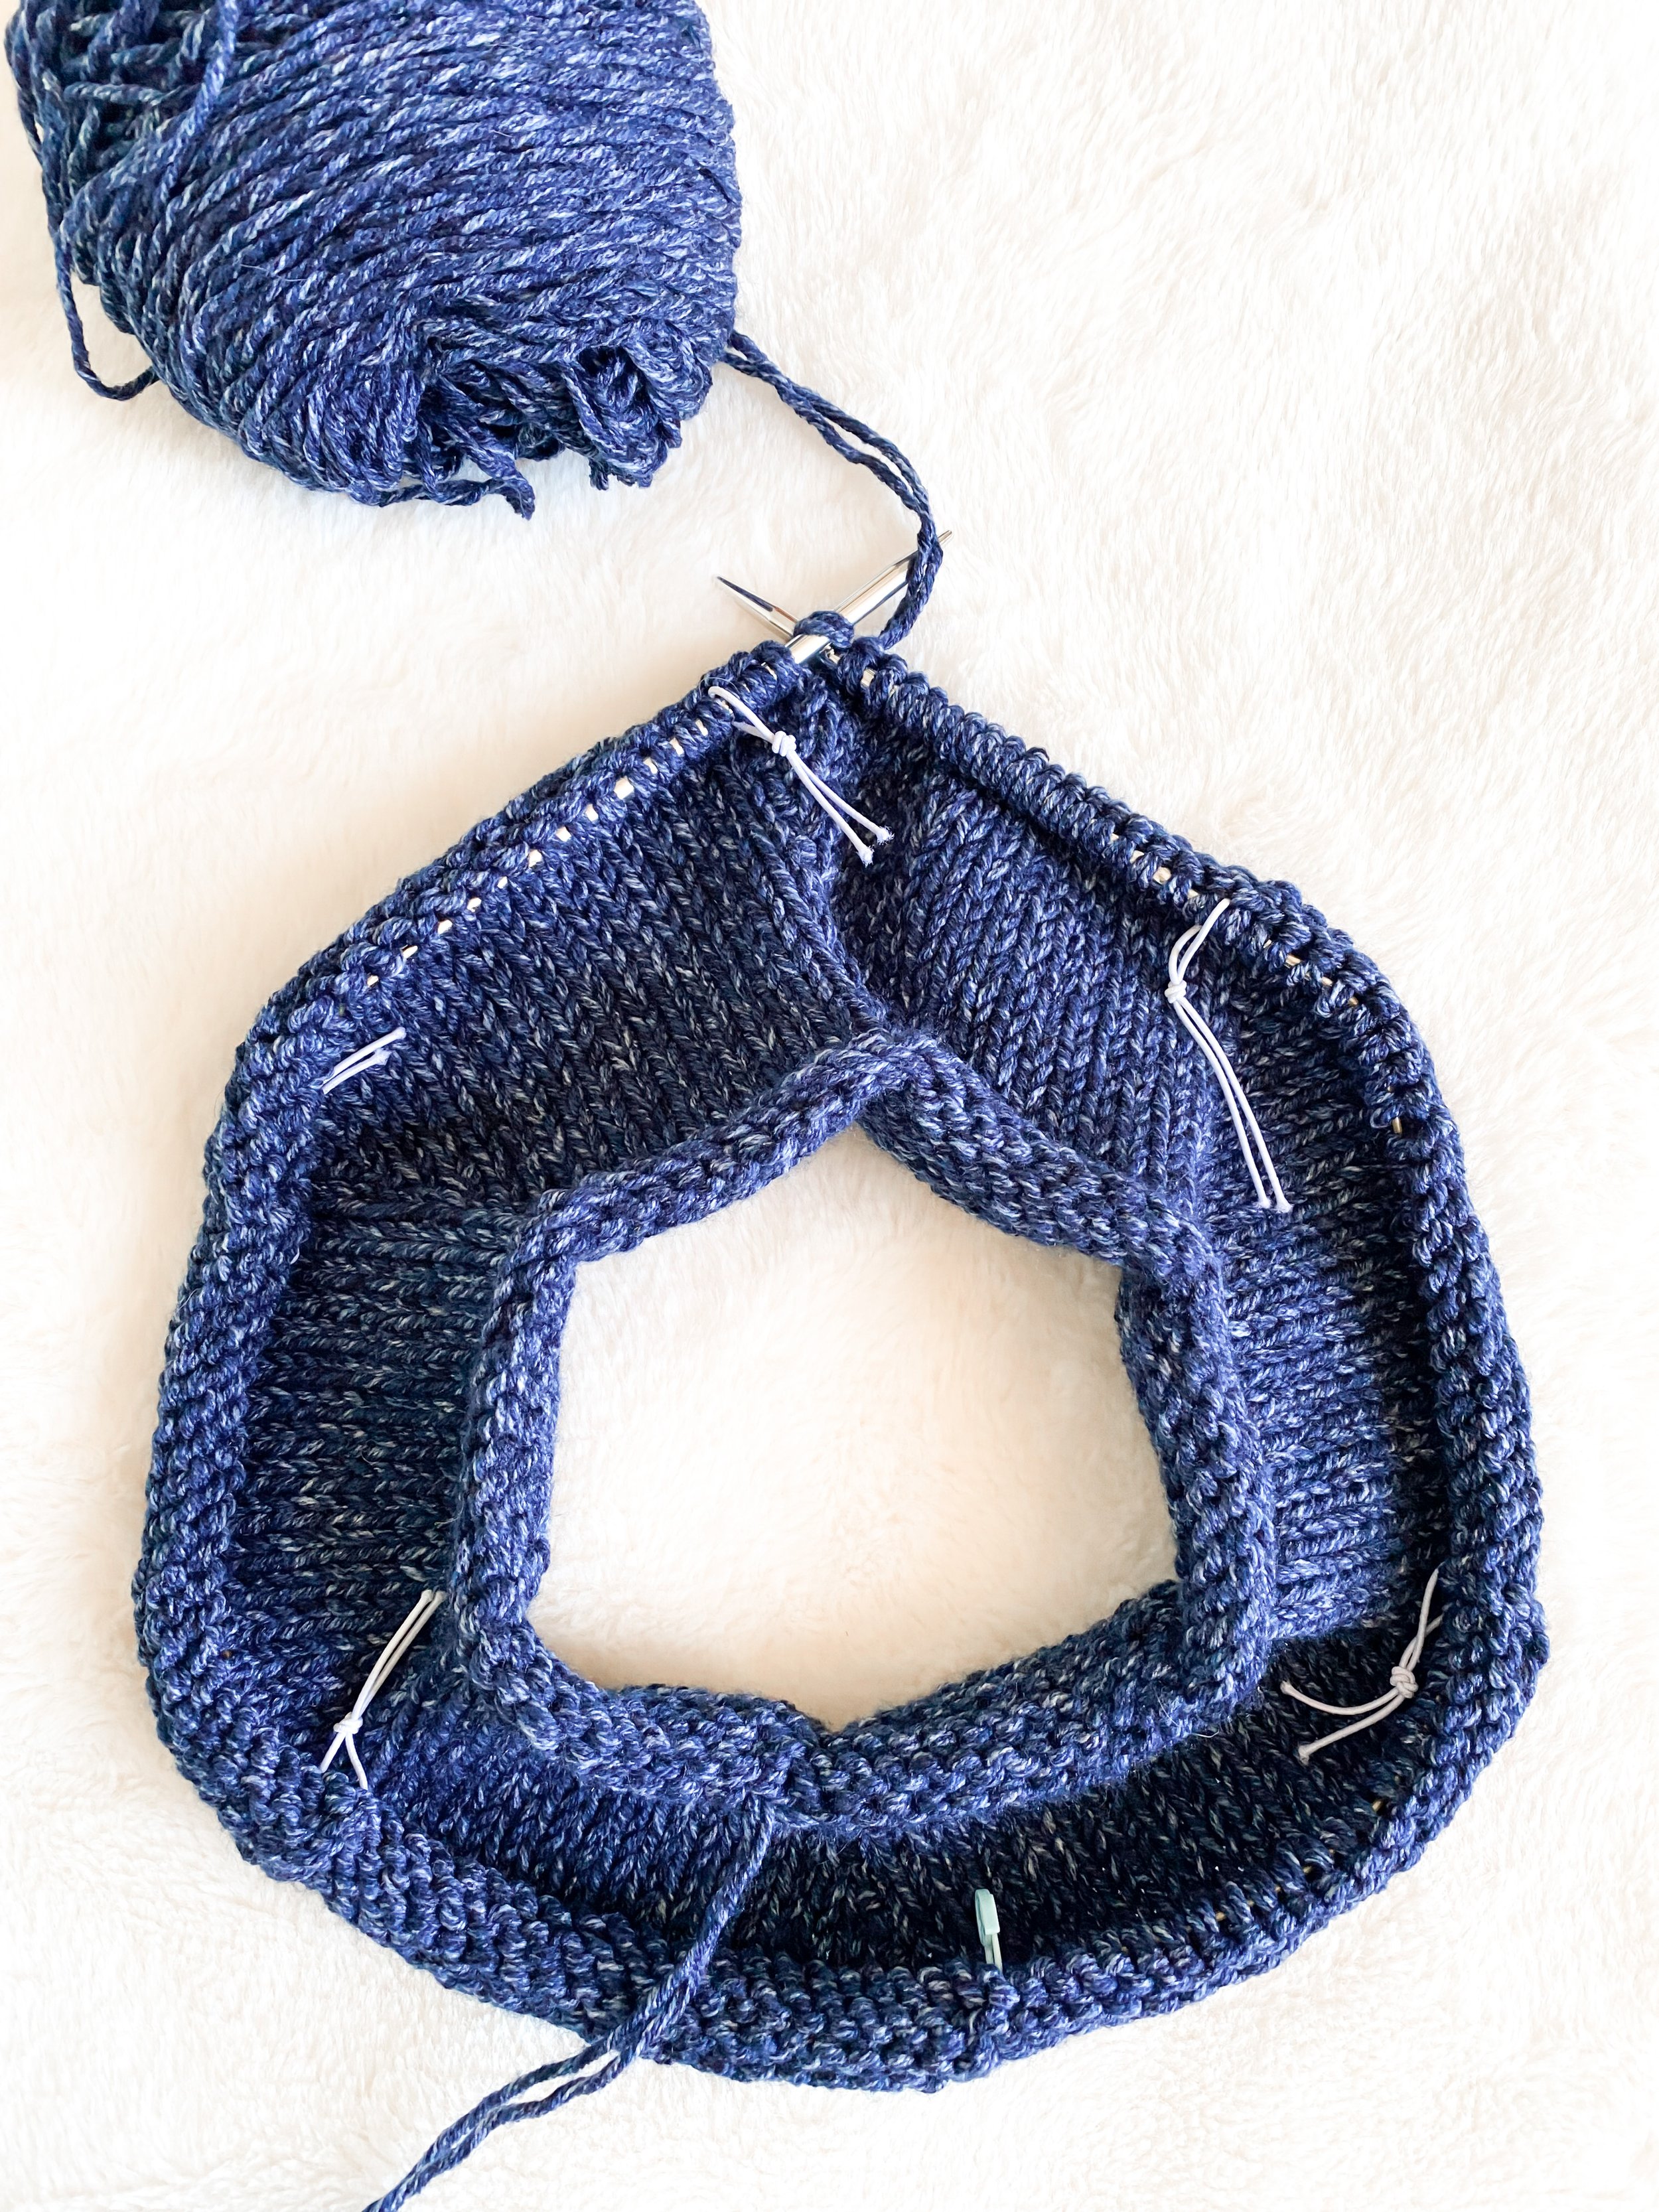
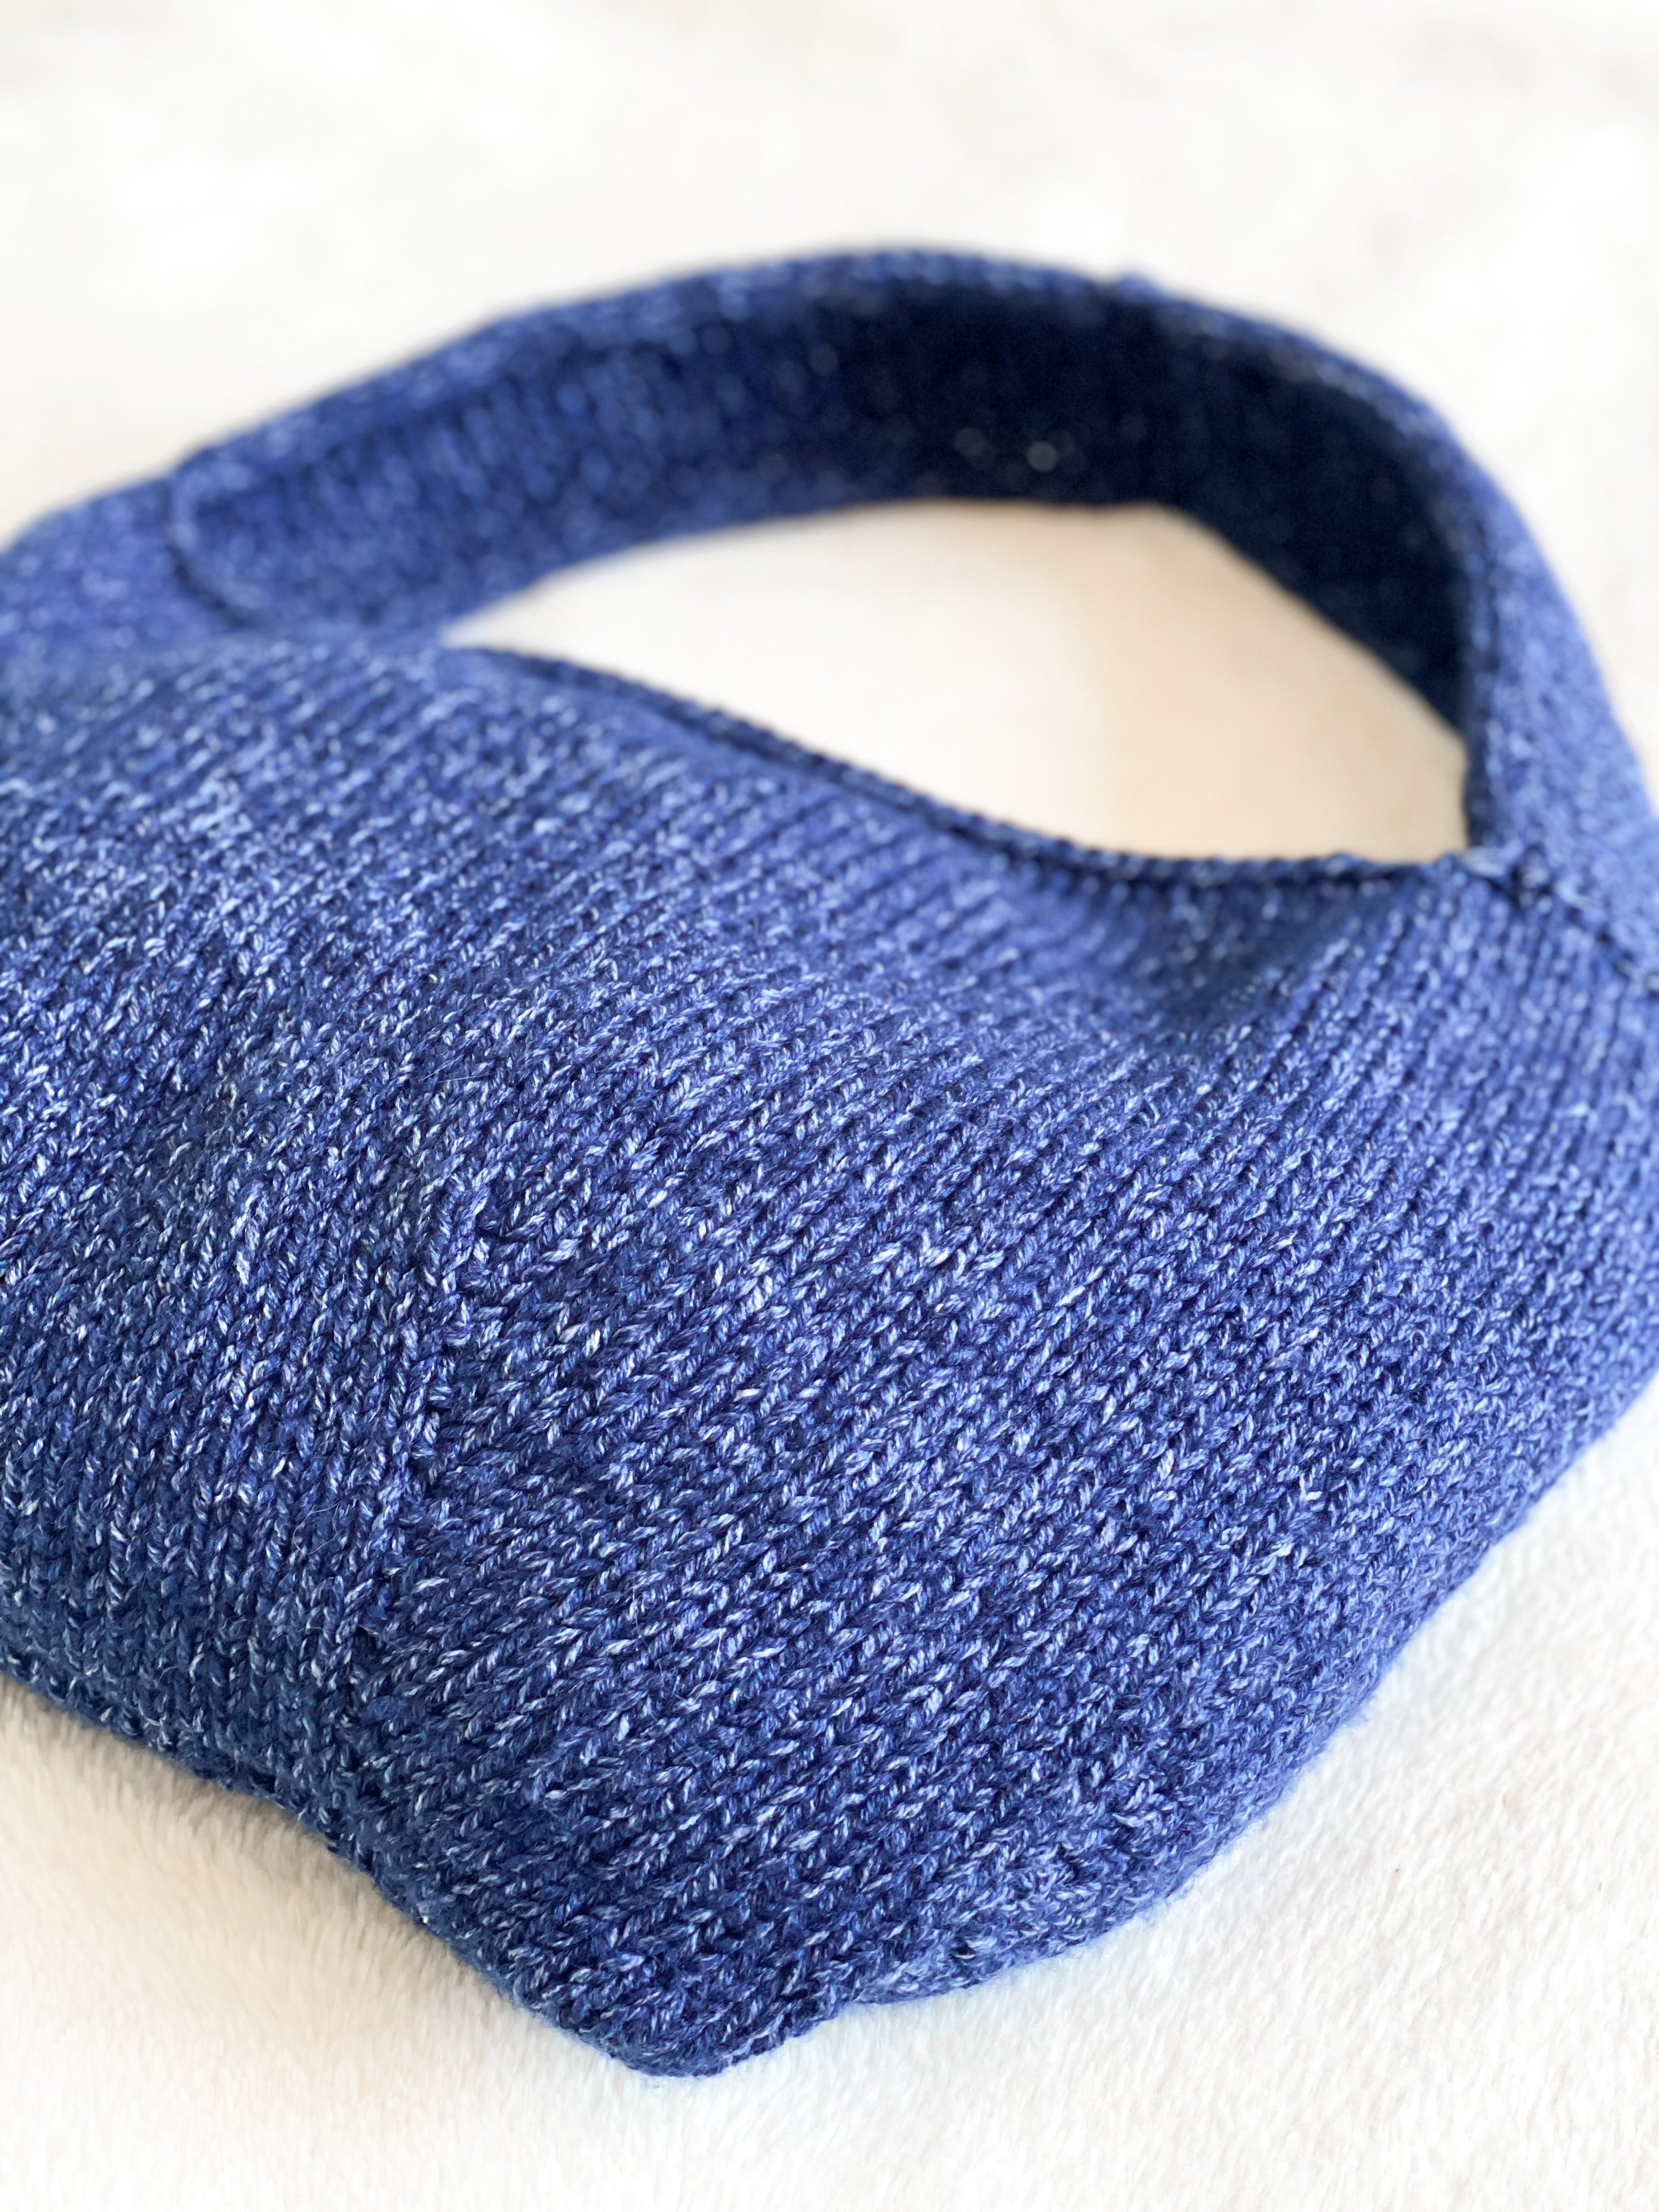
CONSTRUCTION: Quick, easy, and durable—an ideal knit tote! The bag body is worked in the round to create a wide bucket base that can accommodate all your summer essentials, and the best part is you don't need circular needles! The base is seamed at the end to enhance the bag's durability, once you complete the straps. I particularly adore the wave-like increases at the base, subtly referencing its name. Additionally, the i-cord edging along the straps adds the much-needed durability to the straps and gives it that finishing touch. Love that!

HOW TO GET THE PATTERN:
Make this FREE with the blog post at the bottom of this post
Grab the PDF from my Etsy or Ravelry. In case you need a worsted yarn substitute, Lion Brand offers a wide variety to choose from - simply click here!!
Get the KIT with Lion Brand Yarn, where you can select any skein from the color lineup and receive the pattern for FREE! Get the KIT
"The links provided above are affiliate links that I have specifically created for LB and me, for your convenience!"

A bit of inspo behind the name:
When I set out to create something fun for Summer, my main focus was having it match the cute and fun vibe of this yarn from Lion Brand! I love how it really emulates Jeans material, but is as soft as can be. Since this tote was knitted, l made sure to add sturdy elements so it can keep with a busy day and have plenty of room. Working this in the round gave me volume and let me add a fun element of my increase sections mimicking waves since with Summer I instantly think of the beach! I also drew inspo from a bucket bag my mum loved when I was little. I remember it going on many adventures with us. Now I can picture this coming on many adventures with me!
Happy knitting!
PATTERN
METHOD
Knitting
DIFFICULTY
Beginner
SIZES
One Size

DESCRIPTION
A bucket bag worked up in Jeans yarn that adds a timeless look to any outfit! The increase section mimics a wave texture adding a casual beach day vibe. Knitting with yarn held double adds durability while creating a light and airy tote!
YARN
Lion Brand Yarn, Jeans in “Classic”, #4, 3.5oz, 246yd
Skeins: 3 (609 yd)
NEEDLES
Addi Turbo Circulars, US 9 (5.5mm), 16” circular and 20” interchangeable cord to fit the stitches (DPNs optional)
NOTIONS
Yarn Needle, 6 Stitch Markers (1 BOR), Stitch Holder (scrap of yarn)
GAUGE
(Blocked) = 15.5 sts x 22 rw = 4” of Stockinette Stitch in the round (yarn held double throughout the pattern)
*Matching stitches per inch will get your width to match
Thank you so much for your shop support! I hope you love it! Contact me for any help or questions you might have along the way.
**This Pattern is a copyright of Whistle and Wool© so you may not copy, alter, adjust, share, record, redistribute or resell my Pattern. No tutorials or any kind of demonstrations may be made using any information contained in my Pattern. I do not mind if you wish to sell a completed HANDMADE item and you are a small independently owned business, however, you do not have permission to use ANY of my photos. If you do sell a completed item, please list credit of the design belonging to me, Whistle and Wool and a link to my shop. www.WhistleandWool.etsy.com
NOTES:
Once you start the pattern you may need to work about 15 rows to see the point taking shape with the I-Cord detail. As long as you’re slipping sts pw, yif when instructed you’ll be fine.
Yarn held double throughout on a small needle helped add durability and shape to the tote.
Use a different marker to distinguish your BOR.
I used 16” circular needles (like for making hats) to begin my bag. You could also use DPNs or Magic Loop method to your preference. I changed to a 20” cord once I had enough sts to fill it without stretching them.
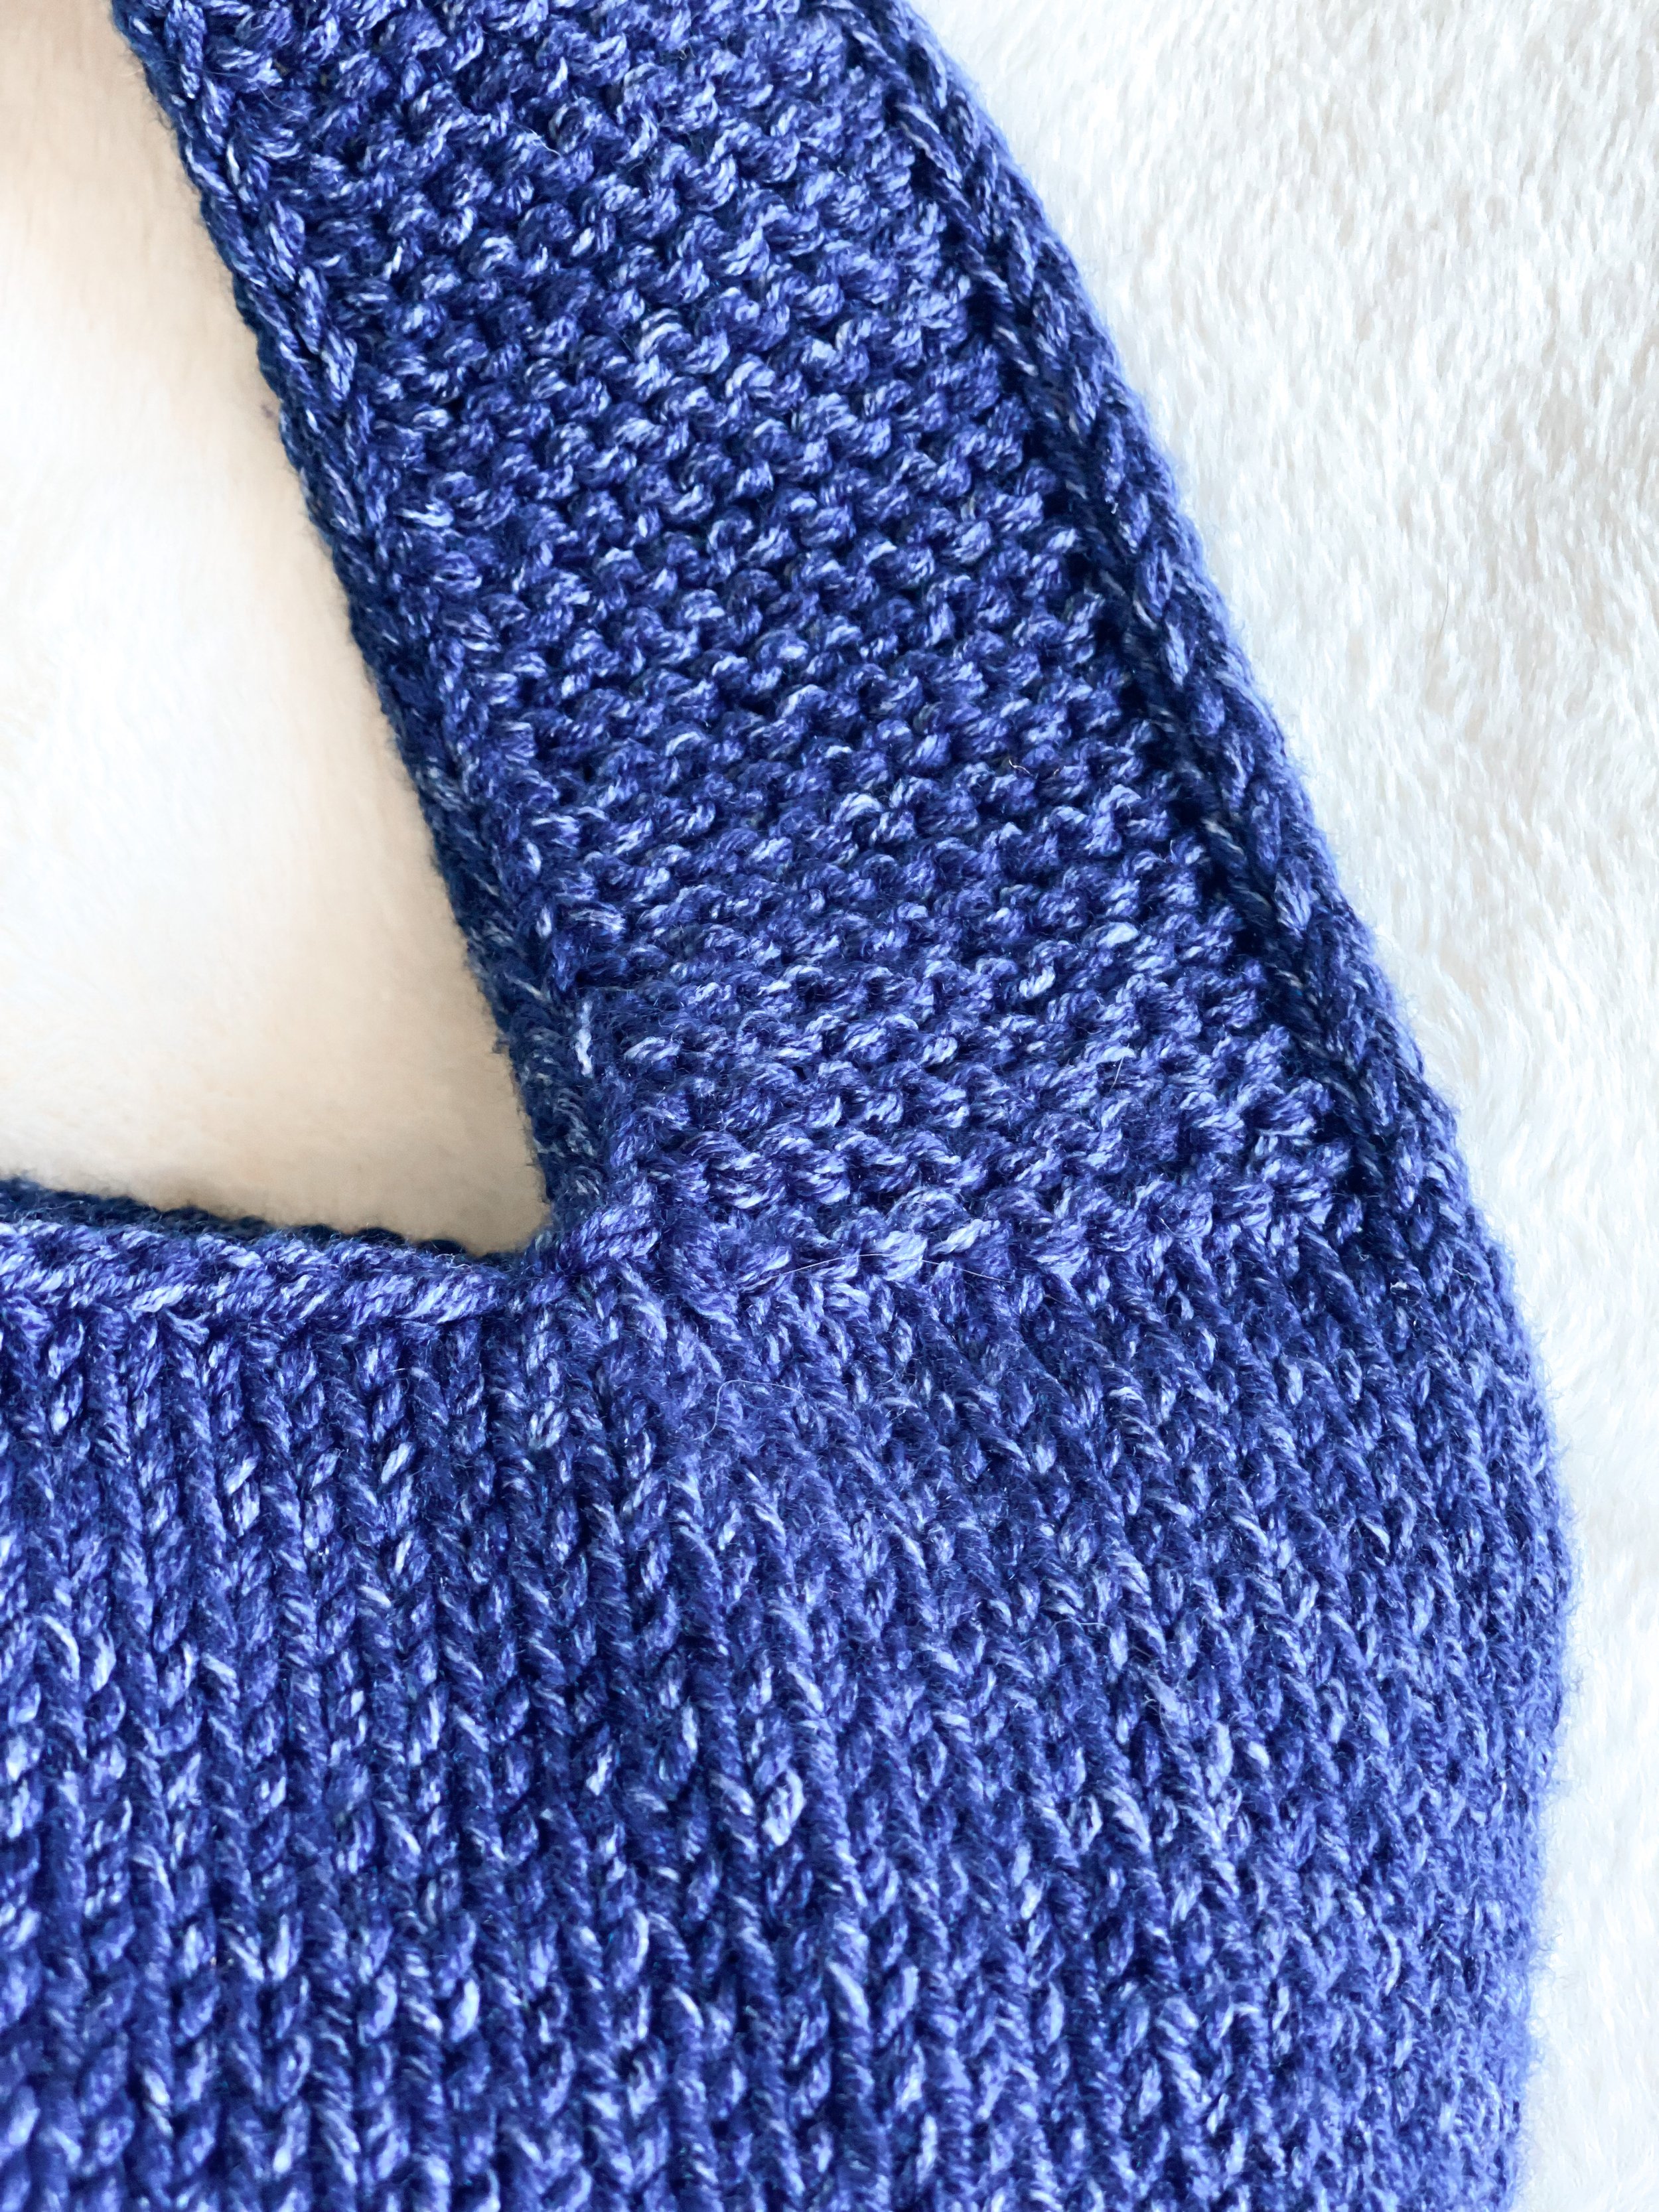
The tote is made seamless in the round except along the bottom of it, which adds stability to the tote to avoid stretching. A Mattress Stitch is used for this section.
The tote’s strap is made in two pieces and seamed in the center for extra durability.
For Round 1 on the Body Strap section, I used spare yarn to sew/reinforce the 1st BO stitch to the bag’s handle for extra durability.
GAUGE:
**Please check your gauge before you start this Pattern to match the finished measurements:
It’s best to make your swatch slightly bigger than what the pattern states it should measure, so you can measure it in the center of your square, getting an accurate reading. You can do this by adding 2 additional stitches and working 2 additional rows. Do not count the first and last stitch in your measurement or the first and last row.
Needle Size Suggestions:
If your swatch has less stitches, swatch again using a smaller needle.
If your swatch has more stitches, swatch again using a larger needle.
Finished measurements (in inches) will stretch when worn
Width
17”
Height
12.25” (body only), 21.25” (with Straps)
Handle Height
9”
Stitches to Know
BO Bind Off
BOR Beginning of the Round
DPNs Double Pointed Needles
k Knit
kfb Knit into the front and back of the stitch for an increase Knitwise
M Stitch Marker
PM Place Marker
pw Purl Wise
RN Right Needle
RS Right side of the project
SM Slip Marker
st(s) Stitch(es)
Tbl Knitting into the back loop of each stitch
WS Wrong Side
yif Yarn in front
PATTERN
Cast on 60, PM for BOR, join in the round - (60 sts)
Round 1: *K10, PM, repeat after * for the round until you reach your BOR M. You should have a M every 10 sts
Round 2: Knit the round (SM as you come to them)
Round 3: *K till st before M, kfb, SM, repeat after * for the round - (66 sts)
Round 4: Knit the round (SM as you come to them)
Round 5-26: Repeat Rounds 3+4 (every odd row inc’s by 6 sts)
Row 26 will have 22 sts between Ms - (132 sts)
Remove increase markers.
Round 27-66: Knit
Length should measure 12” from Cast on.
Shoulder Strap
Strap Set up Round
Round 1: K8, BO tbl 50 sts (using a medium tension), k15 (should be 16 on your RN), BO tbl 50 sts, k7 (should be 8 sts on your RN), BOR (Remove BOR M)
Place the 16 sts opposite you on a holder, we will work this second strap later. Straps worked in rows.
Strap #1
Row 2: (RS) K5, slip the last 3 sts pw with yif
Round 3-64: Knit till last 3 sts, slip 3 sts pw with yif - (16 sts)
With RS facing, cut yarn and place sts on a holder. We will 3 Needle BO these later.
NEXT: With RS facing add the remaining 16 sts for the next strap to your working needle
Strap #2
Row 2-64: Repeat Row 3
With the RS’s out, WS’s together, 3 Needle BO the two Strap ends together.
Weave in all ends.
Seaming up The Bottom of The Bag
With the bag RS facing you, starting on the bottom right edge, Mattress Stitch together the bottom of the tote. Weave end in along the inside of the bag.